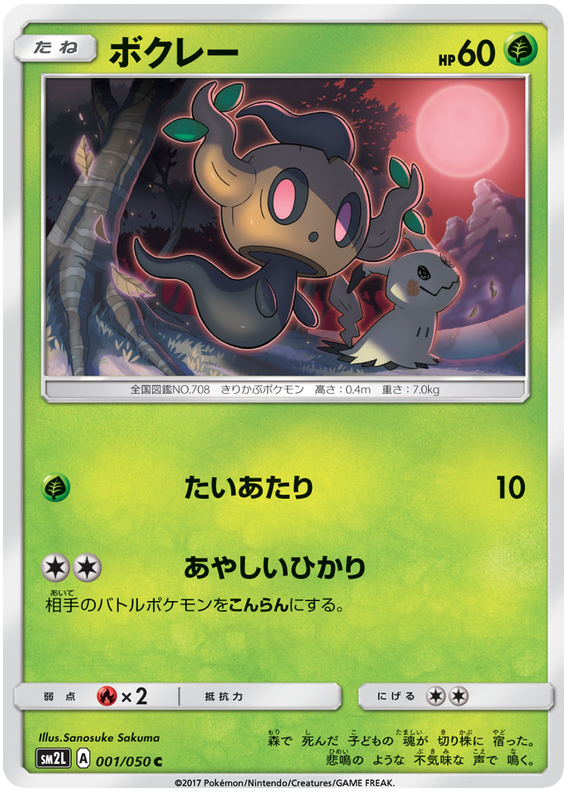
 Image coming soon
Phantump
Sold out

 Image coming soon
Phantump
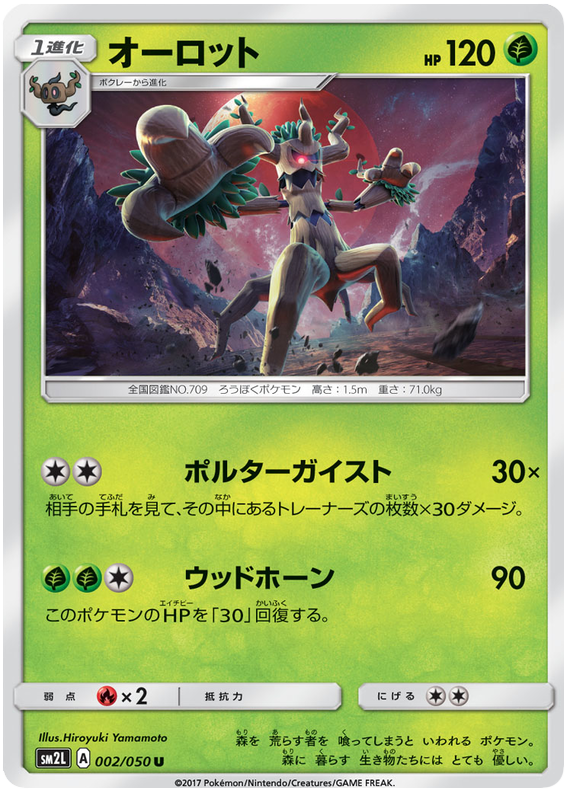 Image coming soon
Trevenant
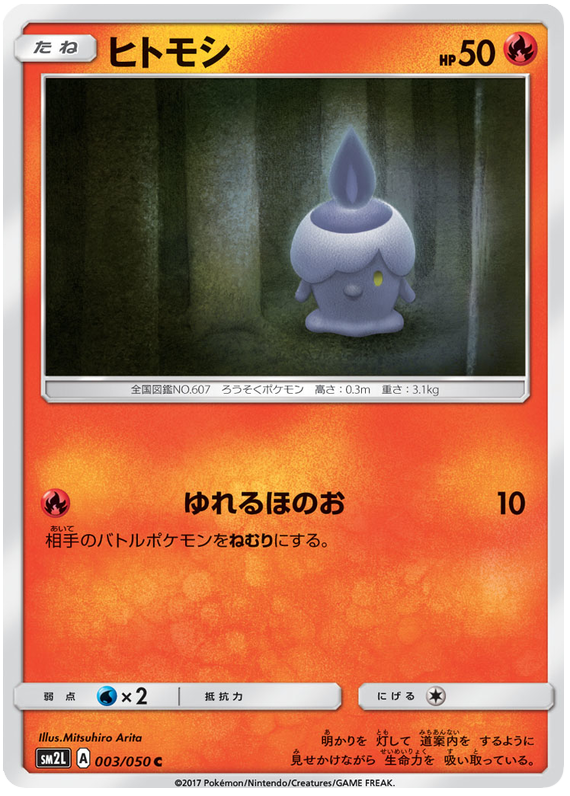 Image coming soon
Litwick
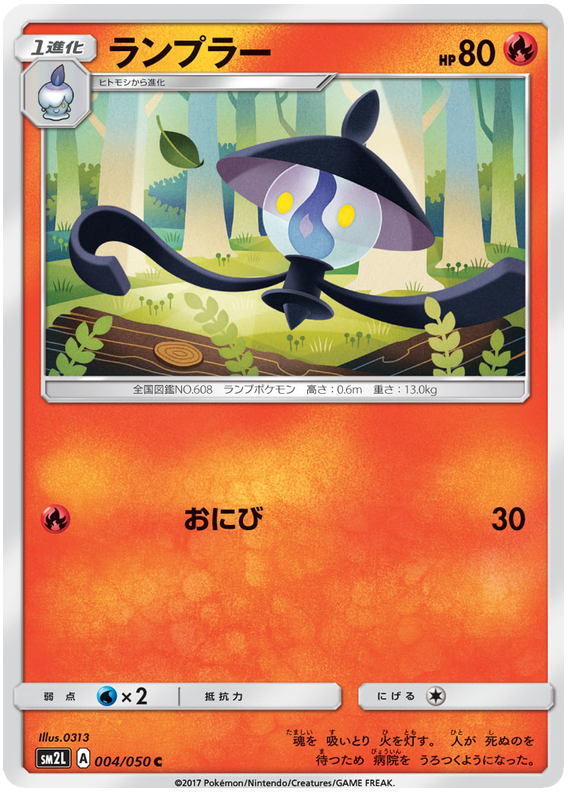 Image coming soon
Lampent
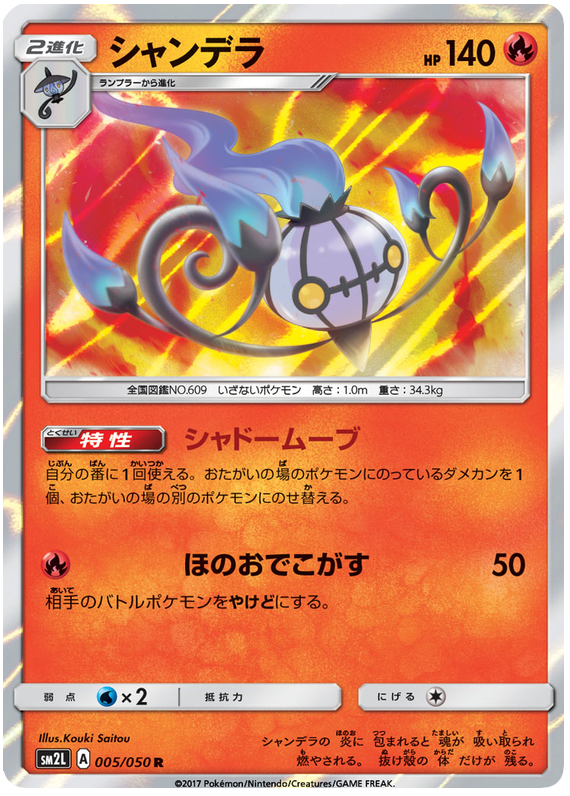 Image coming soon
Chandelure
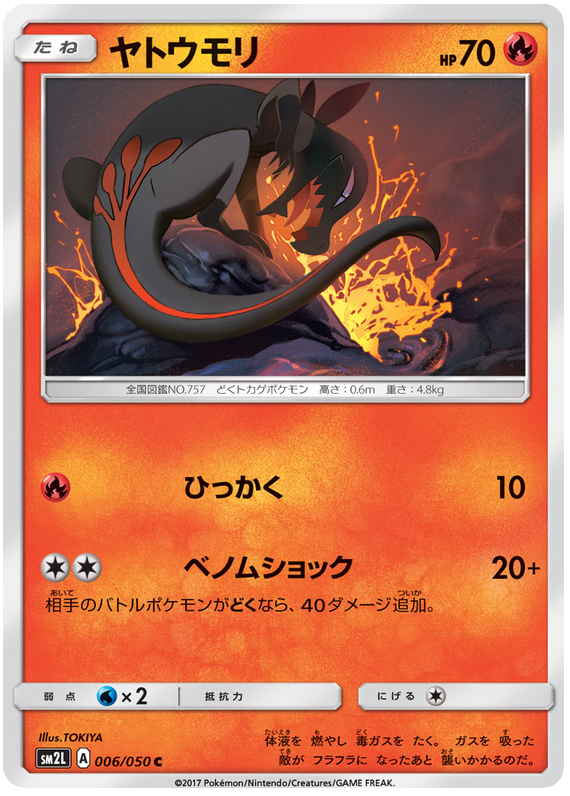 Image coming soon
Salandit
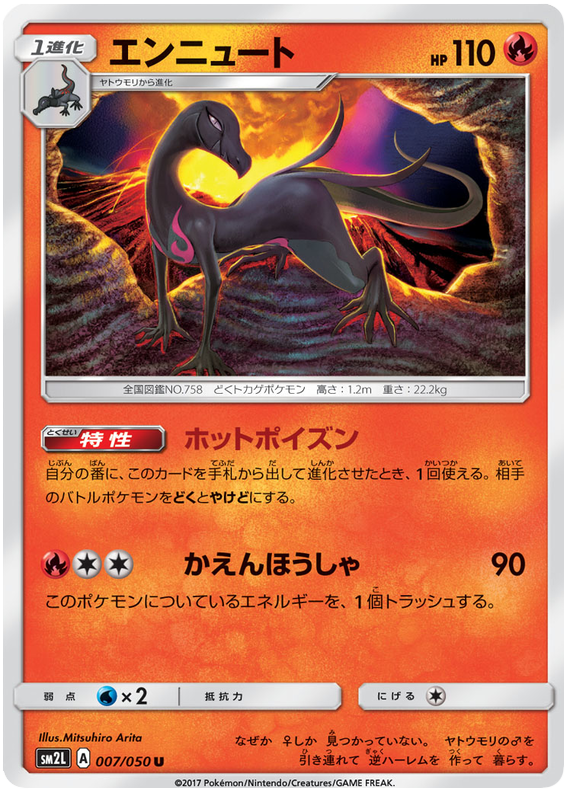 Image coming soon
Salazzle
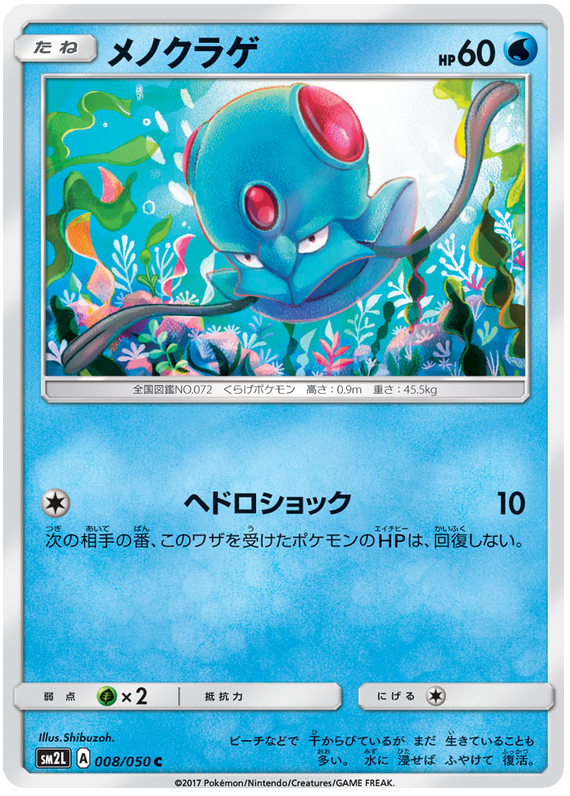 Image coming soon
Tentacool
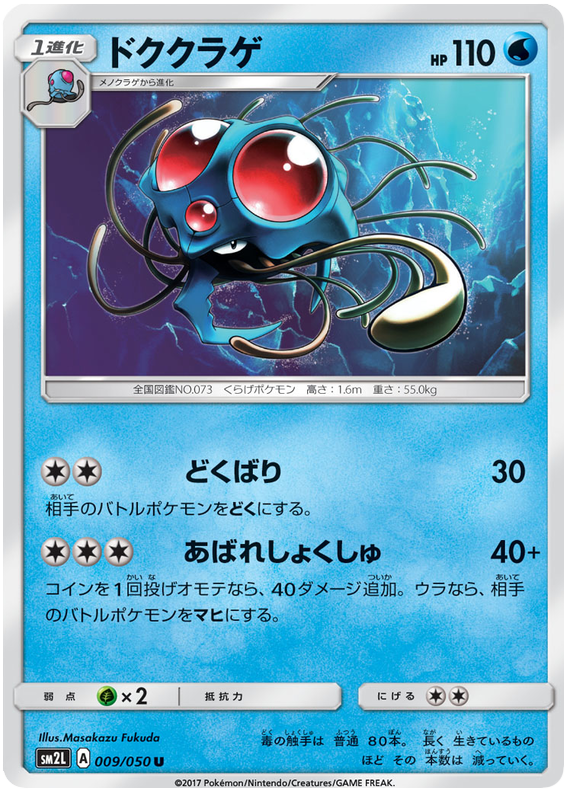 Image coming soon
Tentacruel
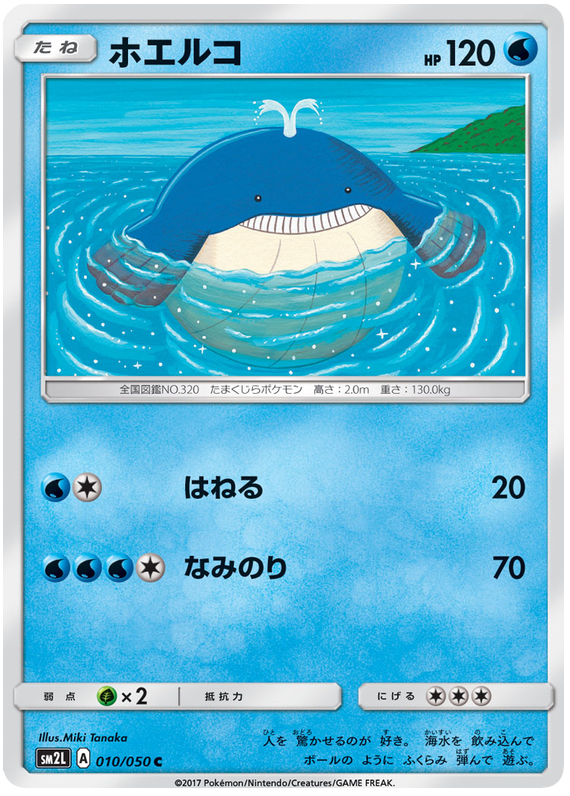 Image coming soon
Wailmer
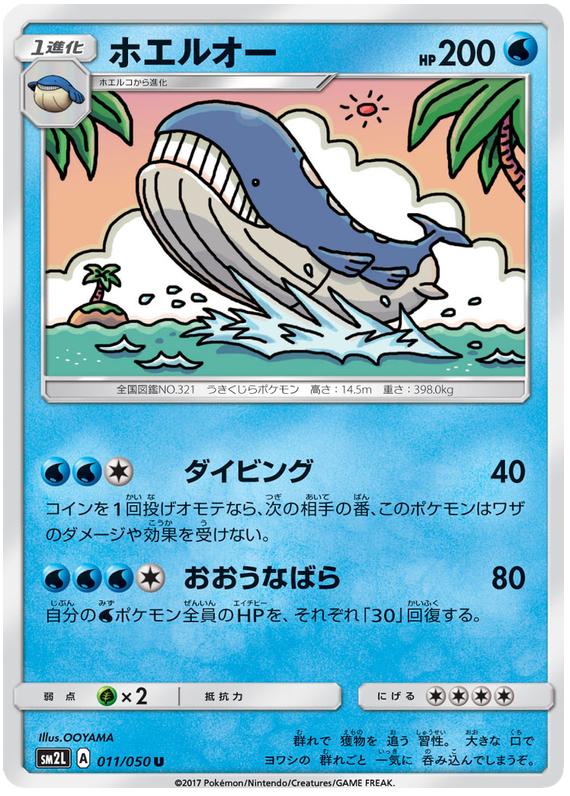 Image coming soon
Wailord
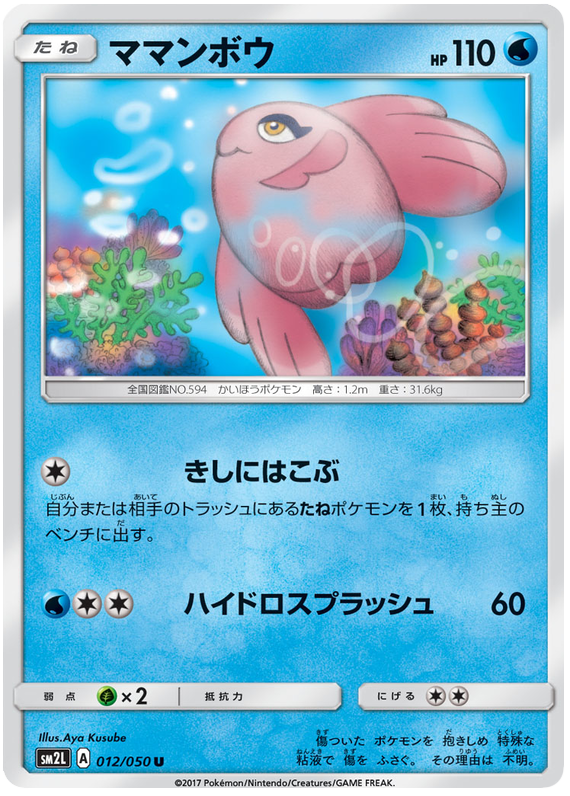 Image coming soon
Alomomola
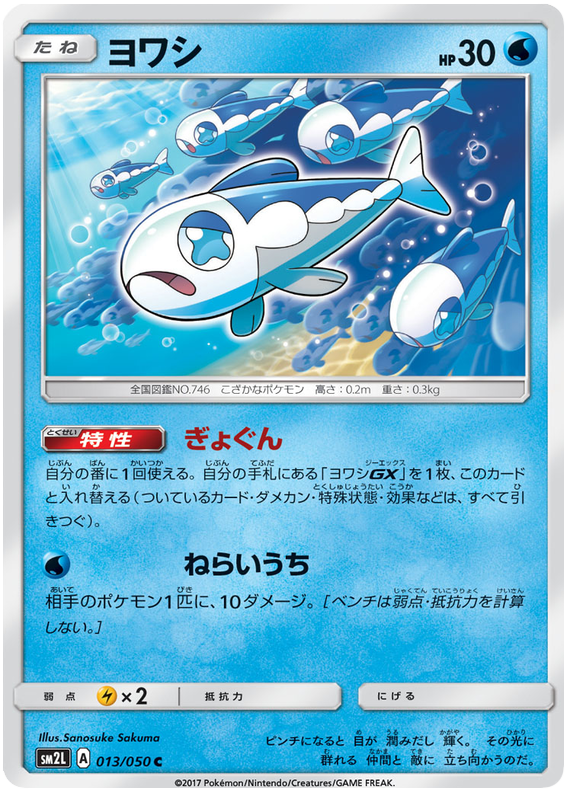 Image coming soon
Wishiwashi
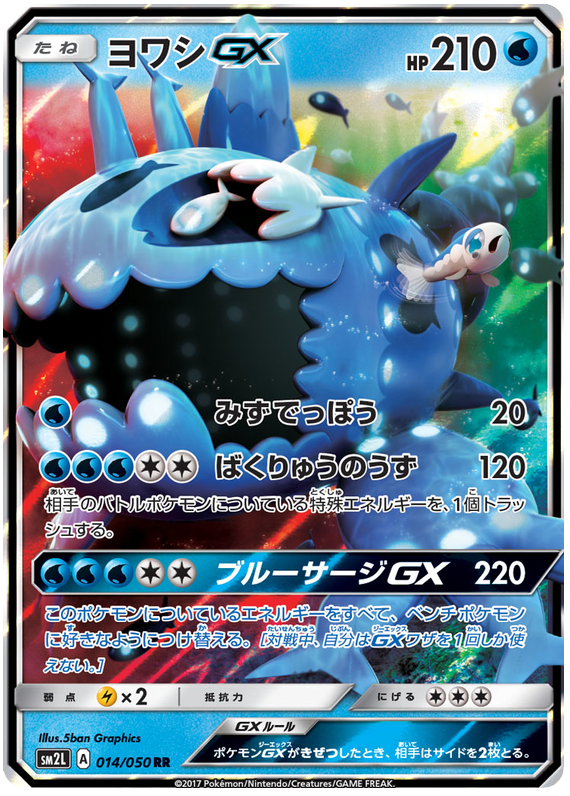 Image coming soon
Wishiwashi GX
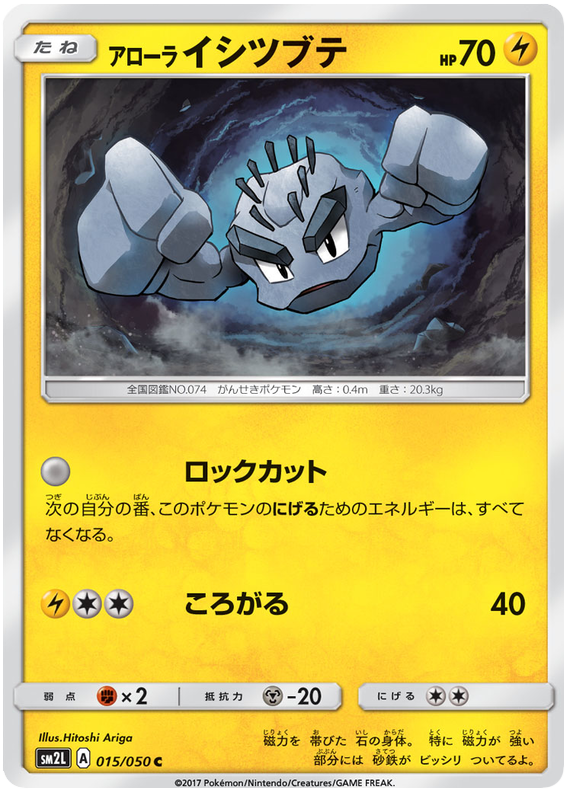 Image coming soon
Alolan Geodude
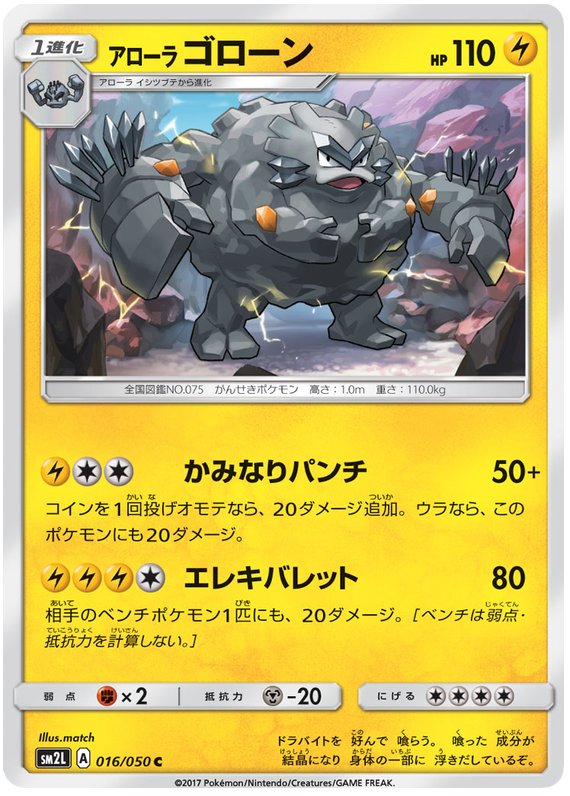 Image coming soon
Alolan Graveler
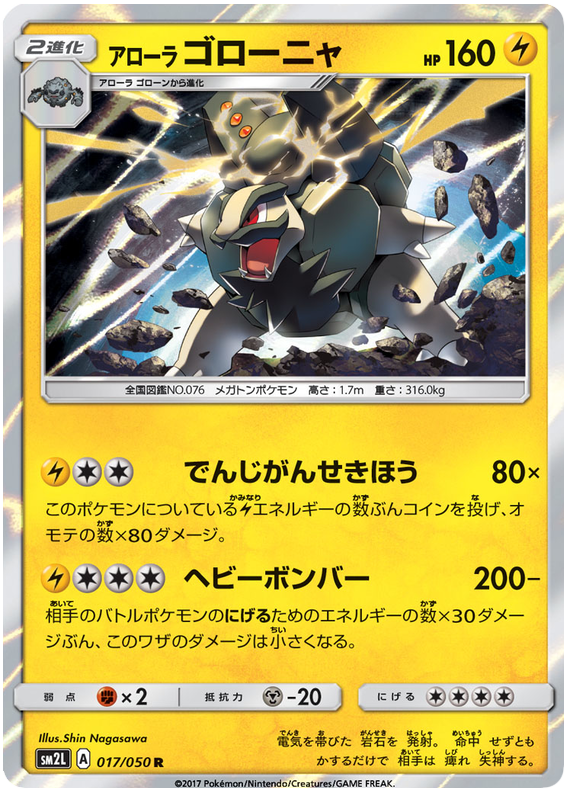 Image coming soon
Alolan Golem
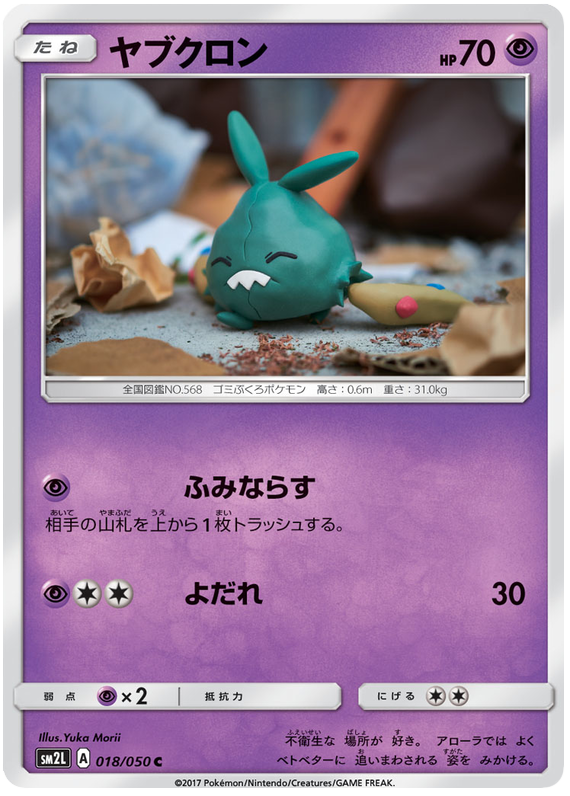 Image coming soon
Trubbish
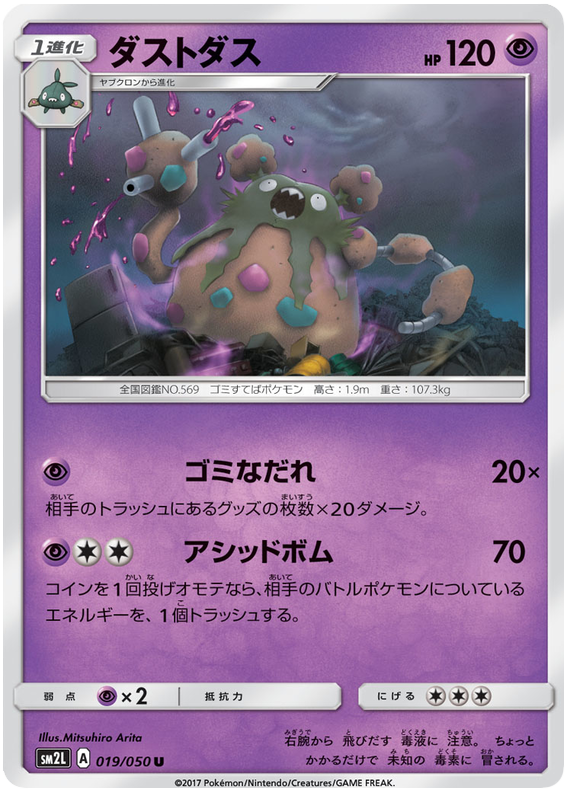 Image coming soon
Garbodor
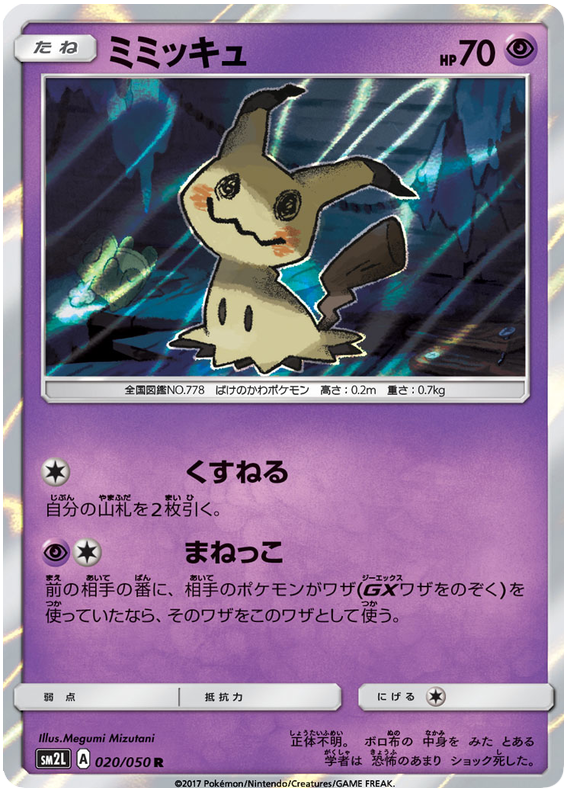 Image coming soon
Mimikyu
 Image coming soon
Dhelmise
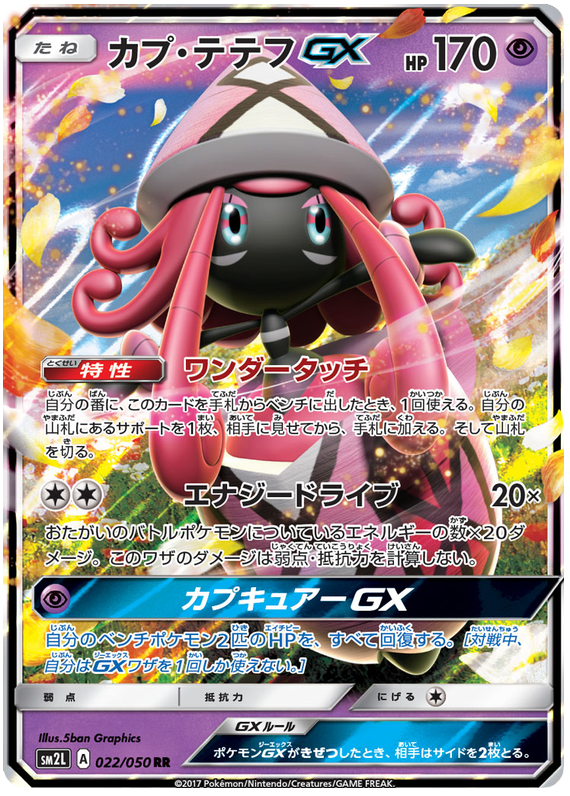 Image coming soon
Tapu Lele GX
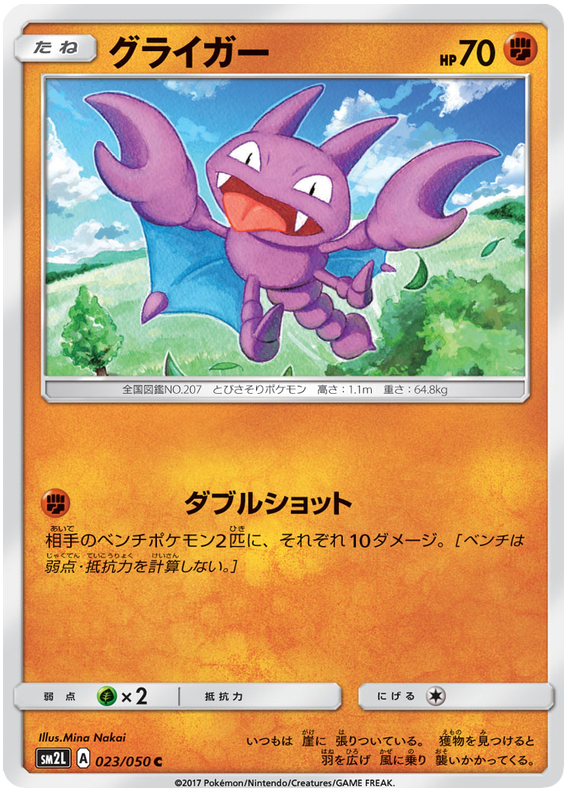 Image coming soon
Gligar
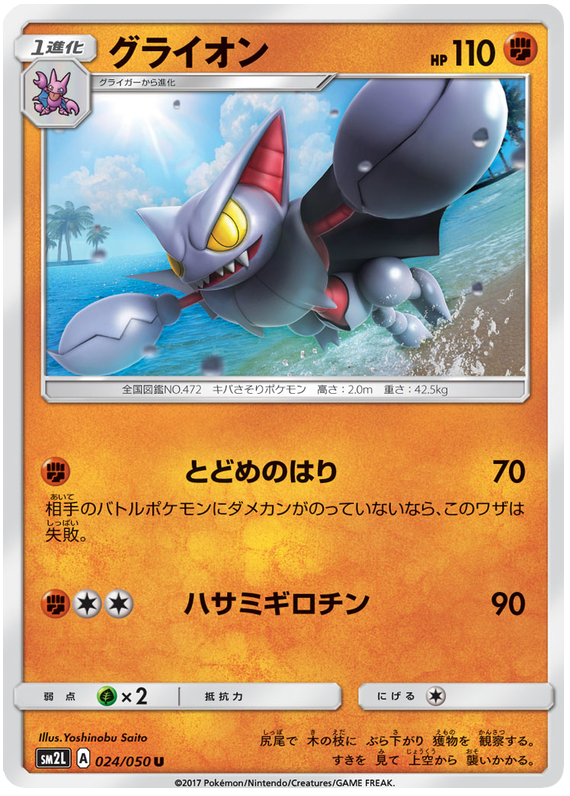 Image coming soon
Gliscor
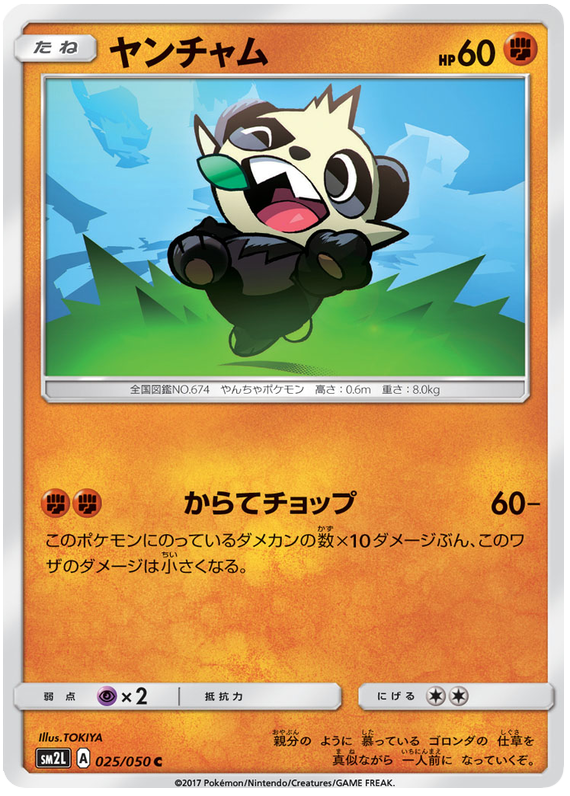 Image coming soon
Pancham
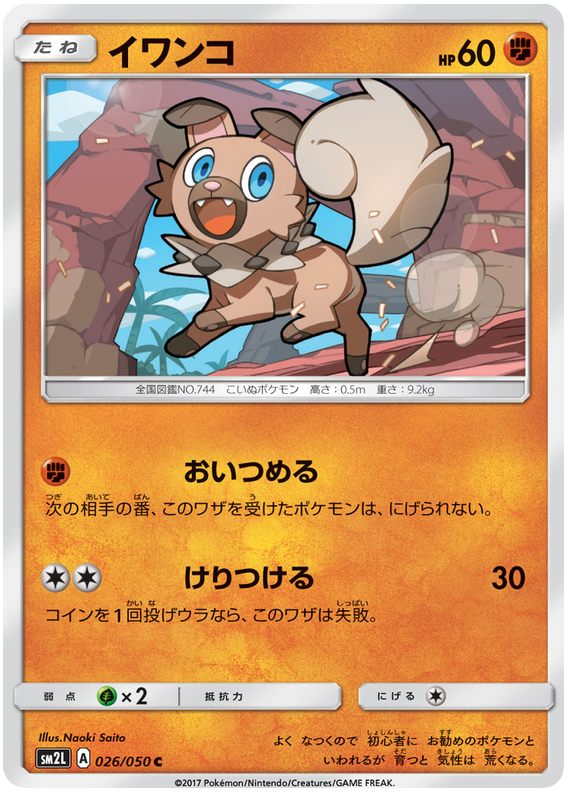 Image coming soon
Rockruff
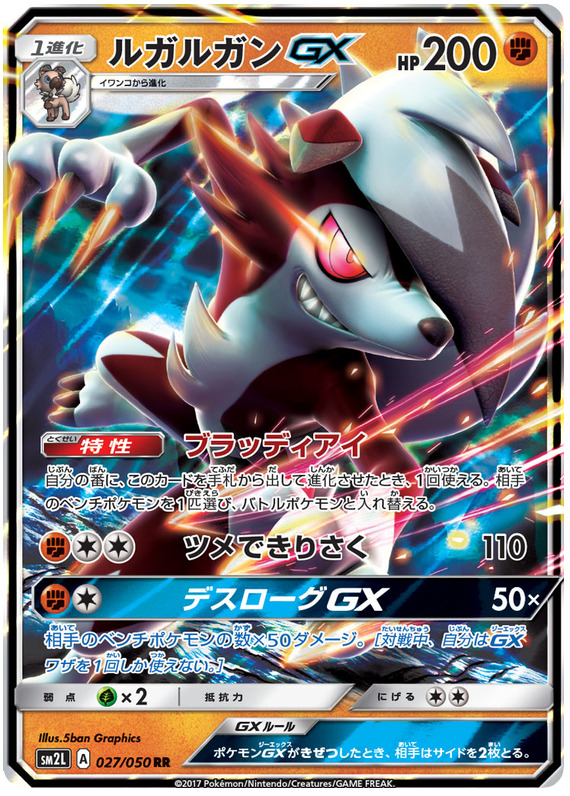 Image coming soon
Lycanroc GX
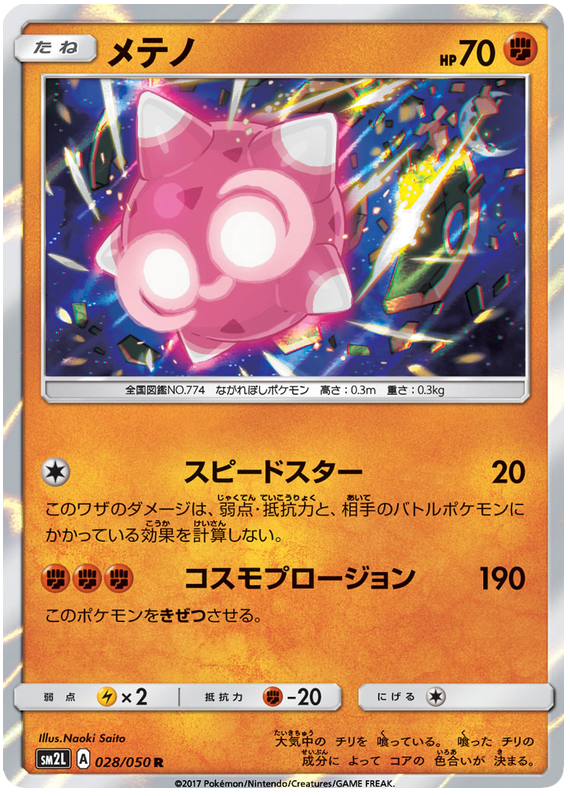 Image coming soon
Minior
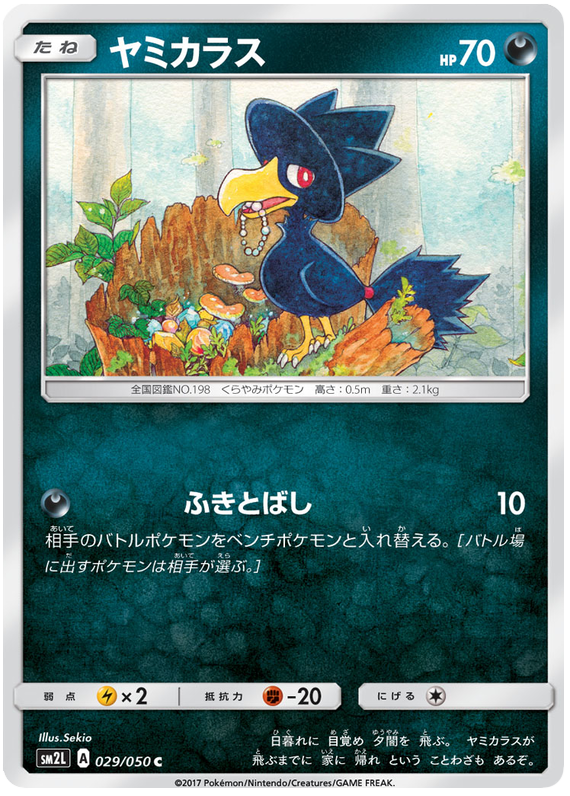 Image coming soon
Murkrow
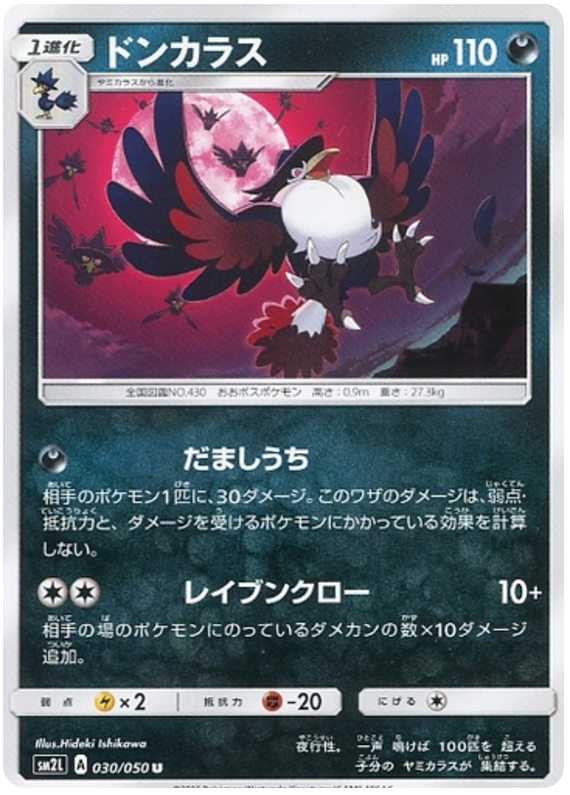 Image coming soon
Honchkrow
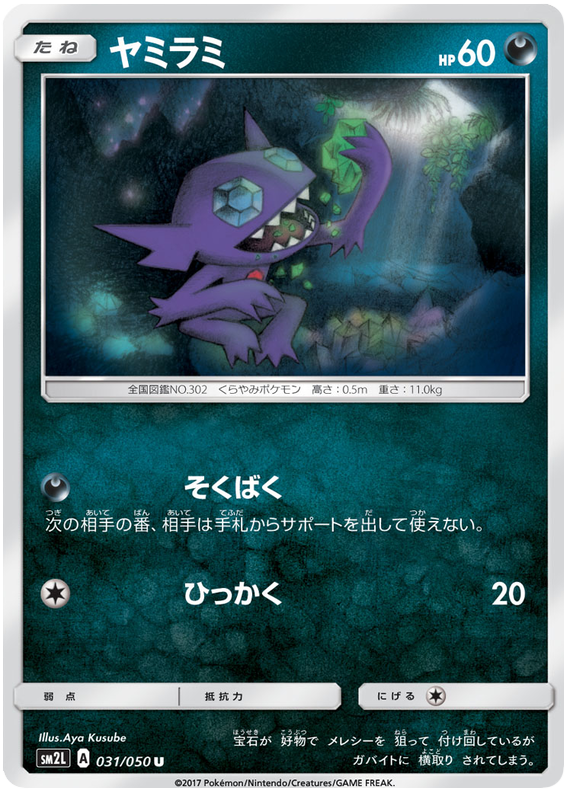 Image coming soon
Sableye
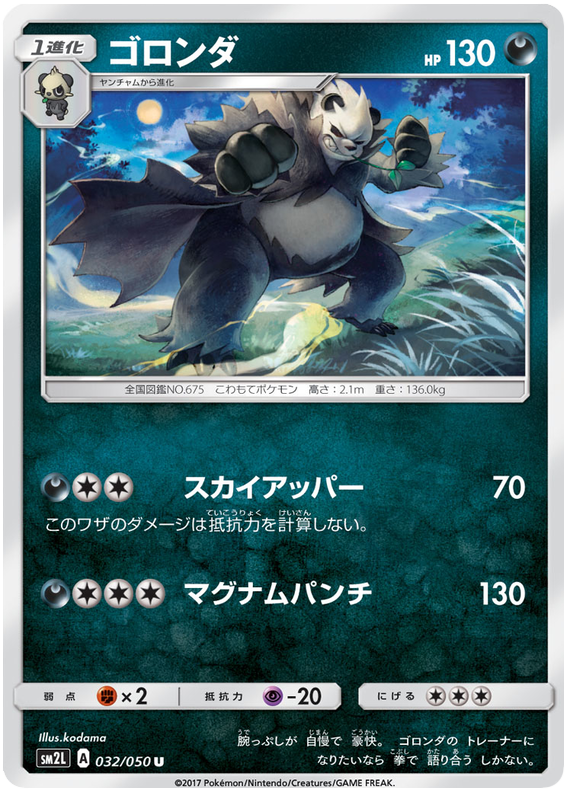 Image coming soon
Pangoro
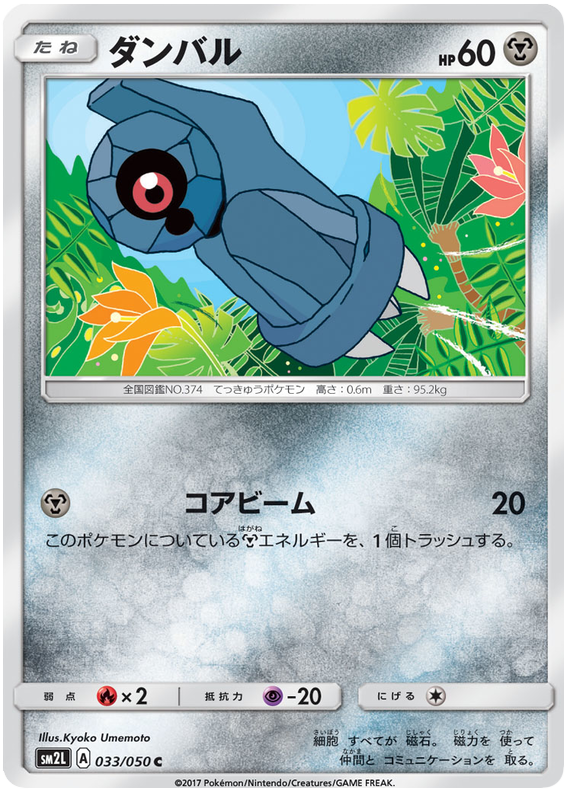 Image coming soon
Beldum
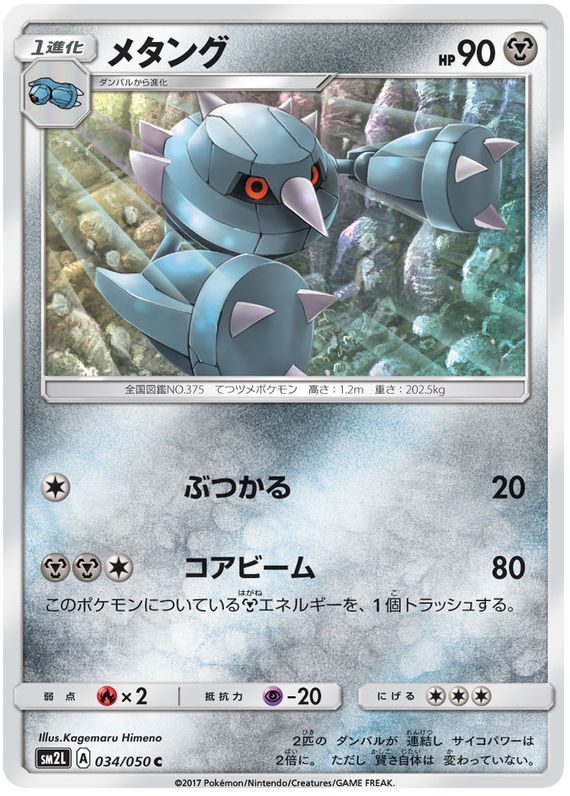 Image coming soon
Metang
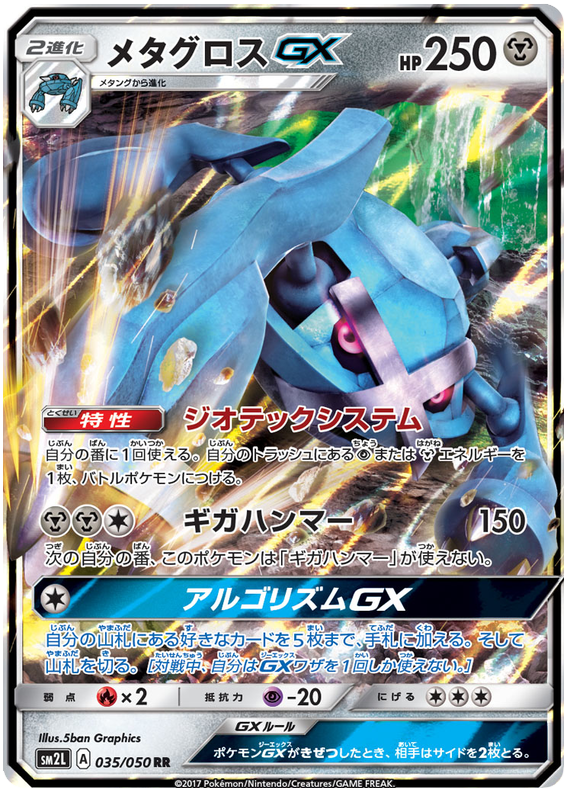 Image coming soon
Metagross GX
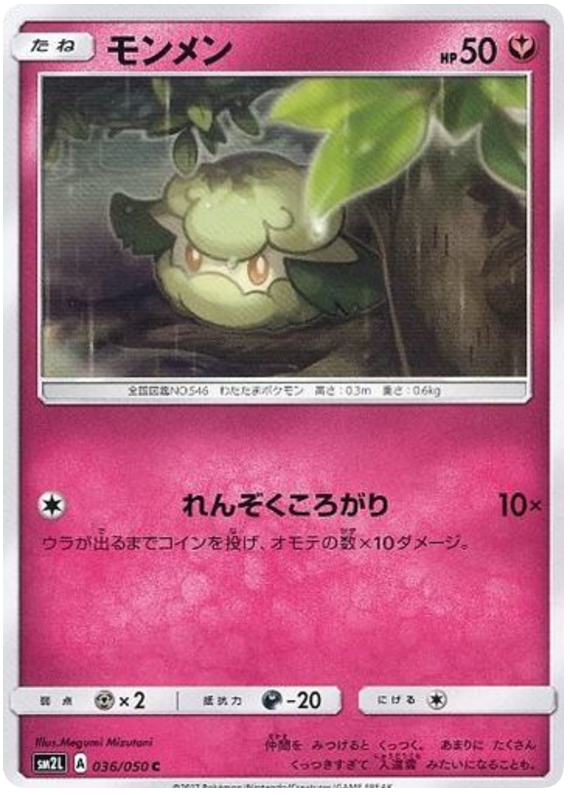 Image coming soon
Cottonee
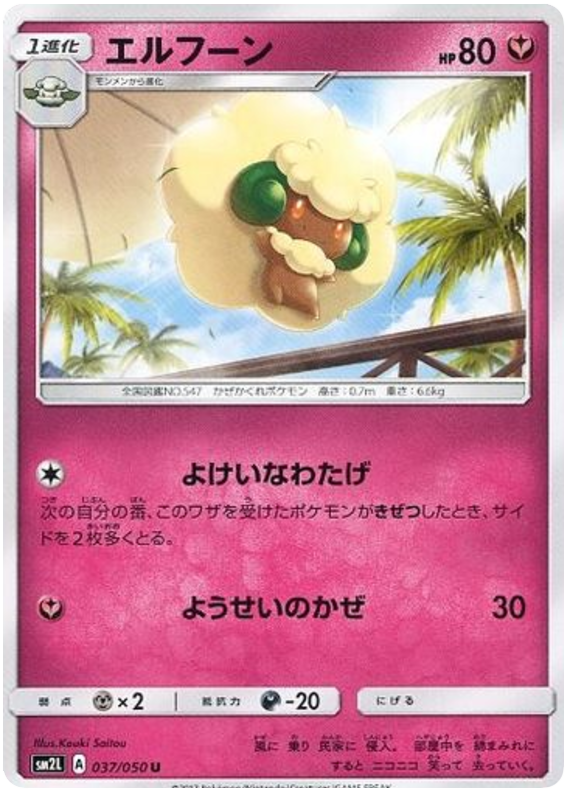 Image coming soon
Whimsicott
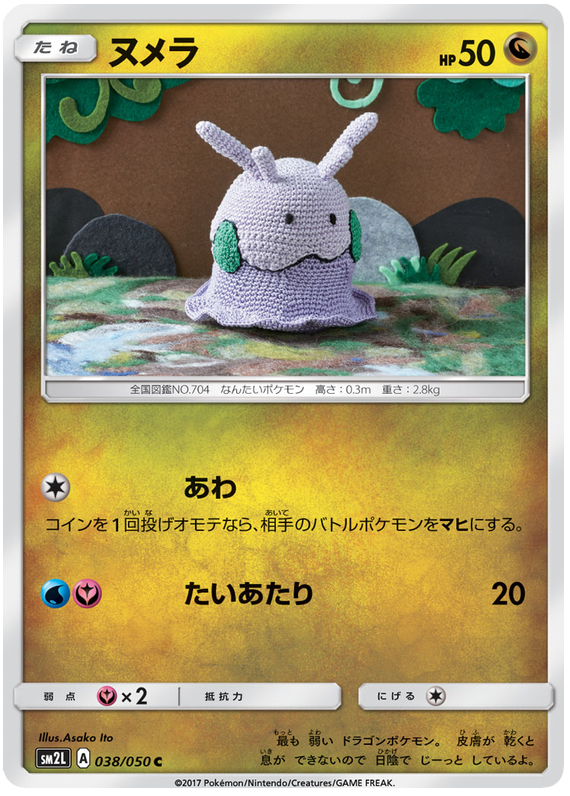 Image coming soon
Goomy
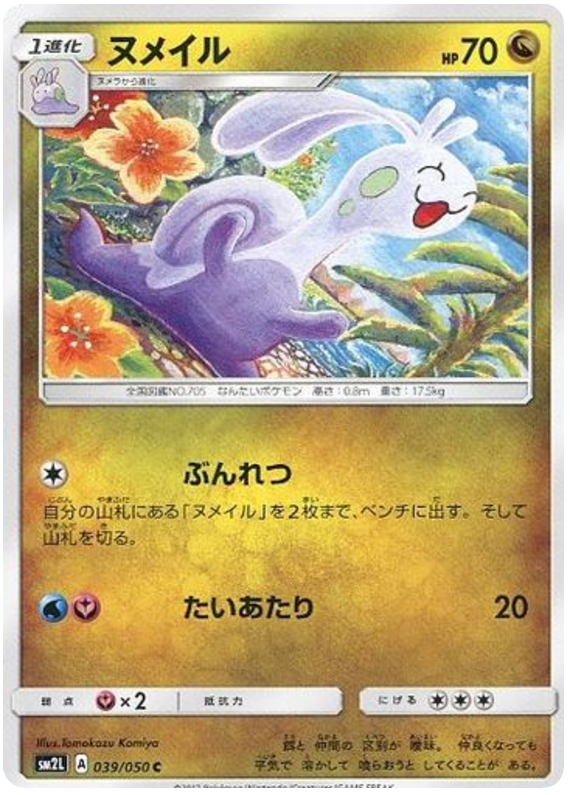 Image coming soon
Sliggoo
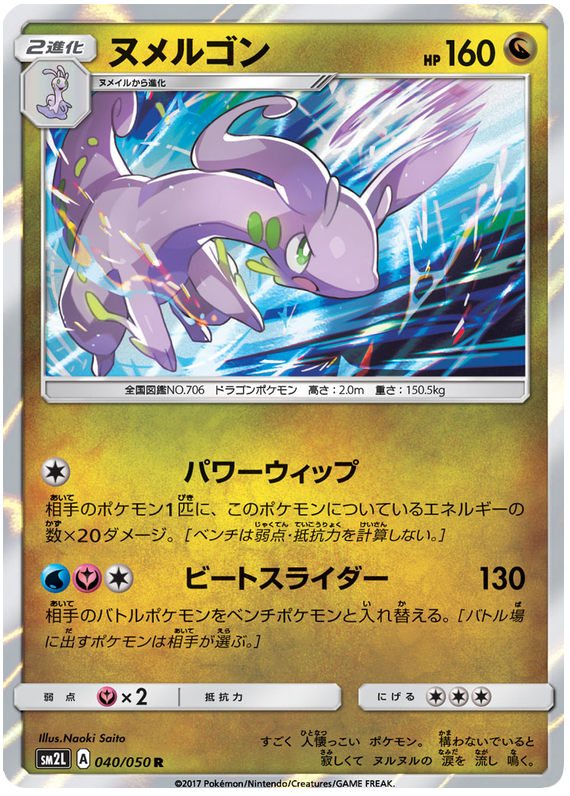 Image coming soon
Goodra
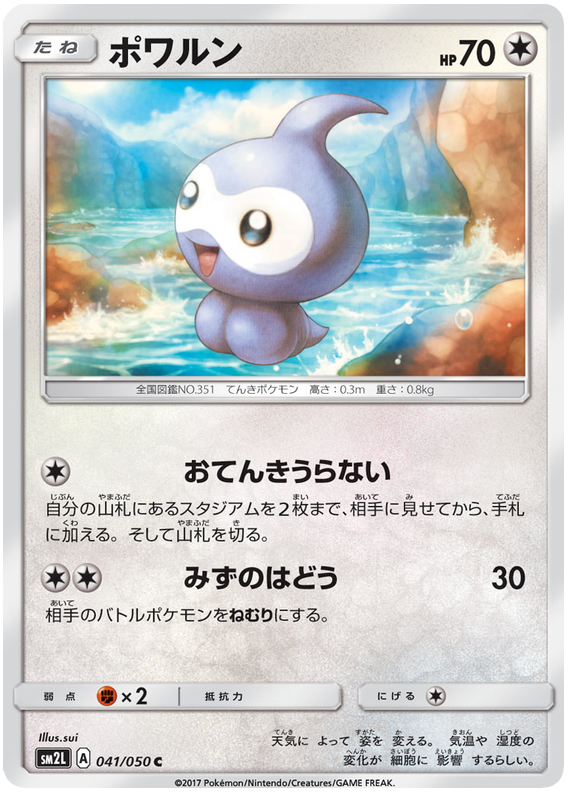 Image coming soon
Castform
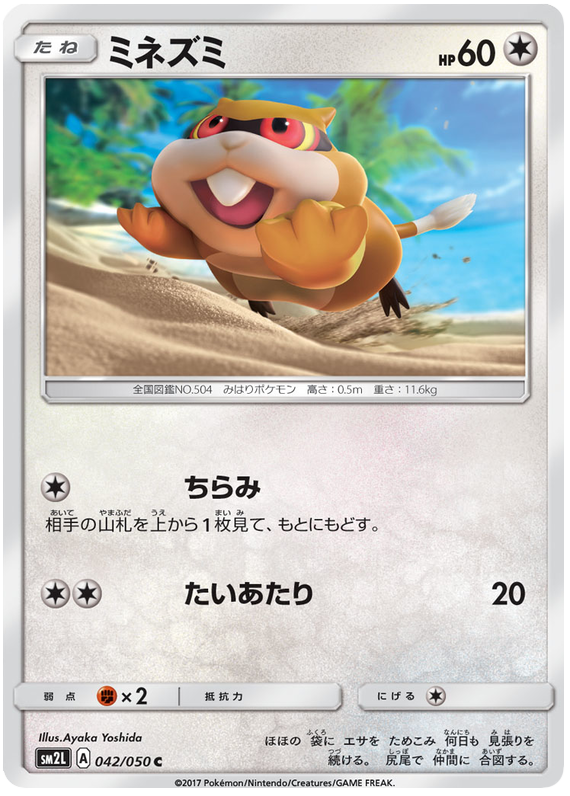 Image coming soon
Patrat
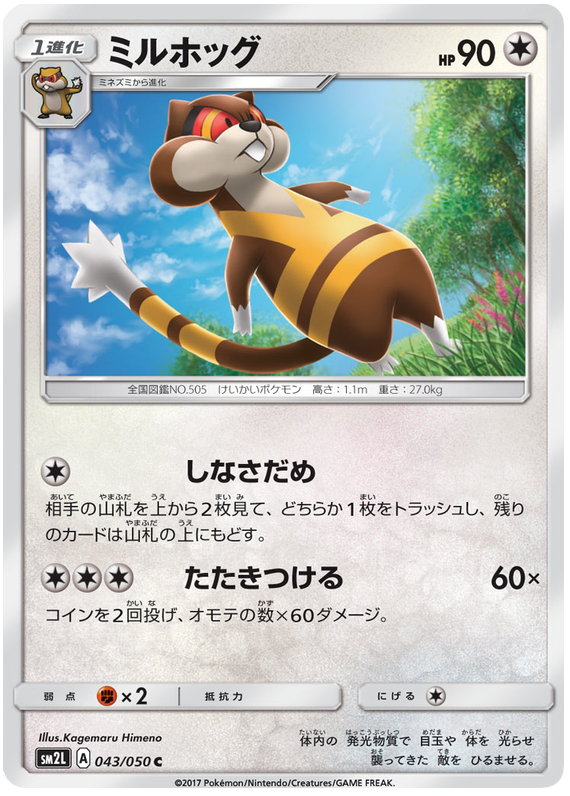 Image coming soon
Watchog
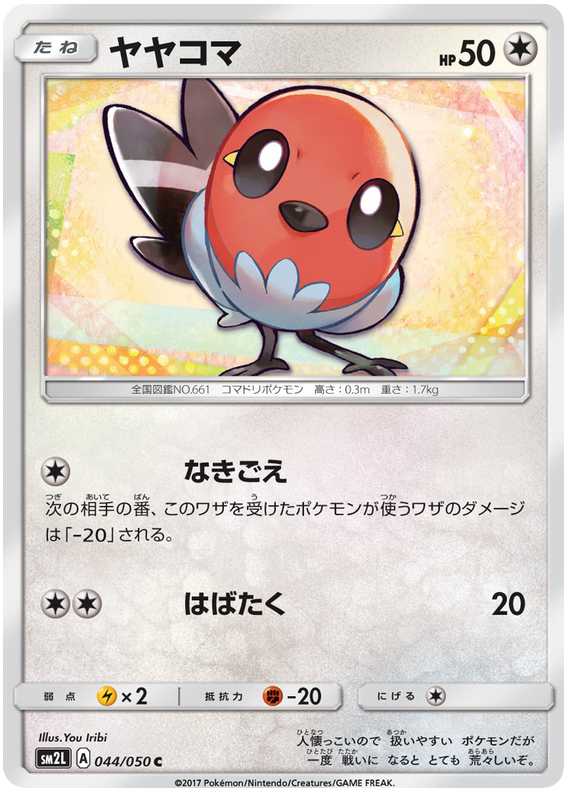 Image coming soon
Fletchling
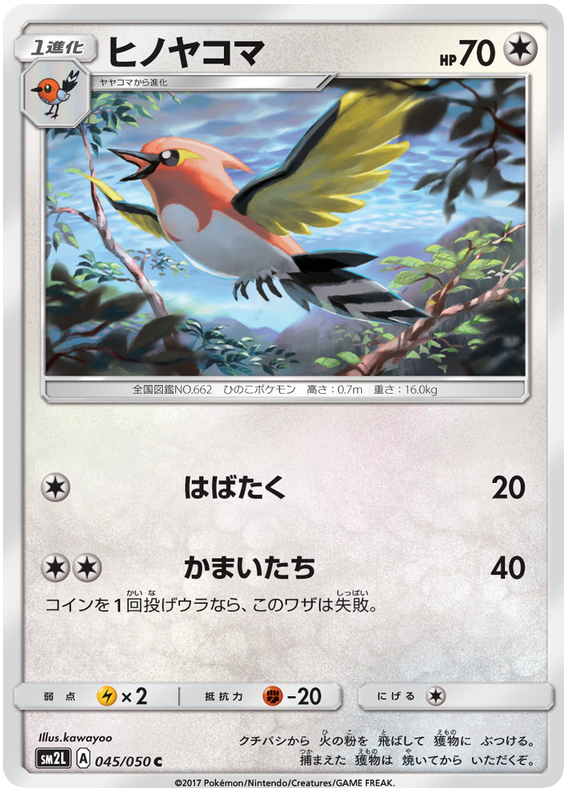 Image coming soon
Fletchinder
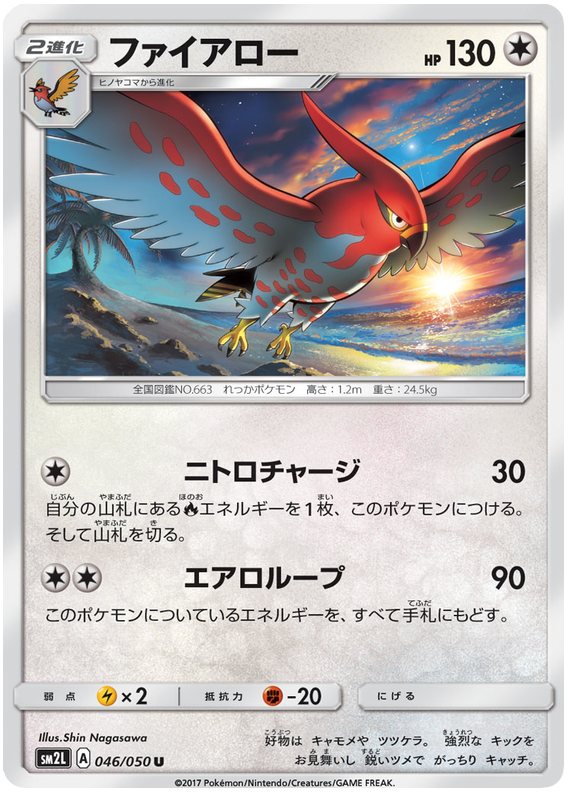 Image coming soon
Talonflame
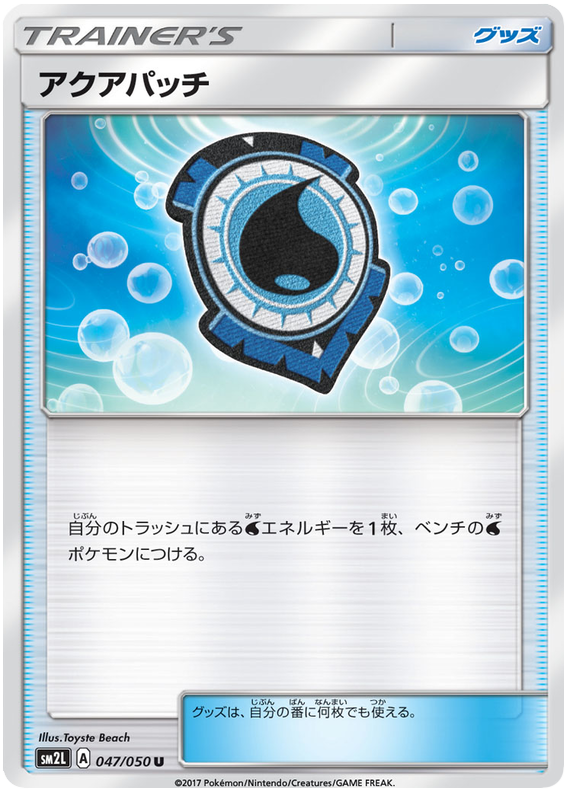 Image coming soon
Aqua Patch
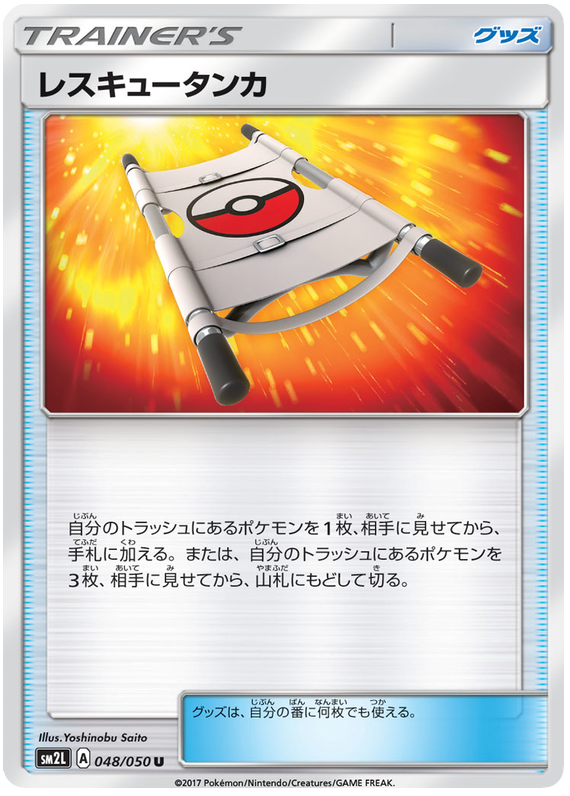 Image coming soon
Rescue Stretcher
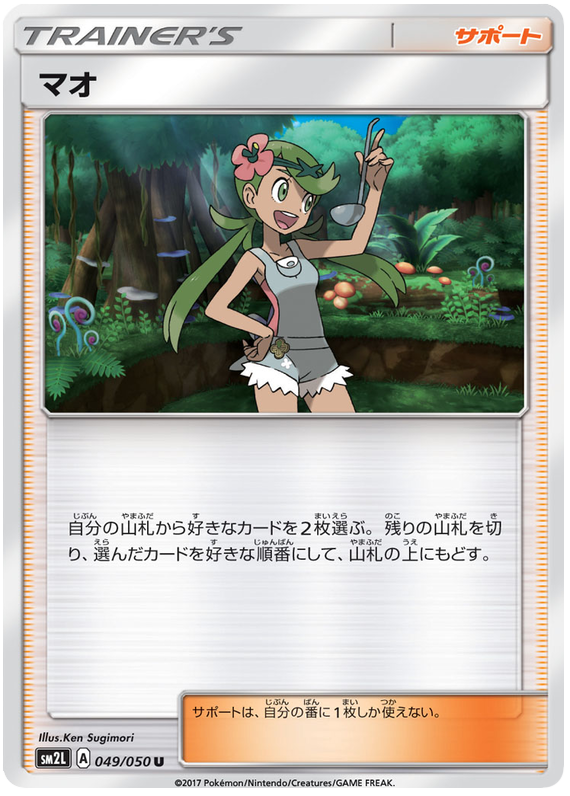 Image coming soon
Mallow
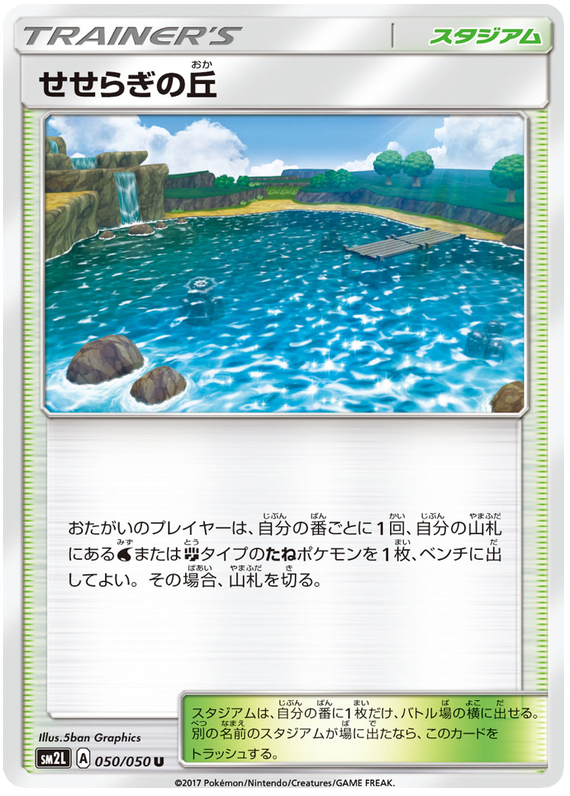 Image coming soon
Brooklet Hill
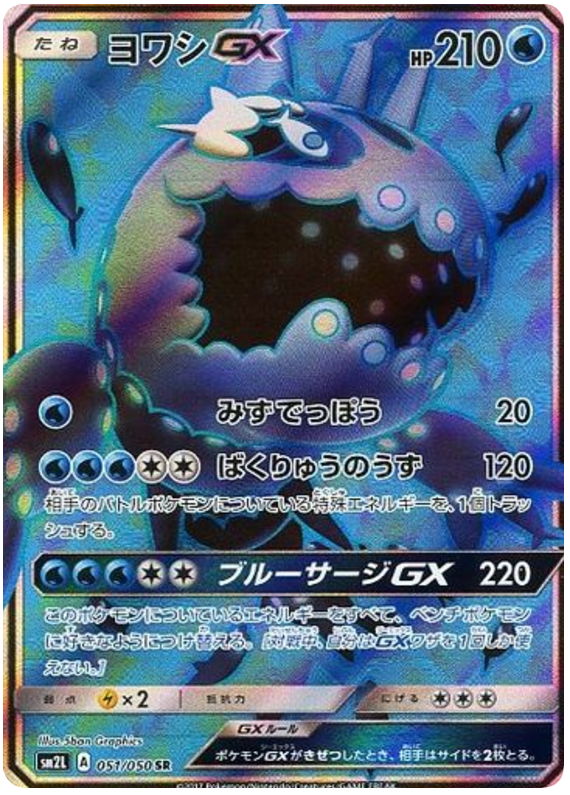 Image coming soon
Wishiwashi GX
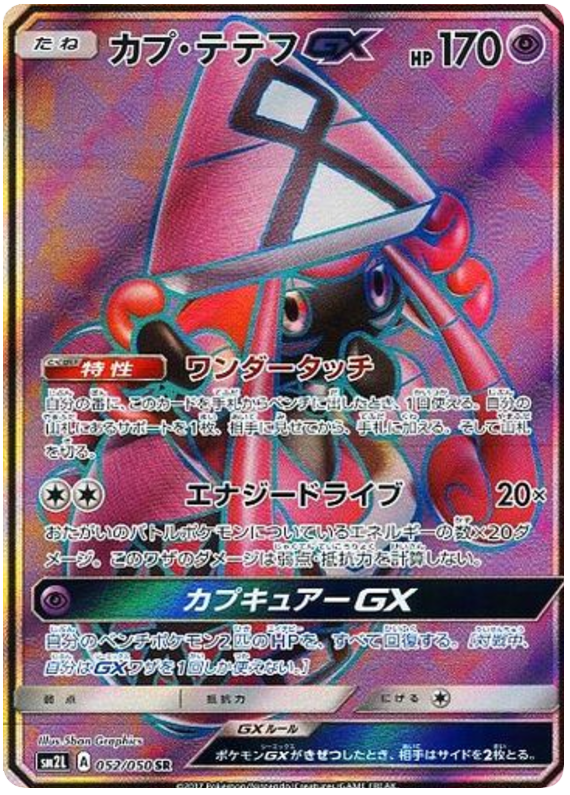 Image coming soon
Tapu Lele GX
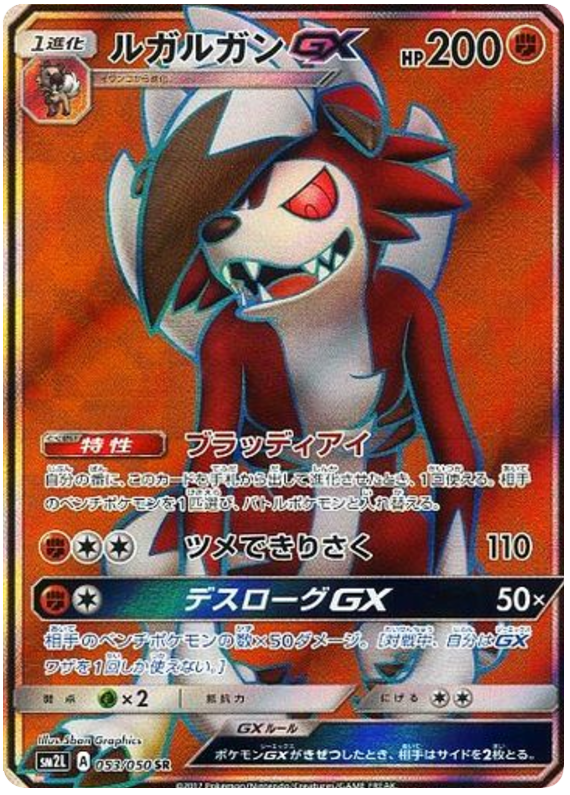 Image coming soon
Lycanroc GX
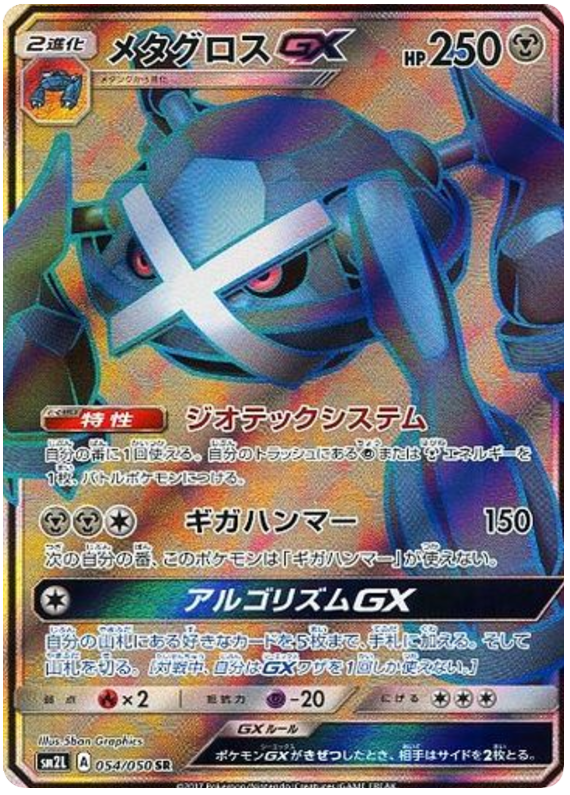 Image coming soon
Metagross GX
 Image coming soon
Mallow
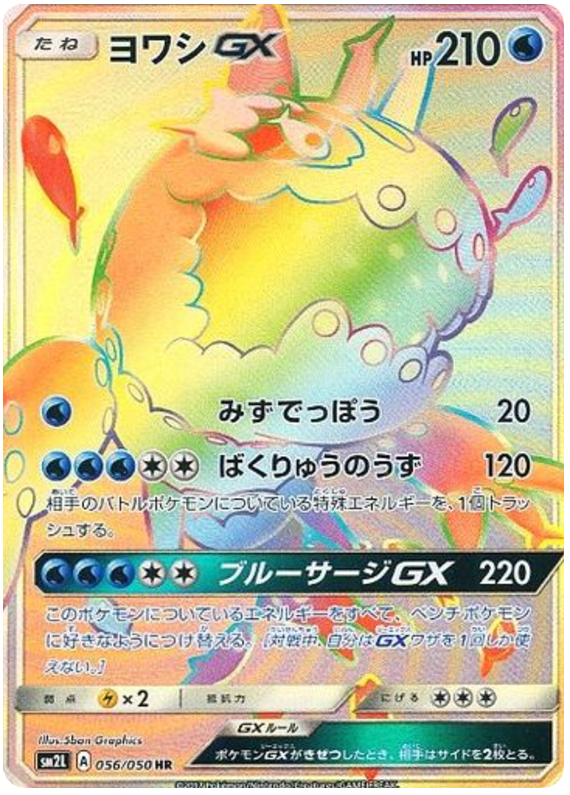 Image coming soon
Wishiwashi GX
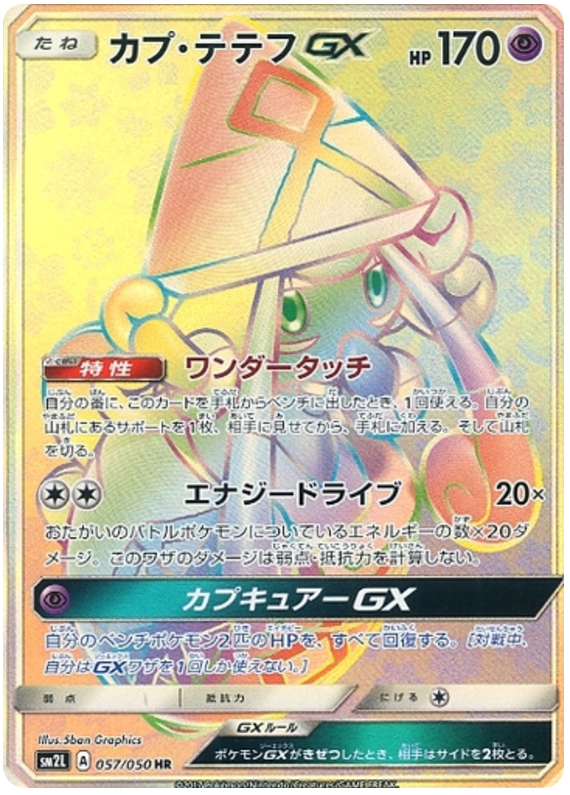 Image coming soon
Tapu Lele GX
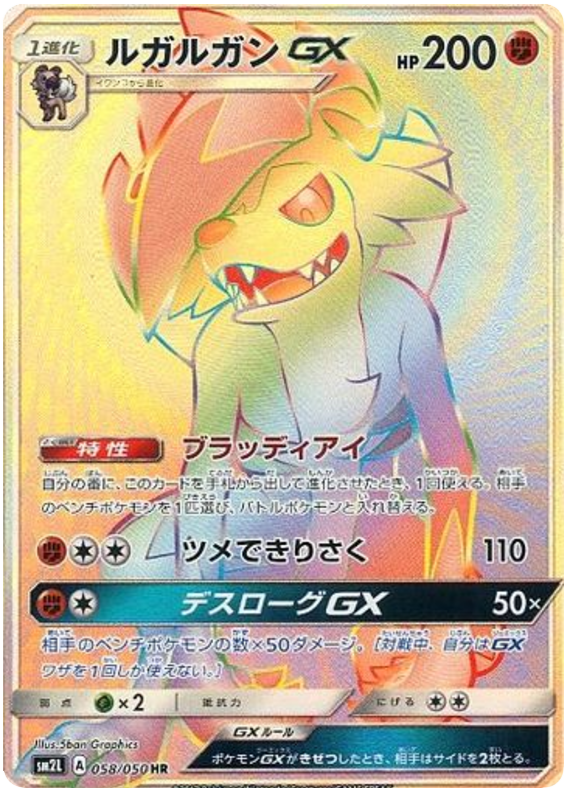 Image coming soon
Lycanroc GX
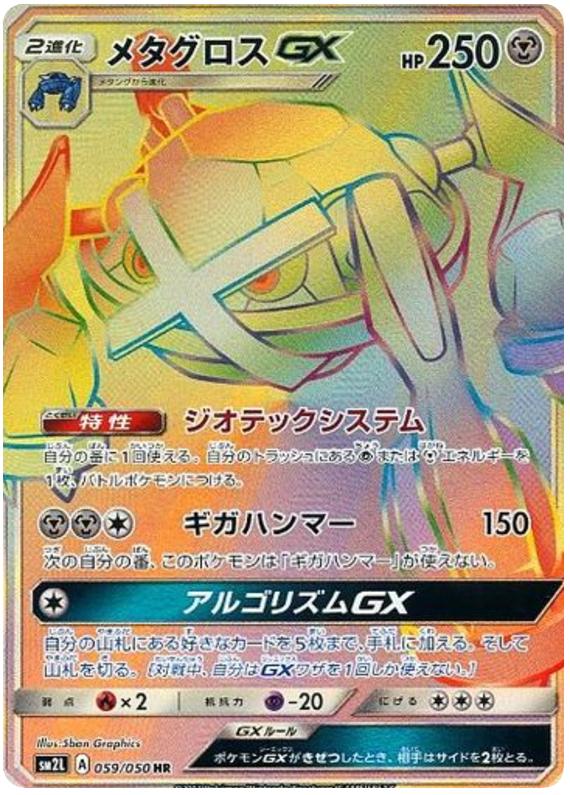 Image coming soon
Metagross GX
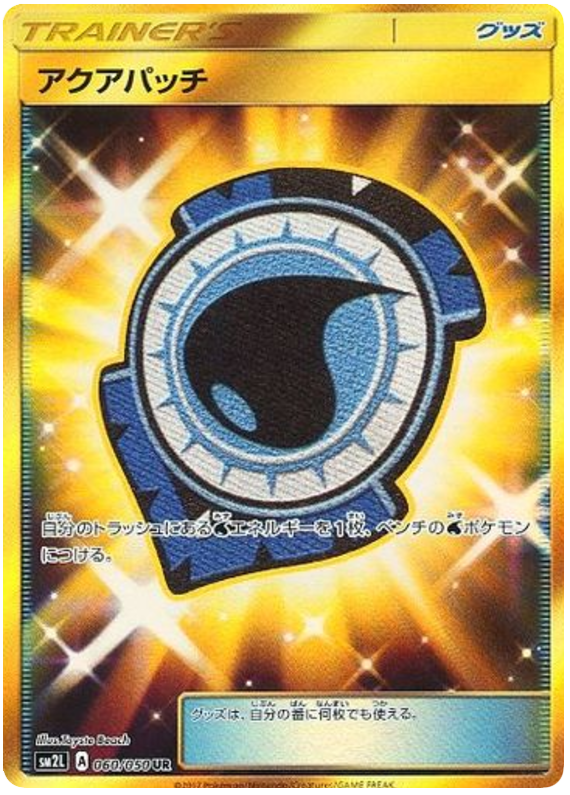 Image coming soon
Aqua Patch
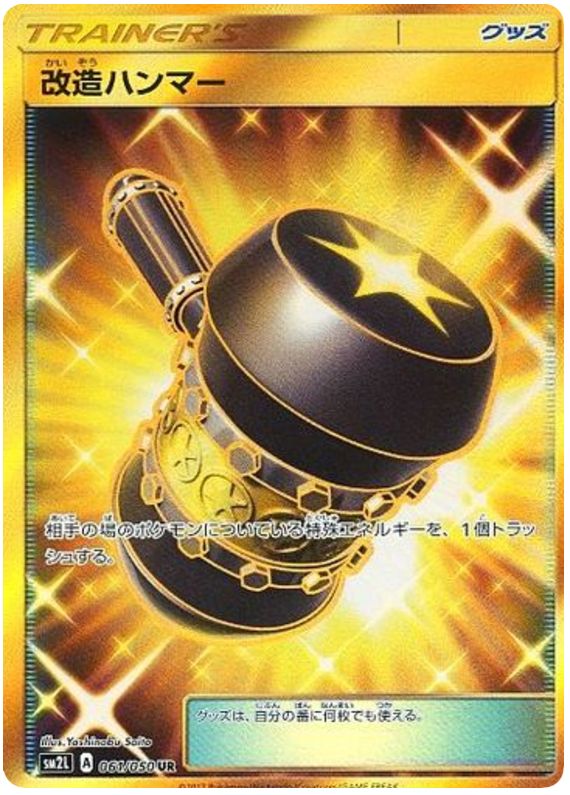 Image coming soon
Enhanced Hammer
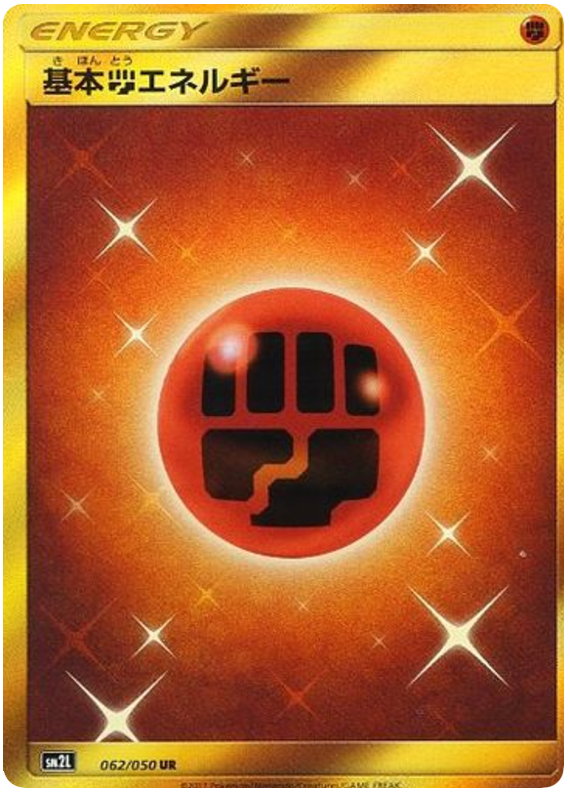 Image coming soon
Fighting Energy