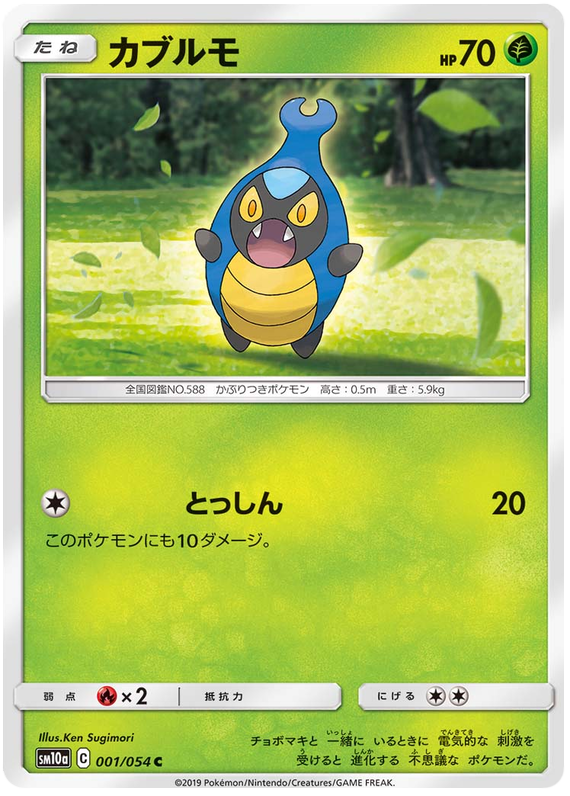
 Image coming soon
Karrablast
Sold out

 Image coming soon
Karrablast
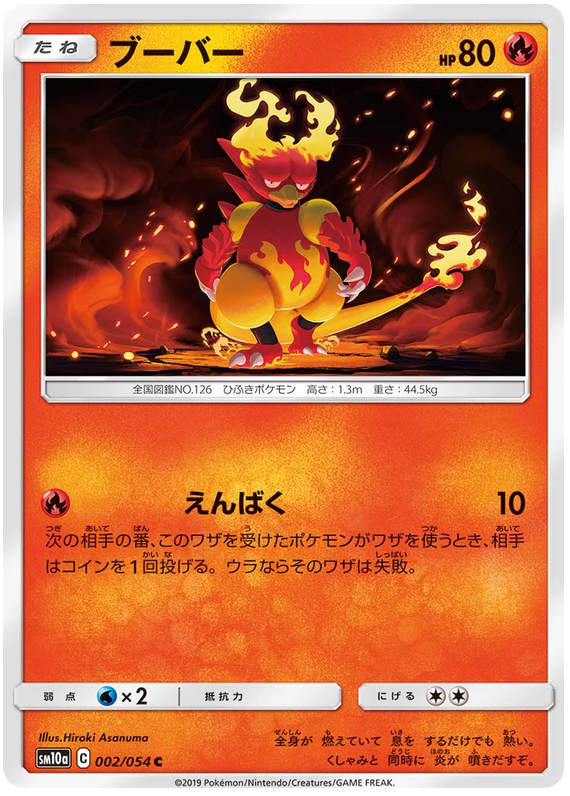 Image coming soon
Magmar
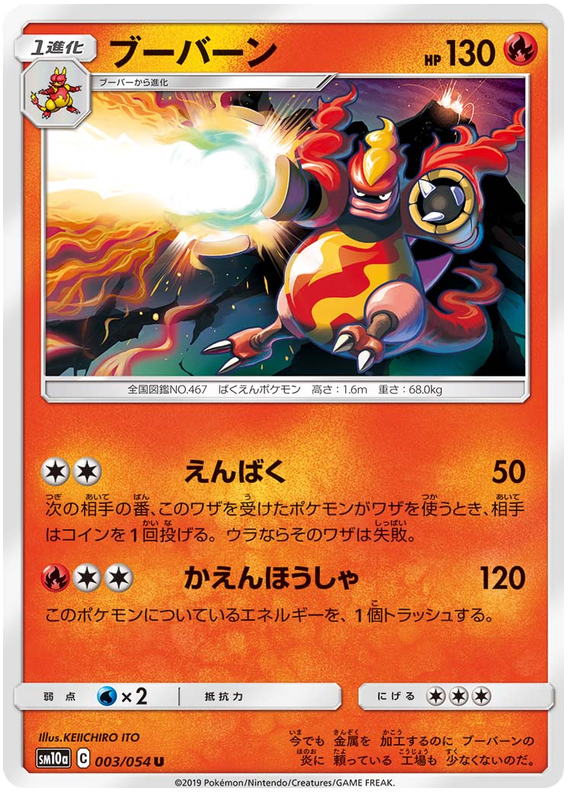 Image coming soon
Magmortar
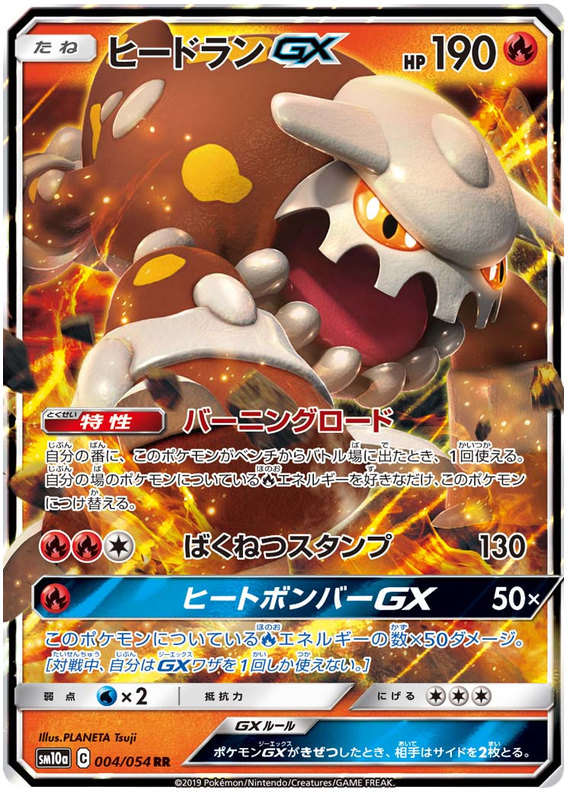 Image coming soon
Heatran GX
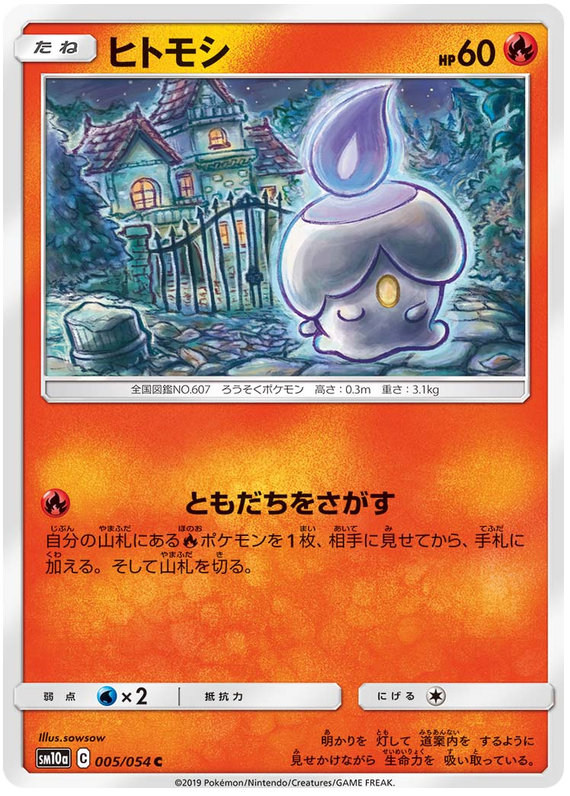 Image coming soon
Litwick
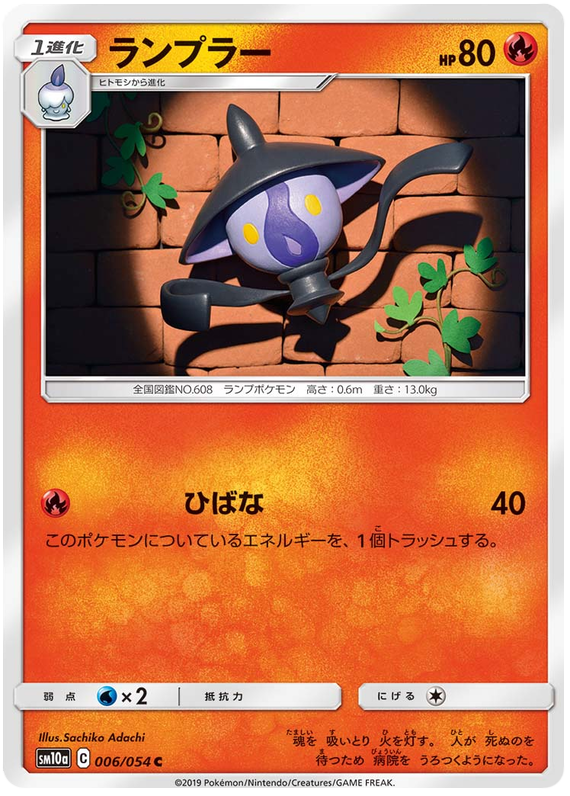 Image coming soon
Lampent
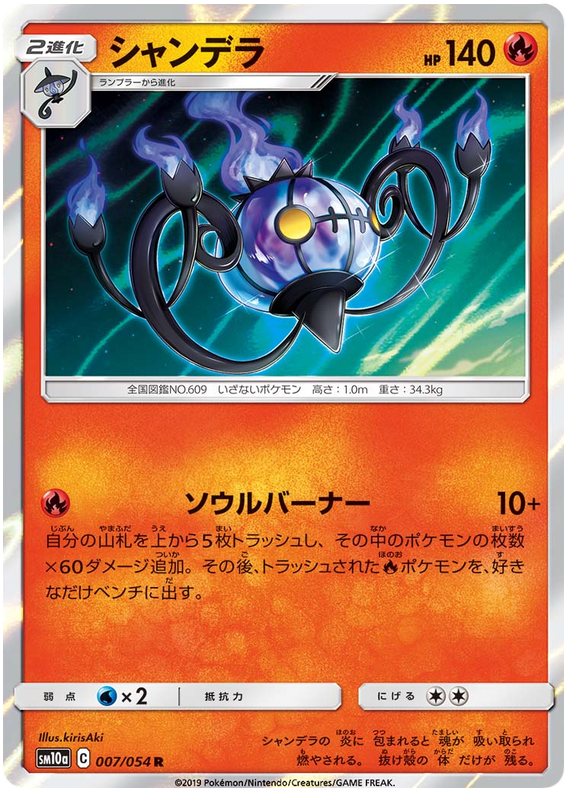 Image coming soon
Chandelure
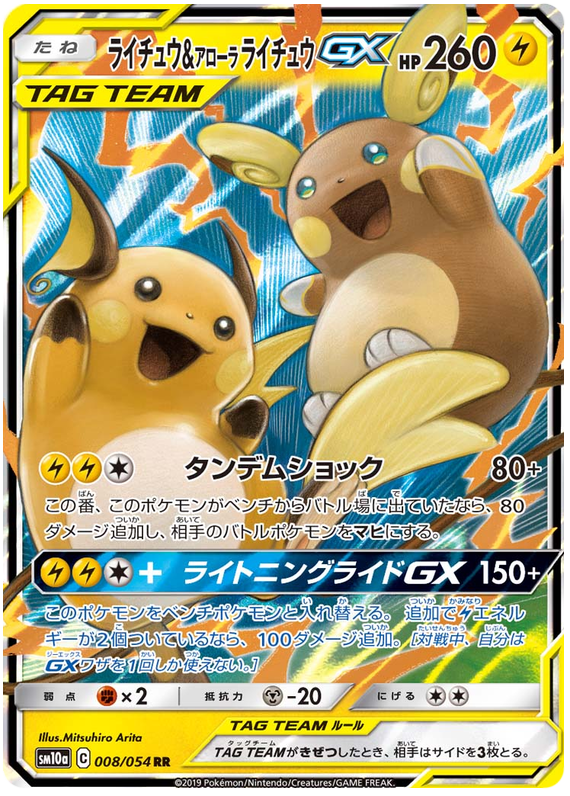 Image coming soon
Raichu & Alolan Raichu GX
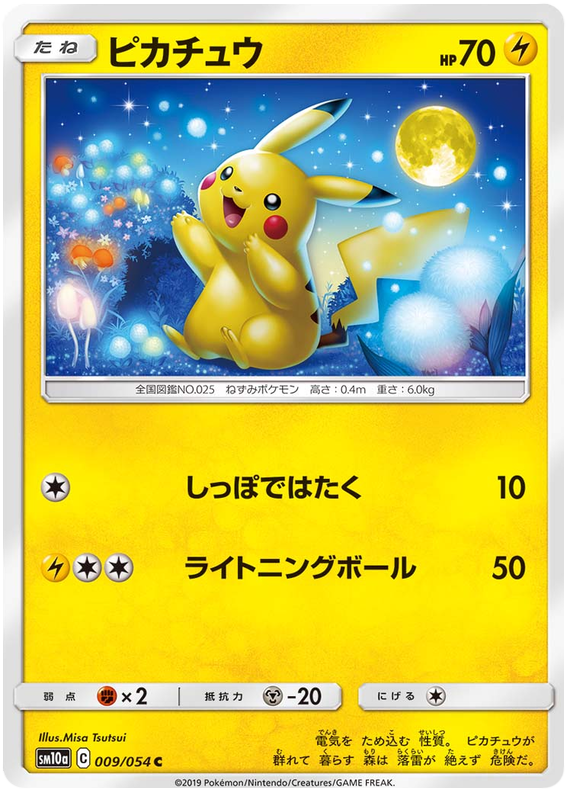 Image coming soon
Pikachu
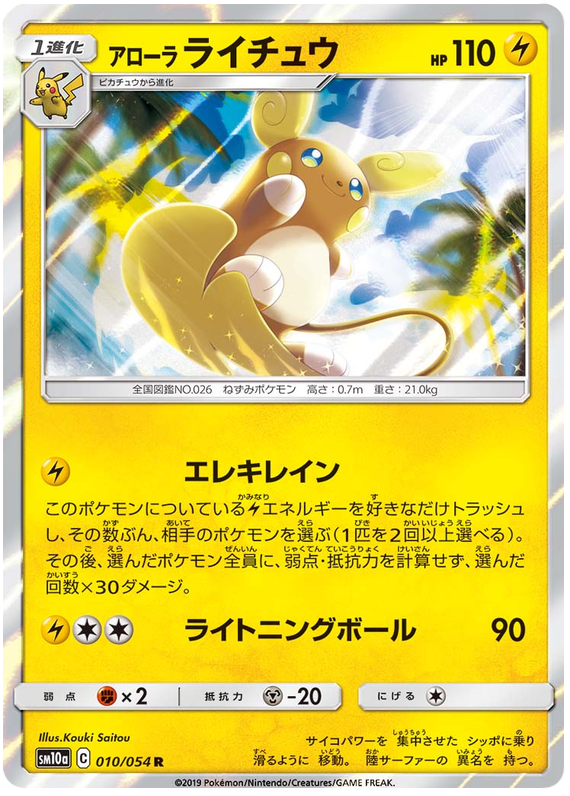 Image coming soon
Alolan Raichu
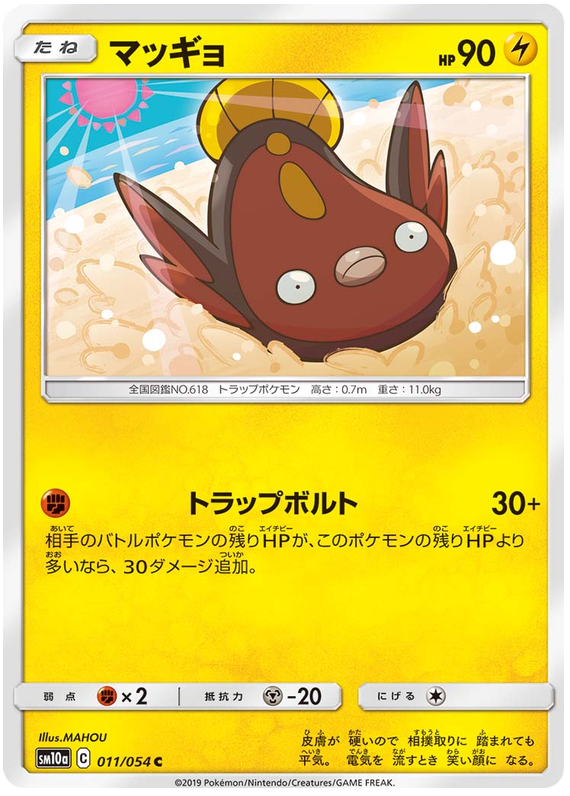 Image coming soon
Stunfisk
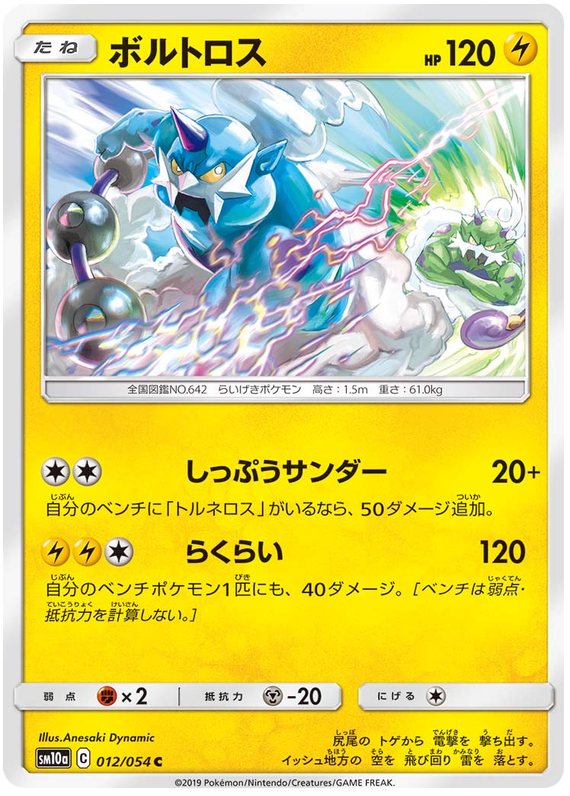 Image coming soon
Thundurus
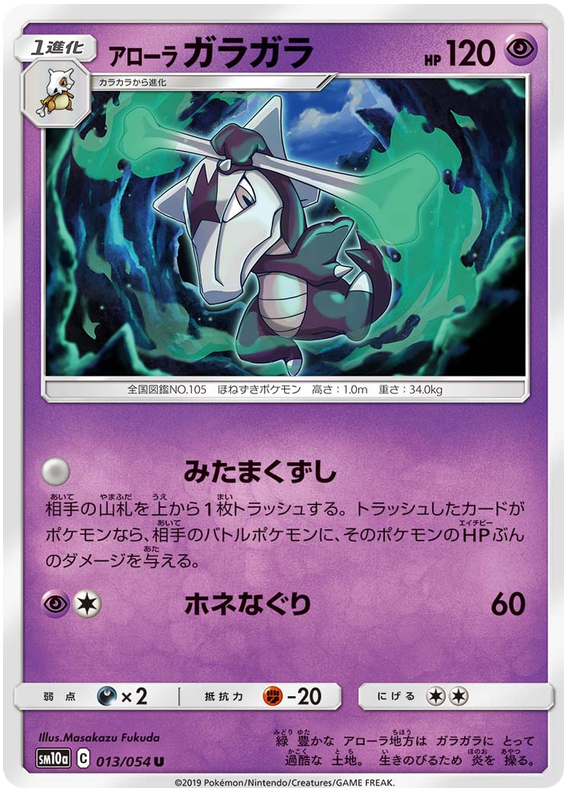 Image coming soon
Alolan Marowak
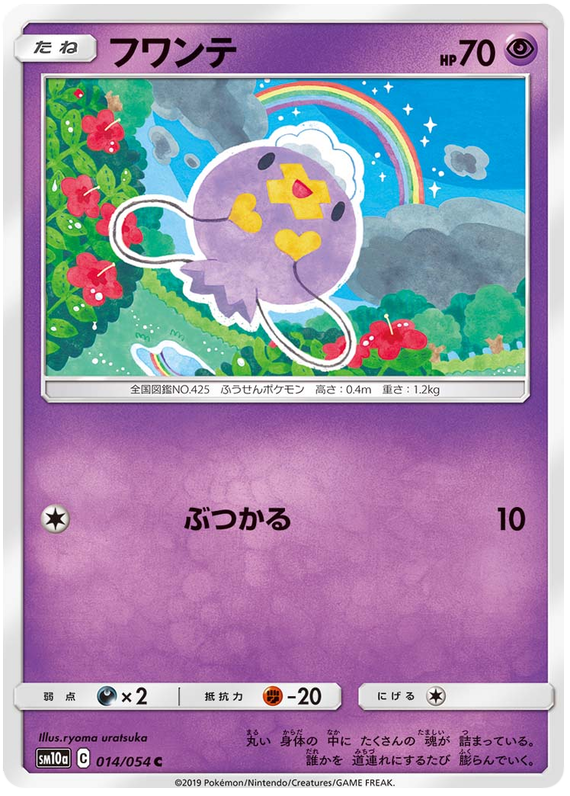 Image coming soon
Drifloon
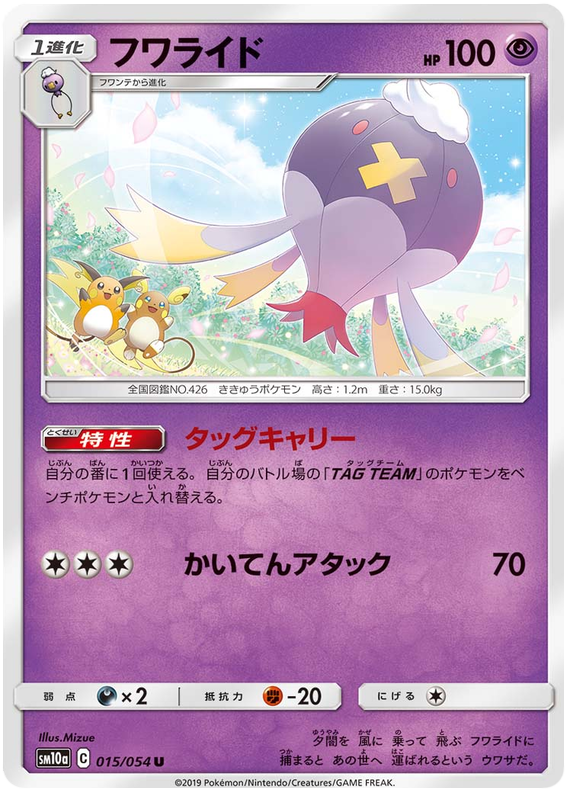 Image coming soon
Drifblim
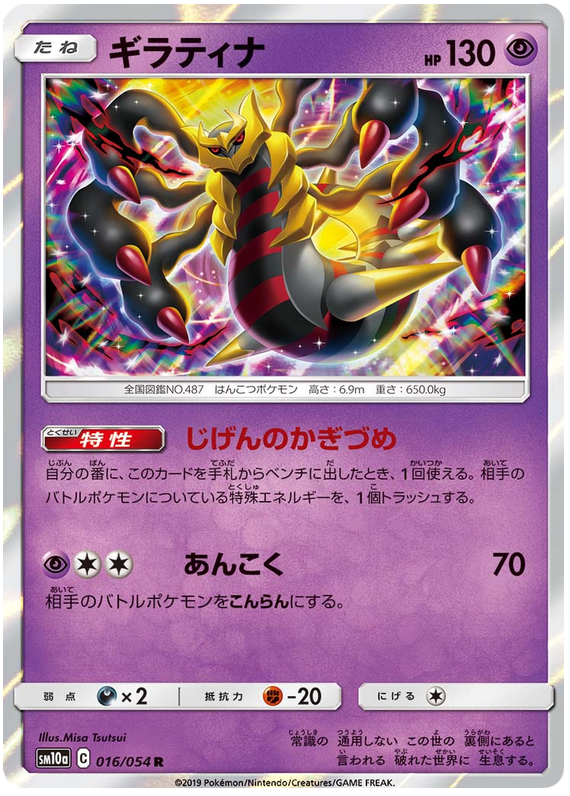 Image coming soon
Giratina
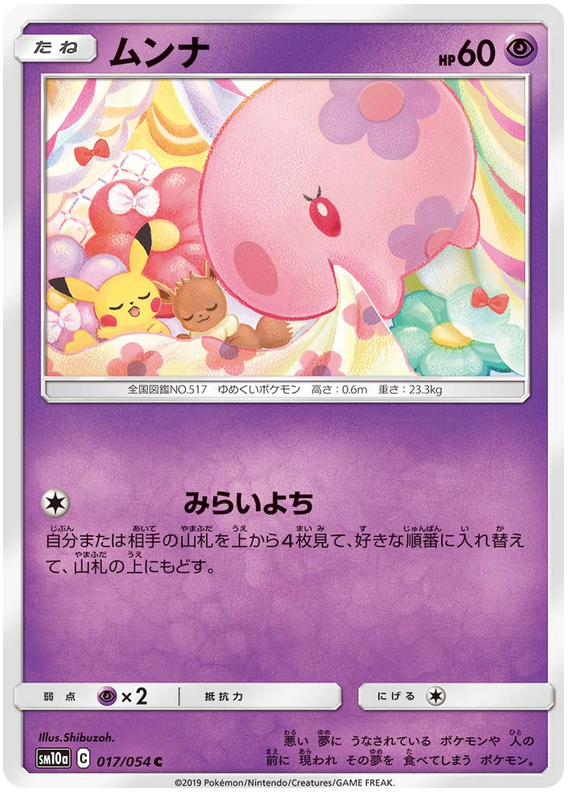 Image coming soon
Munna
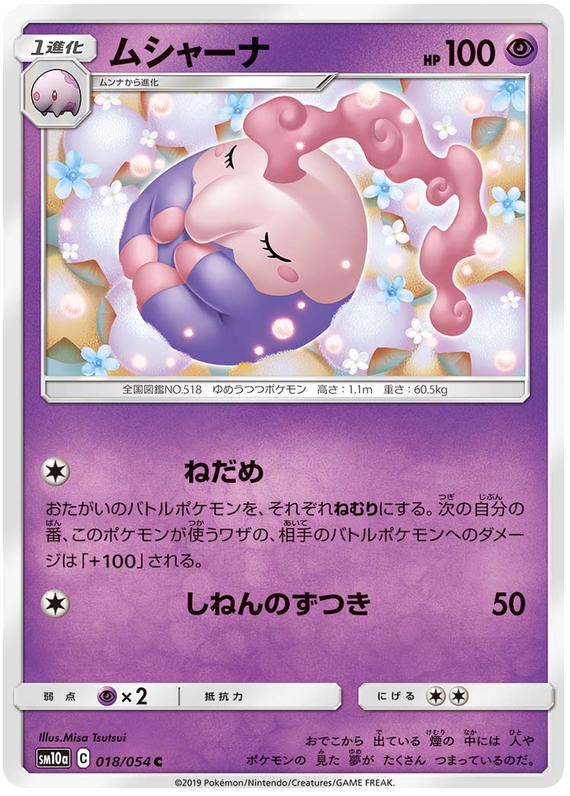 Image coming soon
Musharna
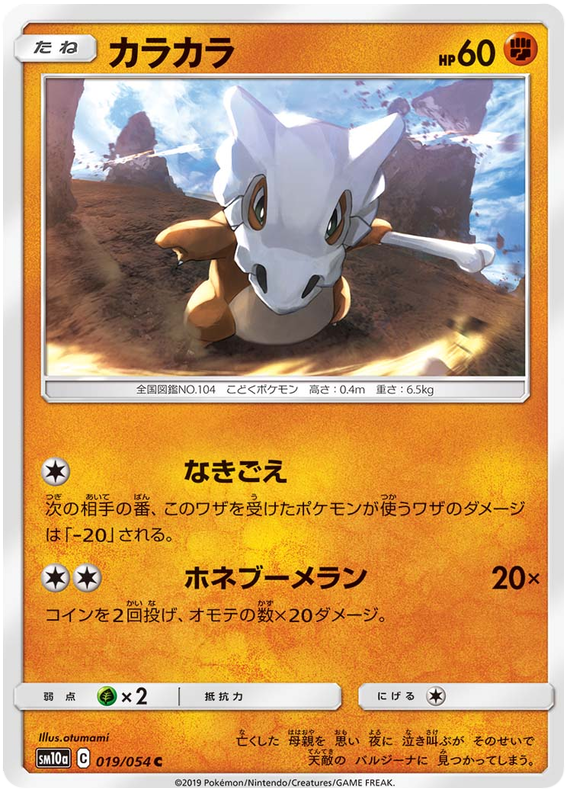 Image coming soon
Cubone
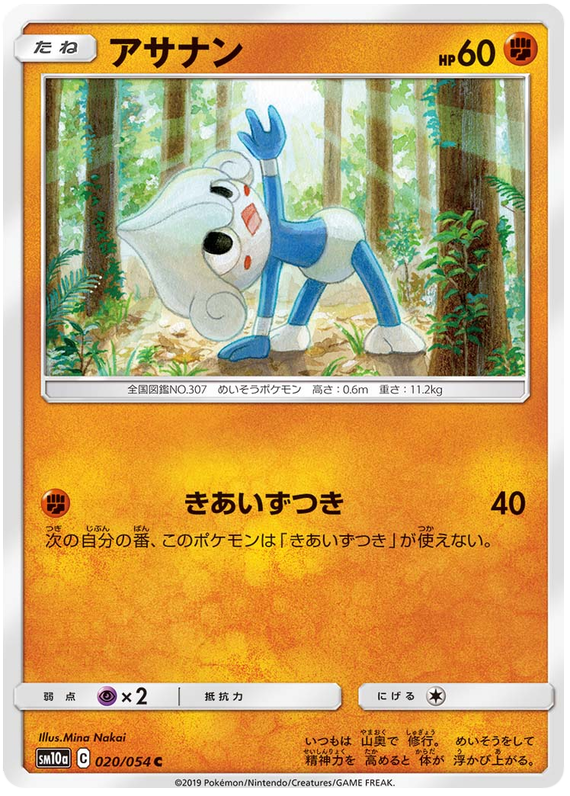 Image coming soon
Meditite
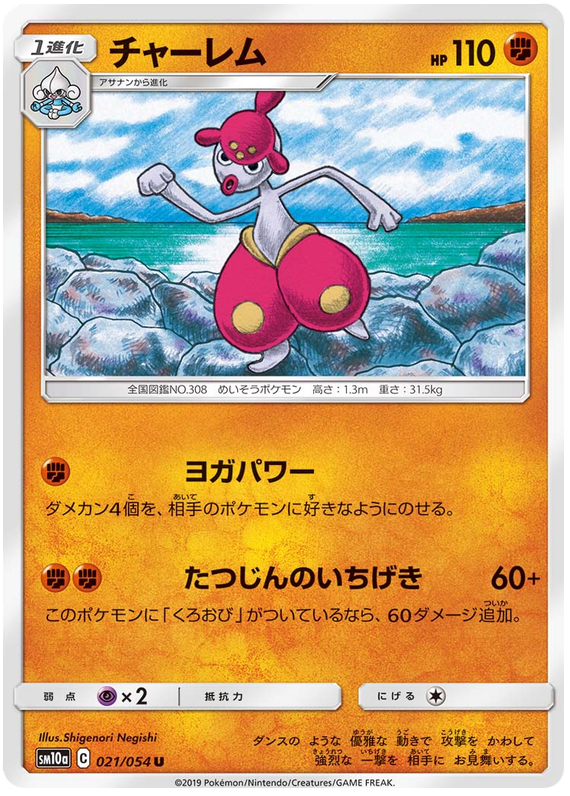 Image coming soon
Medicham
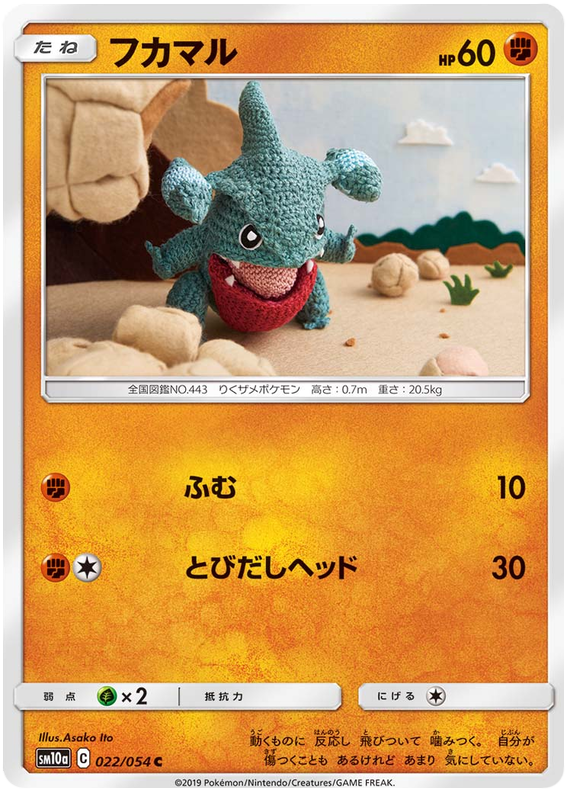 Image coming soon
Gible
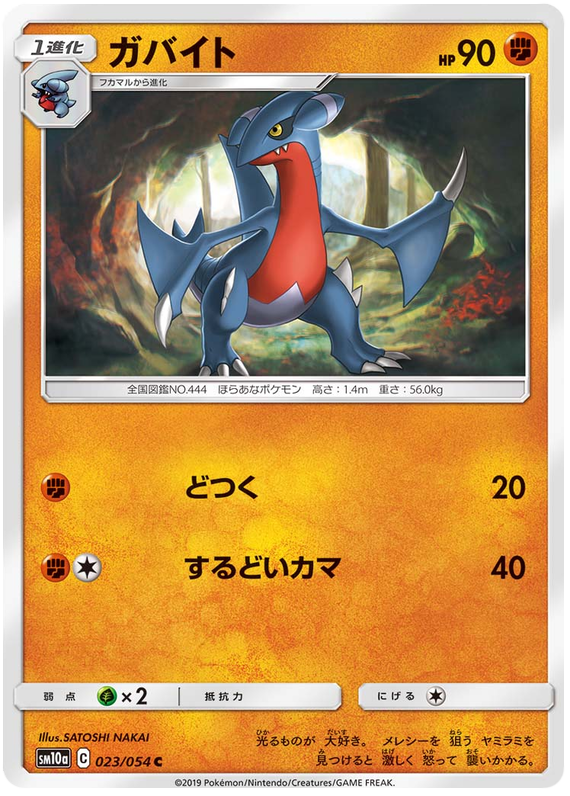 Image coming soon
Gabite
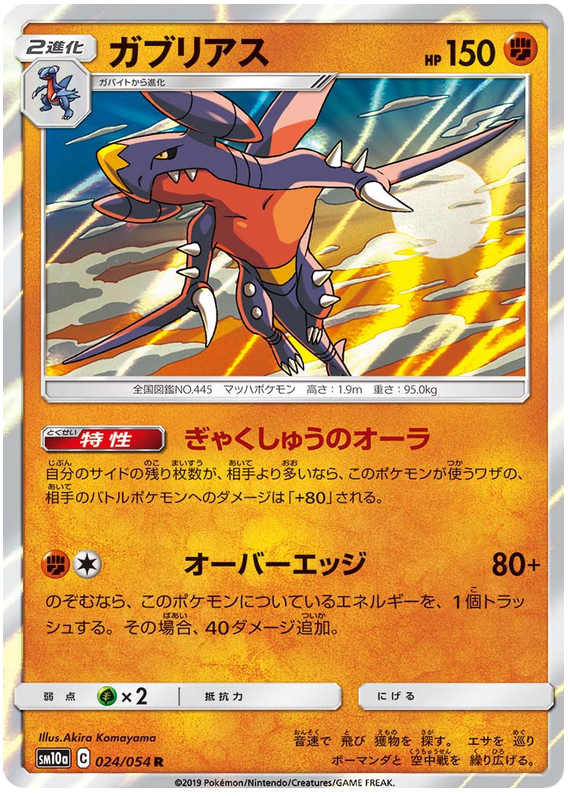 Image coming soon
Garchomp
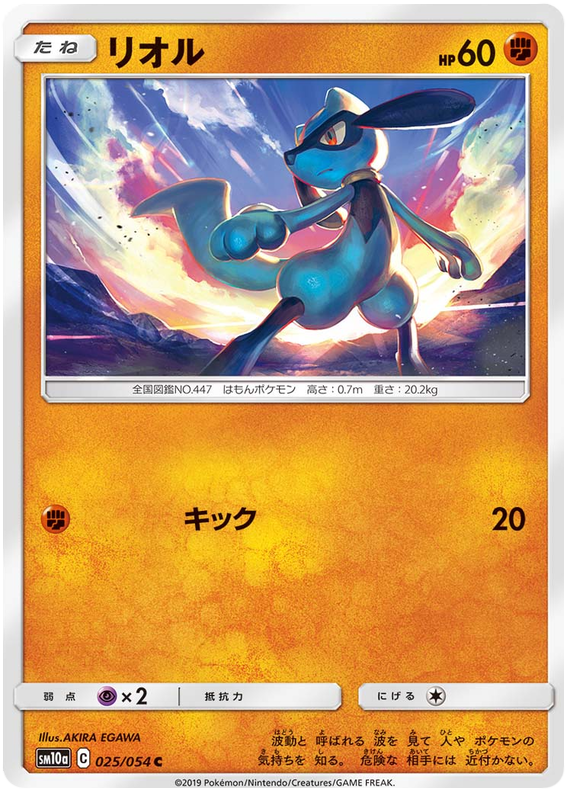 Image coming soon
Riolu
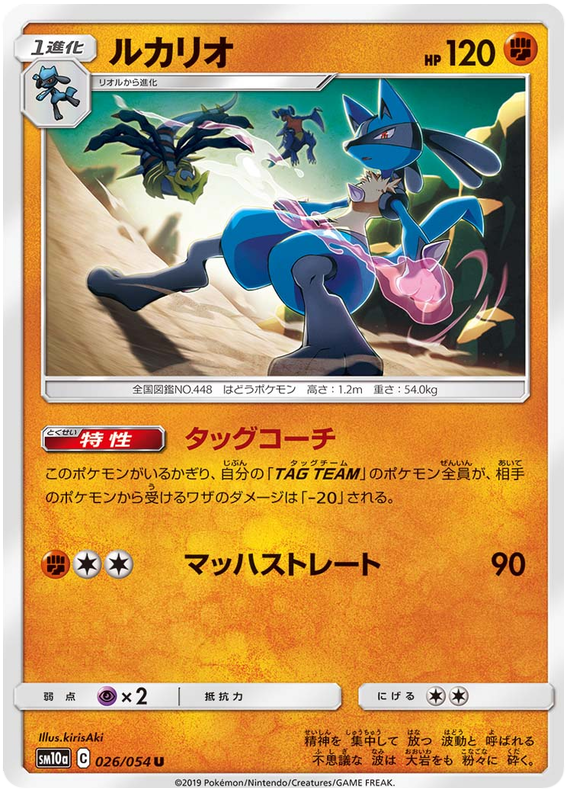 Image coming soon
Lucario
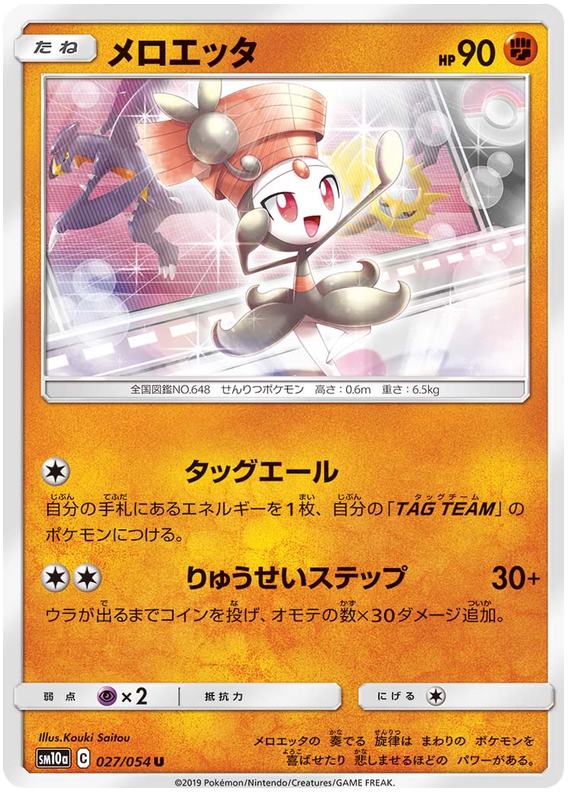 Image coming soon
Meloetta
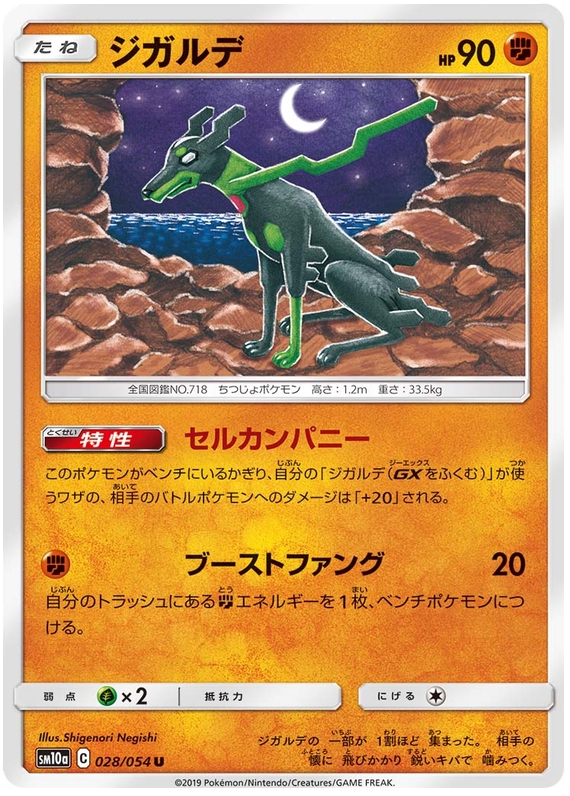 Image coming soon
Zygarde
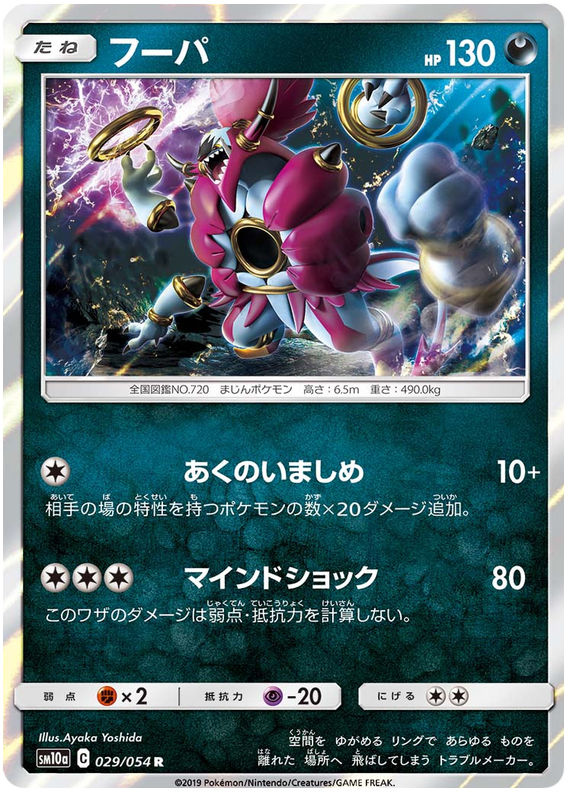 Image coming soon
Hoopa
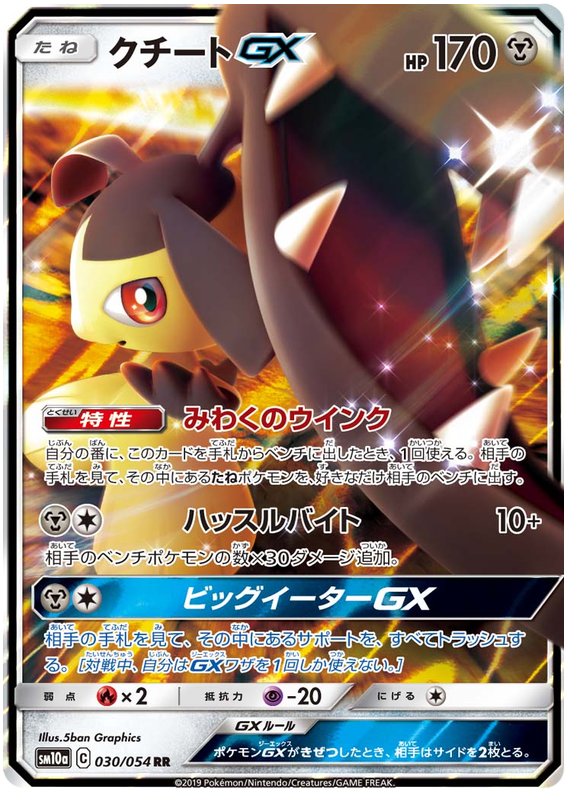 Image coming soon
Mawile GX
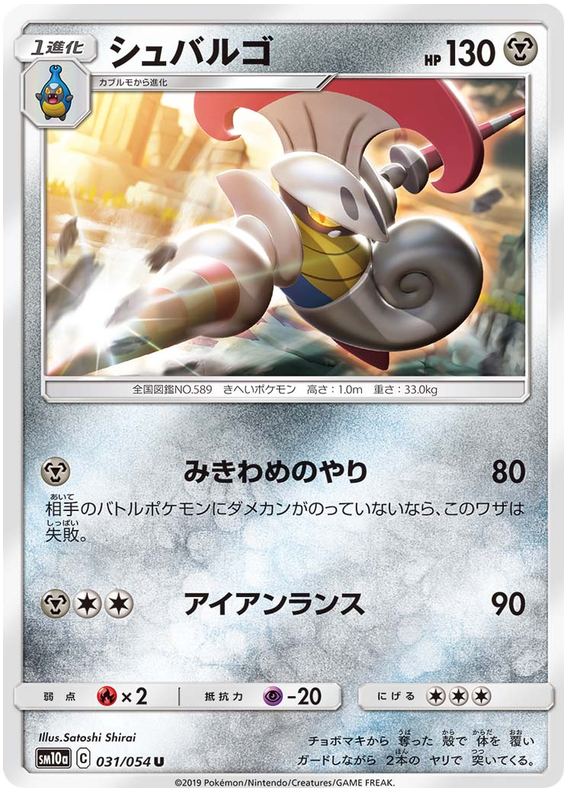 Image coming soon
Escavalier
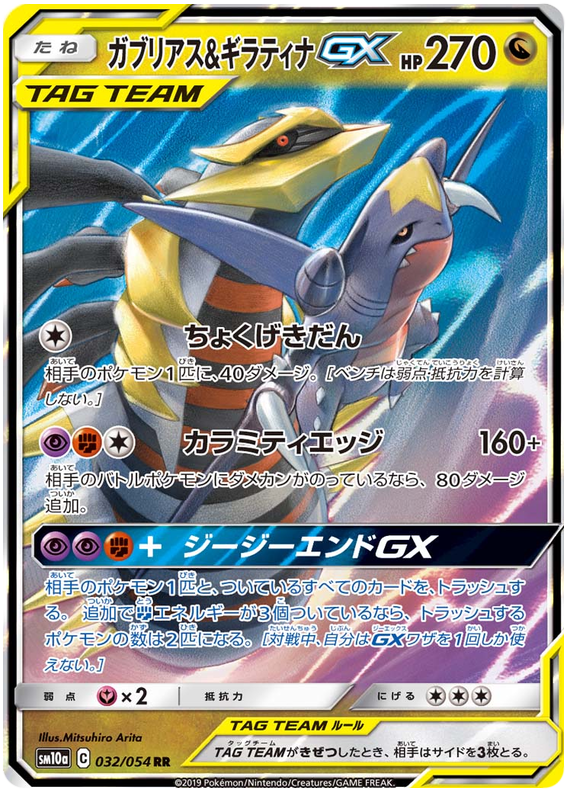 Image coming soon
Garchomp & Giratina GX
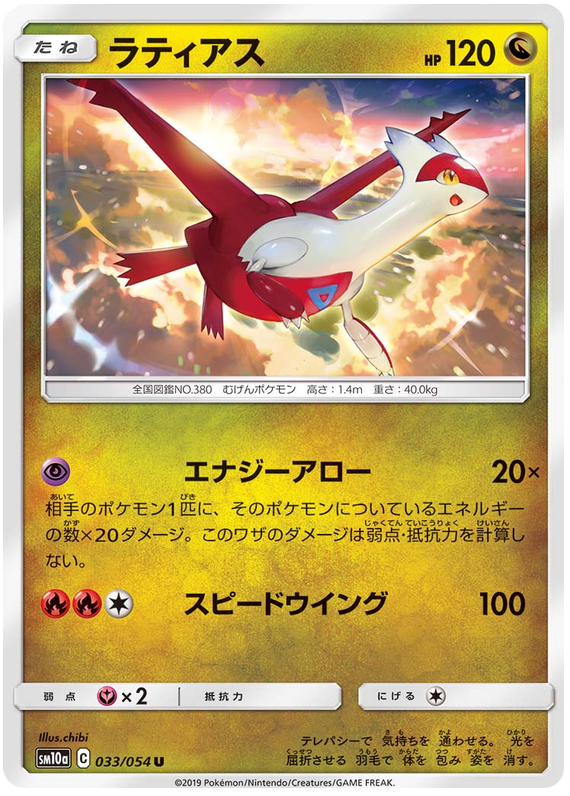 Image coming soon
Latias
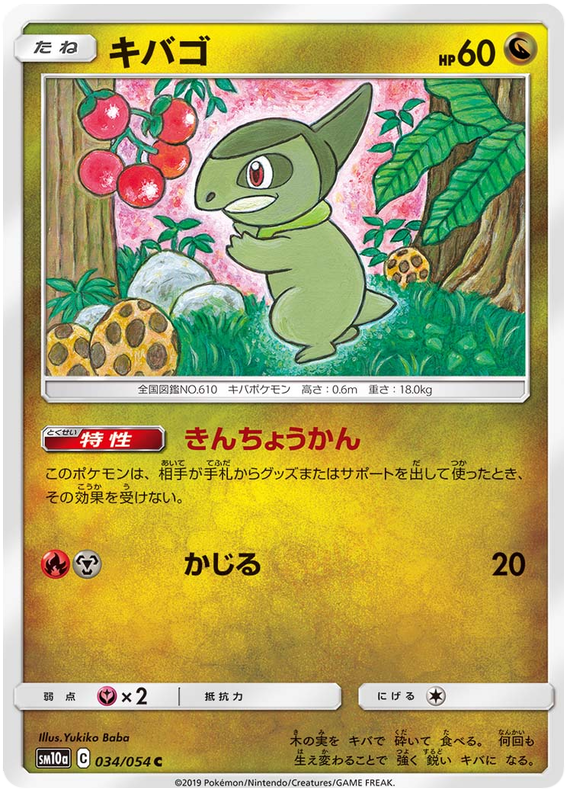 Image coming soon
Axew
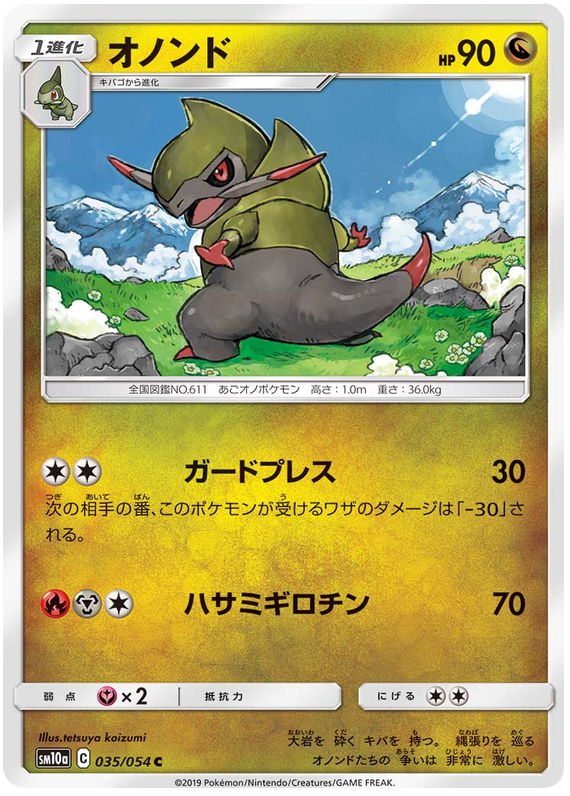 Image coming soon
Fraxure
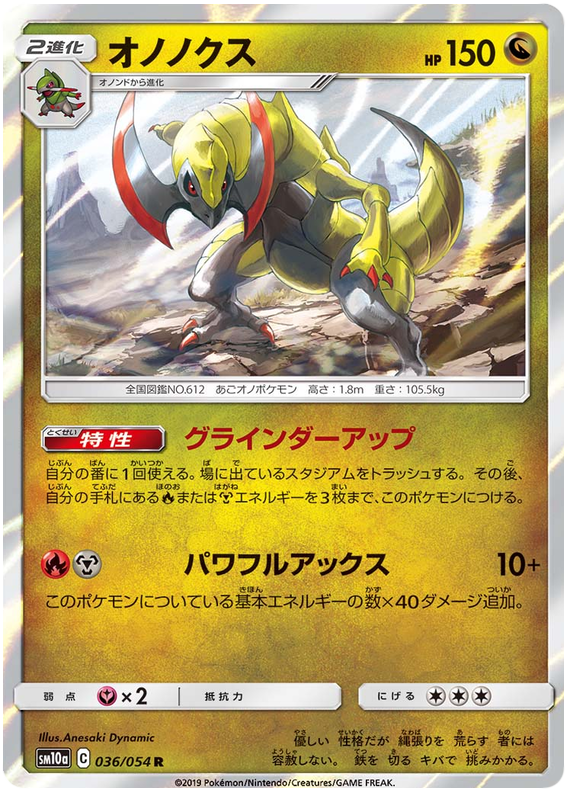 Image coming soon
Haxorus
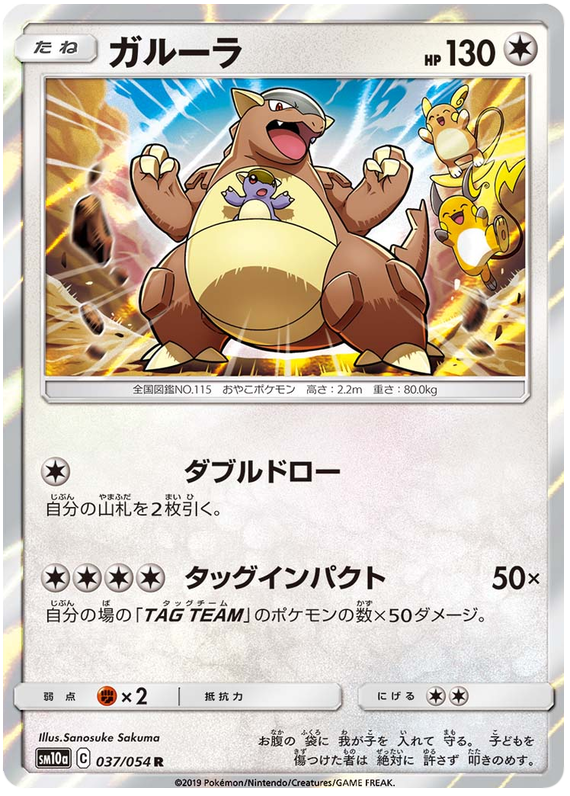 Image coming soon
Kangaskhan
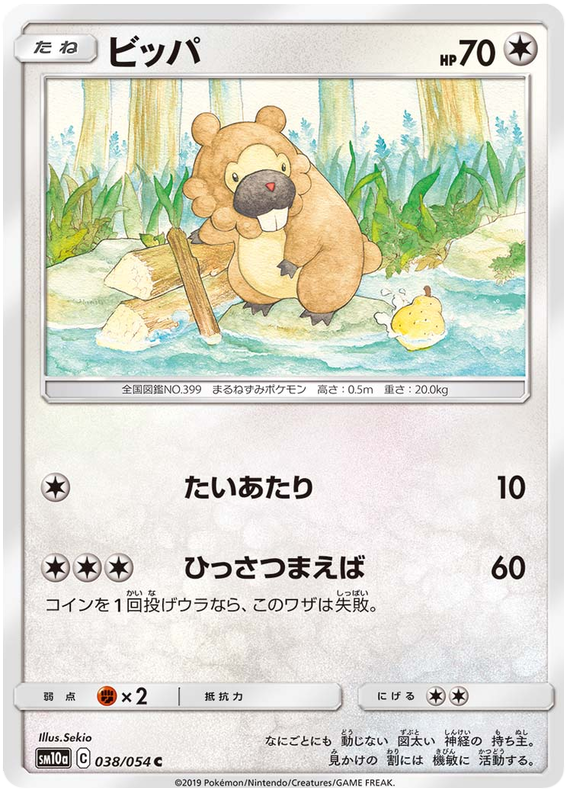 Image coming soon
Bidoof
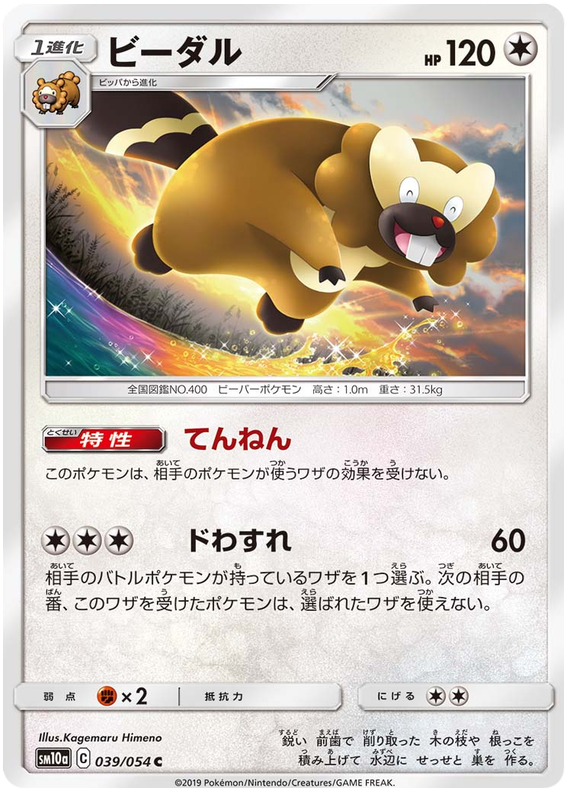 Image coming soon
Bibarel
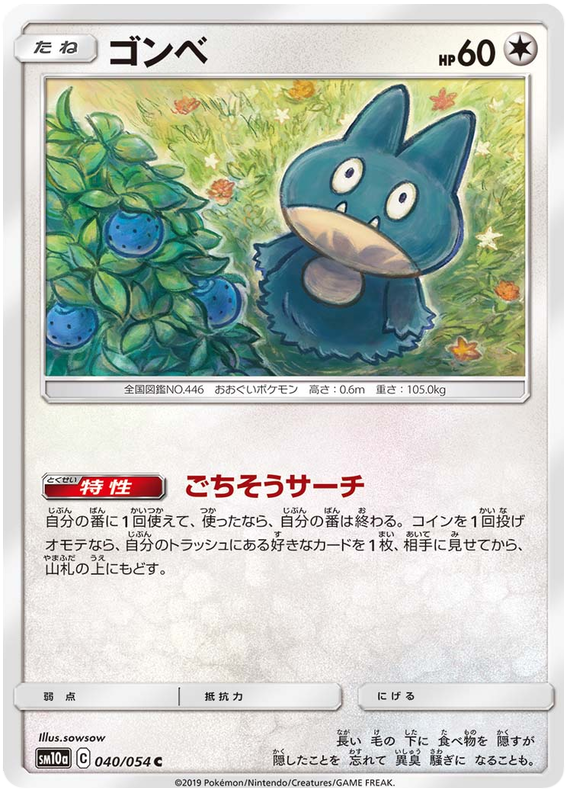 Image coming soon
Munchlax
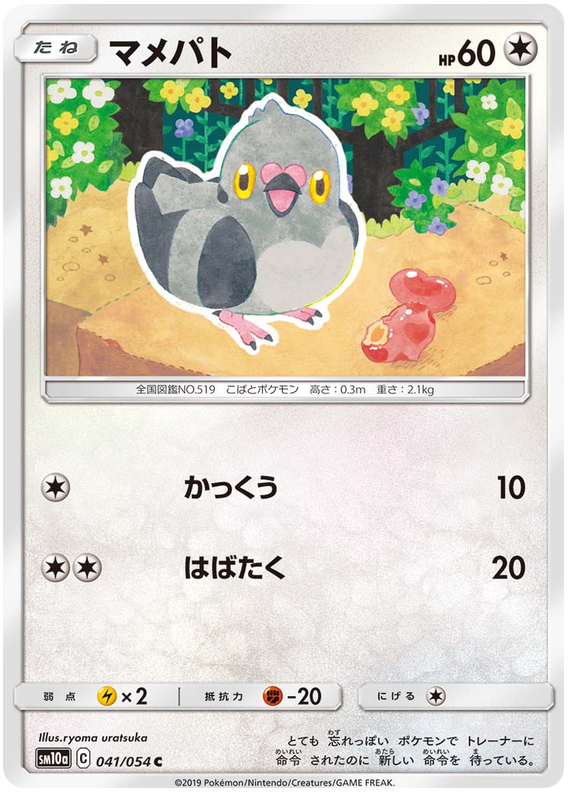 Image coming soon
Pidove
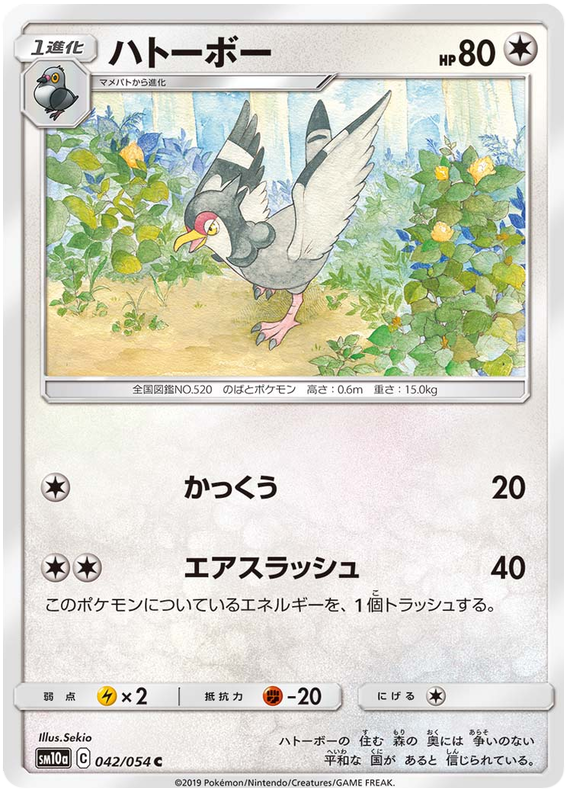 Image coming soon
Tranquill
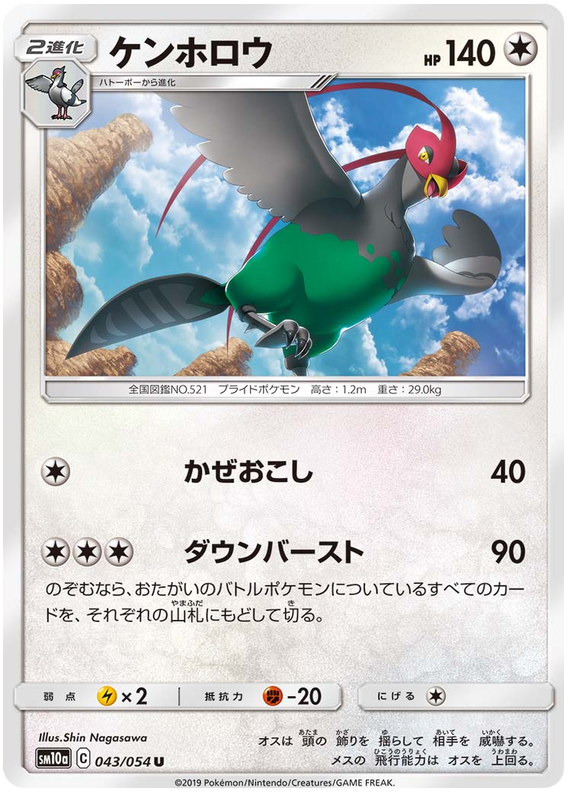 Image coming soon
Unfezant
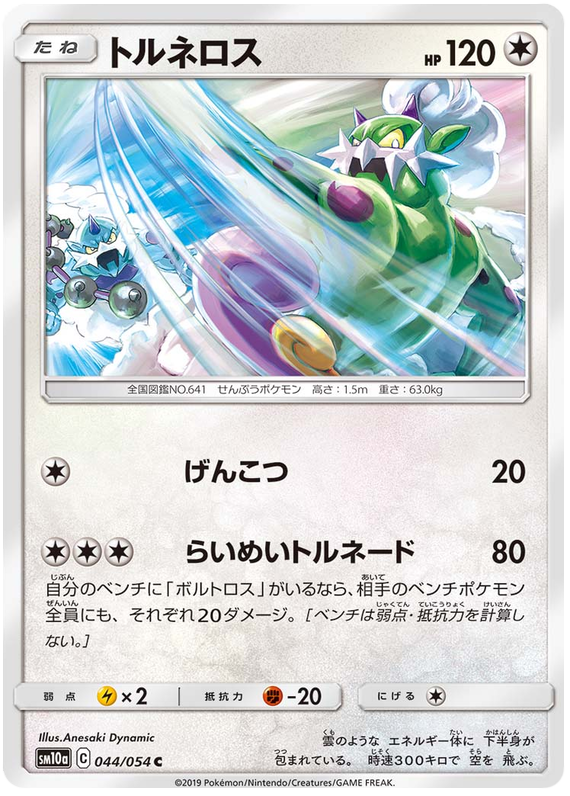 Image coming soon
Tornadus
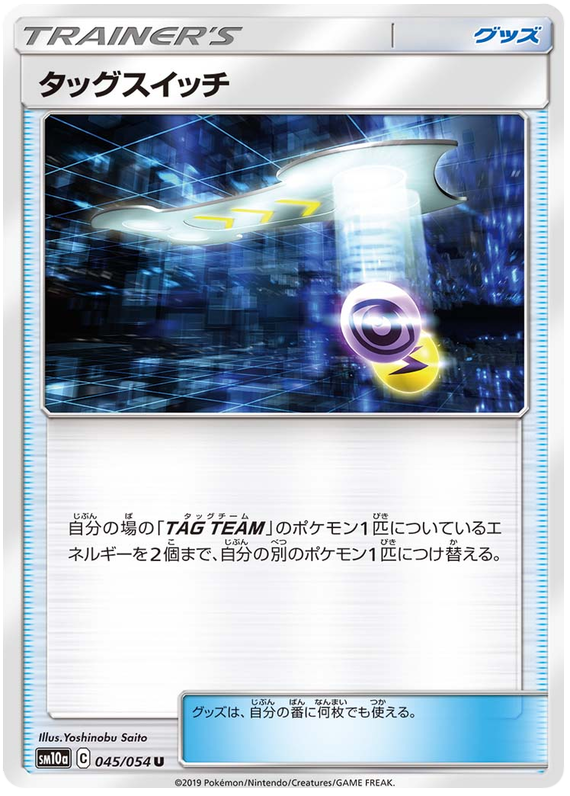 Image coming soon
Tag Switch
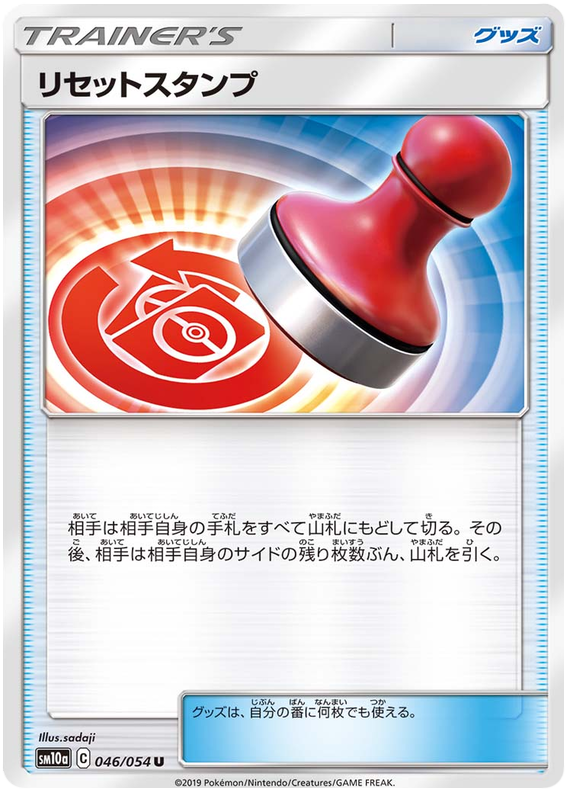 Image coming soon
Reset Stamp
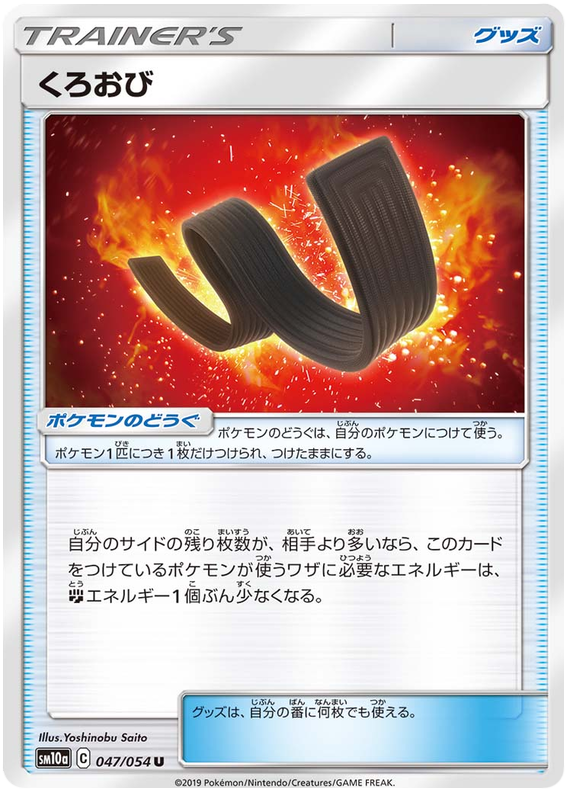 Image coming soon
Black Belt
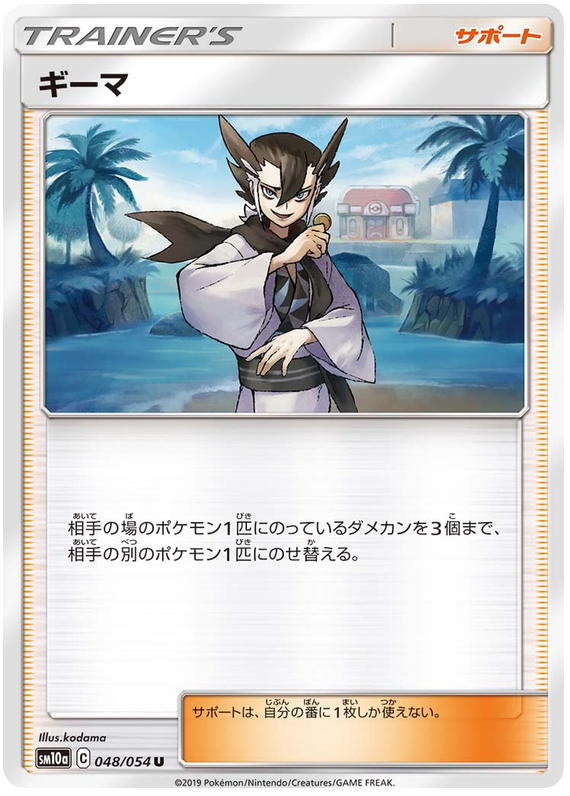 Image coming soon
Grimsley
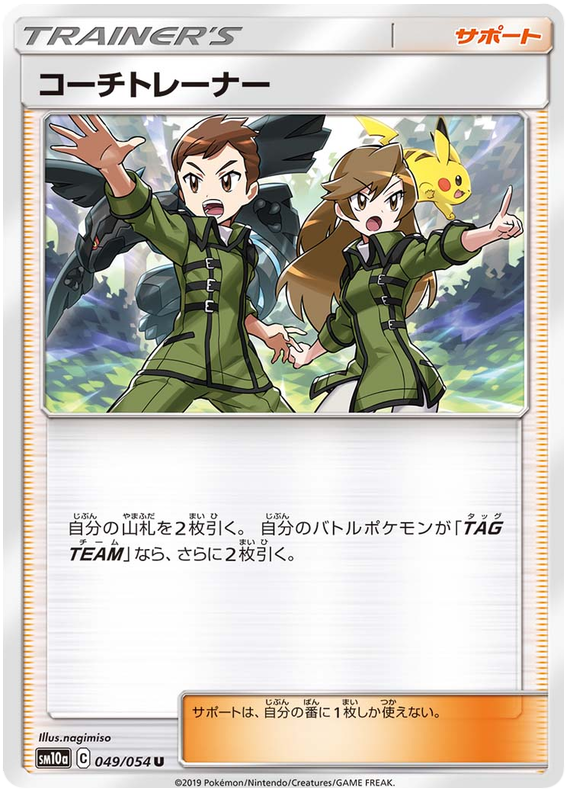 Image coming soon
Coach Trainer
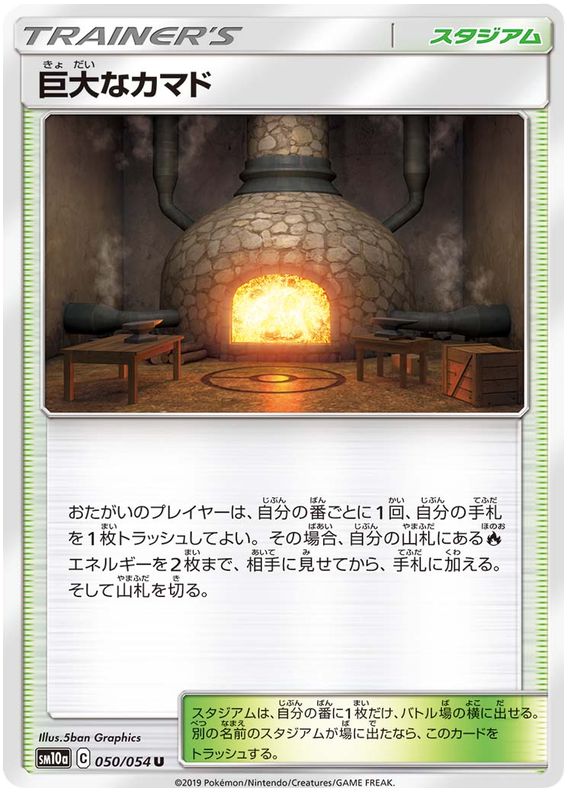 Image coming soon
Huge Oven
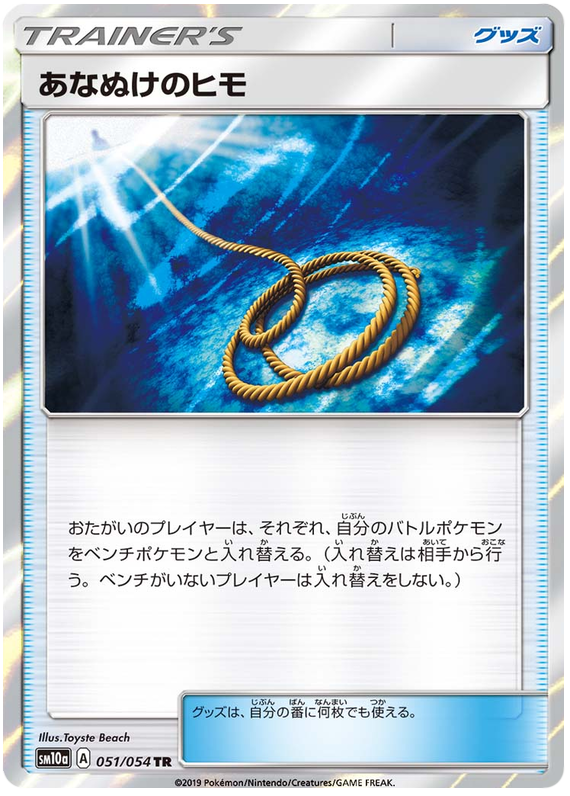 Image coming soon
Escape Rope
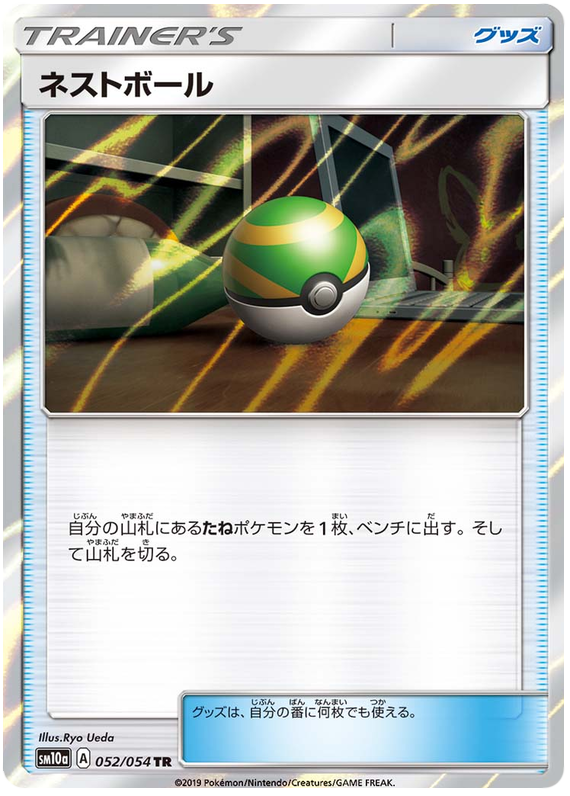 Image coming soon
Nest Ball
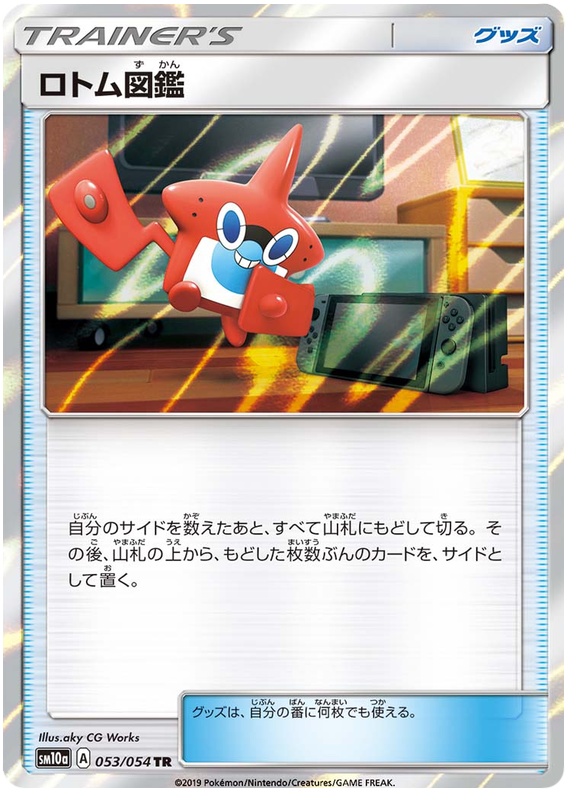 Image coming soon
Rotom Dex
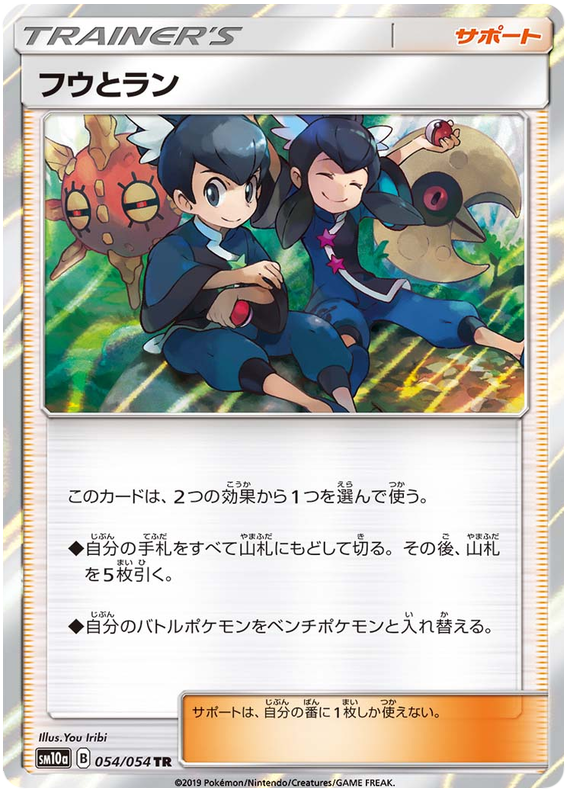 Image coming soon
Tate & Liza
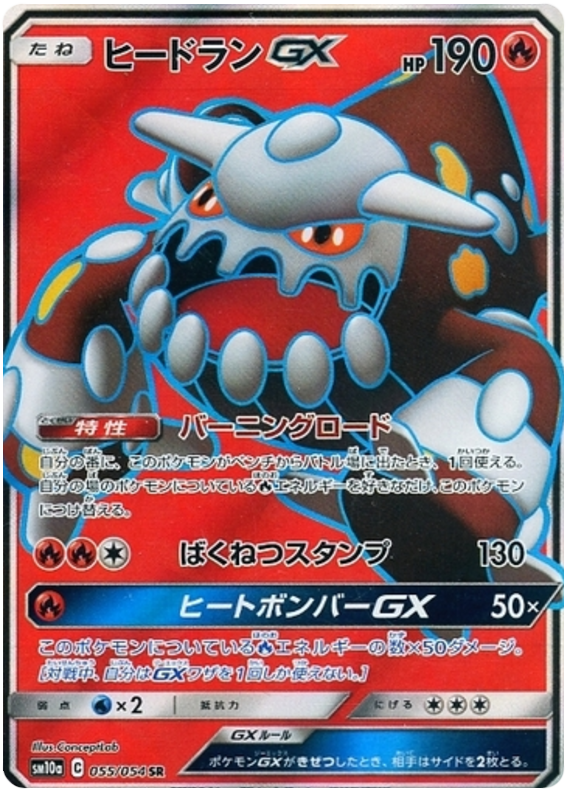 Image coming soon
Heatran GX
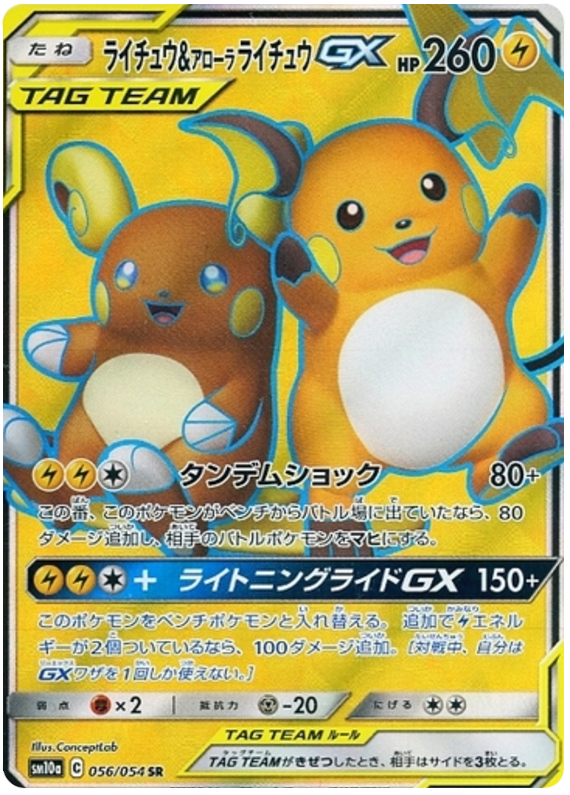 Image coming soon
Raichu & Alolan Raichu GX
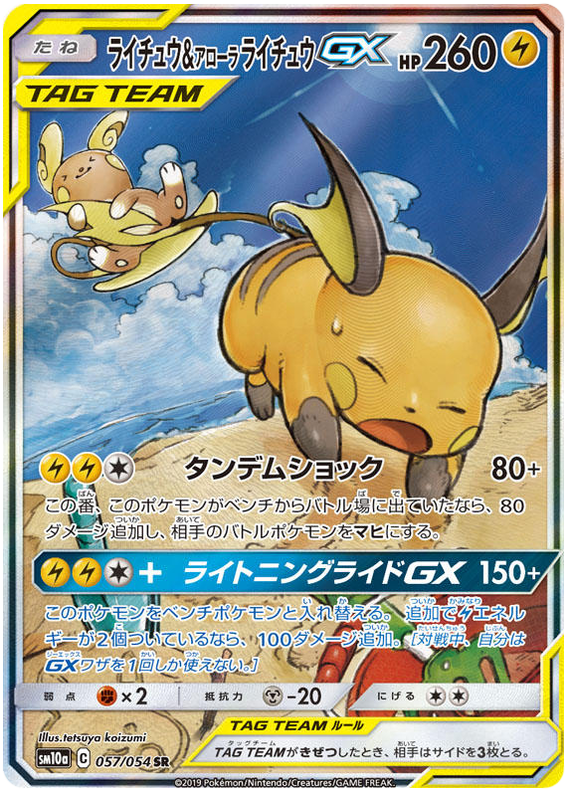 Image coming soon
Raichu & Alolan Raichu GX
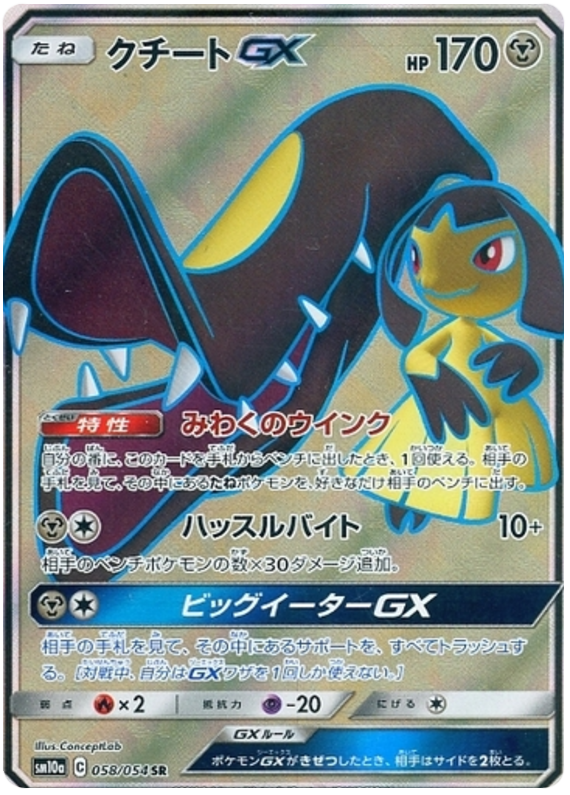 Image coming soon
Mawile GX
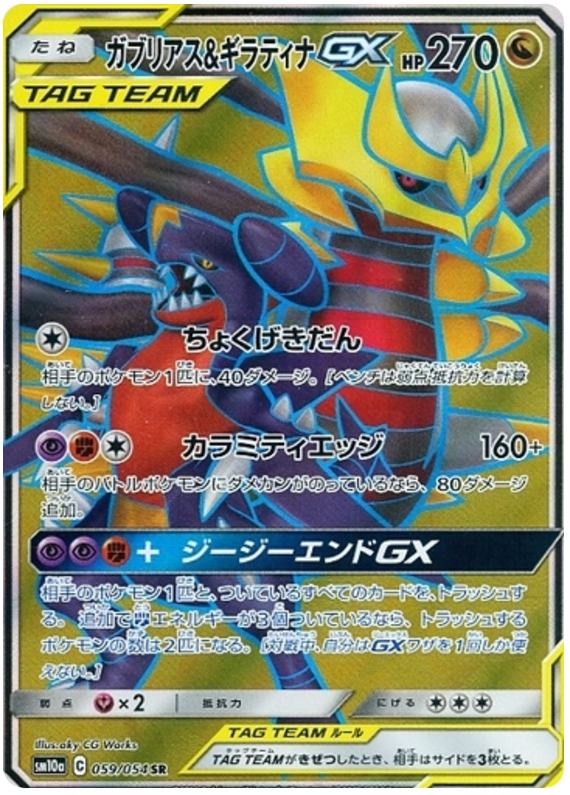 Image coming soon
Garchomp & Giratina GX
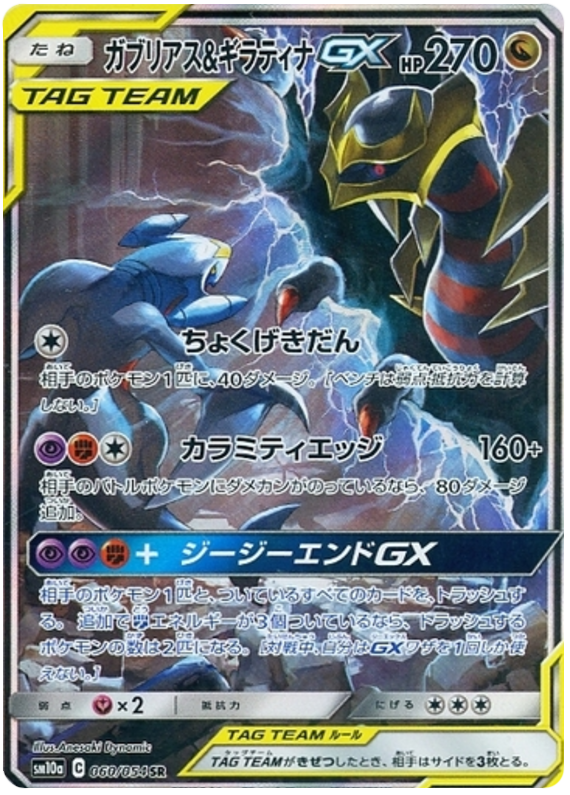 Image coming soon
Garchomp & Giratina GX
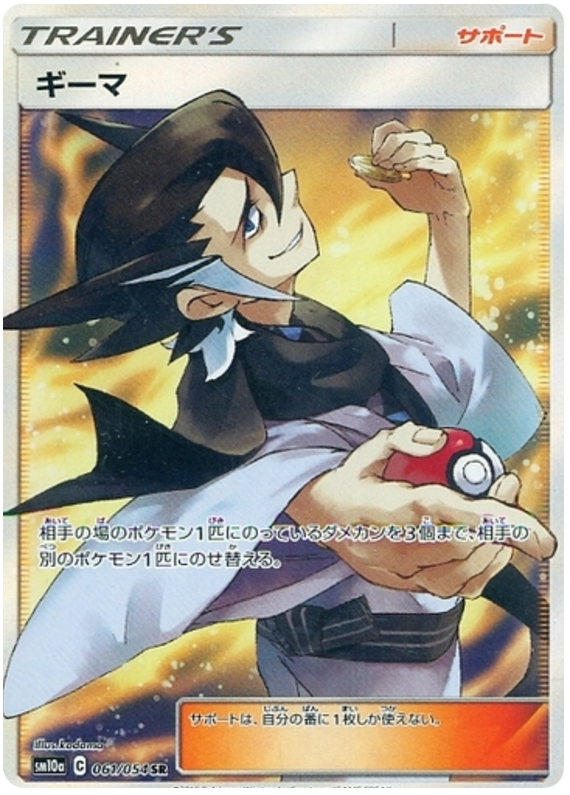 Image coming soon
Grimsley
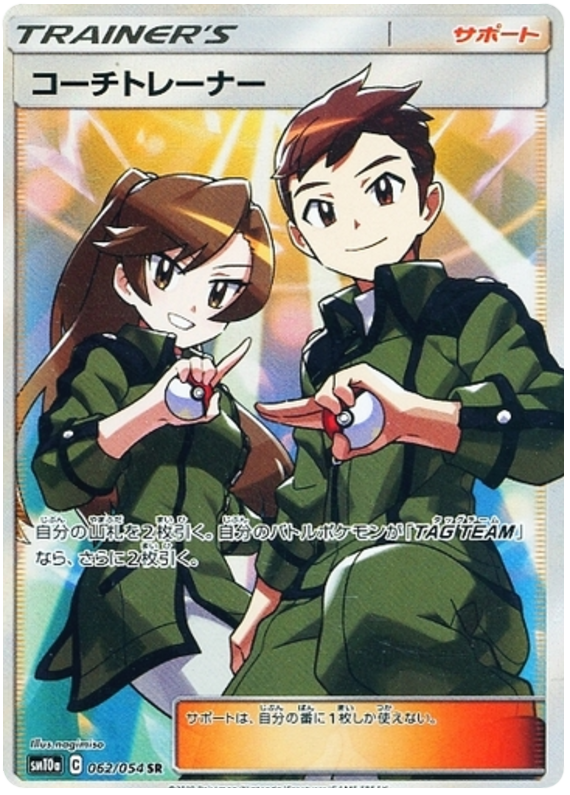 Image coming soon
Coach Trainer
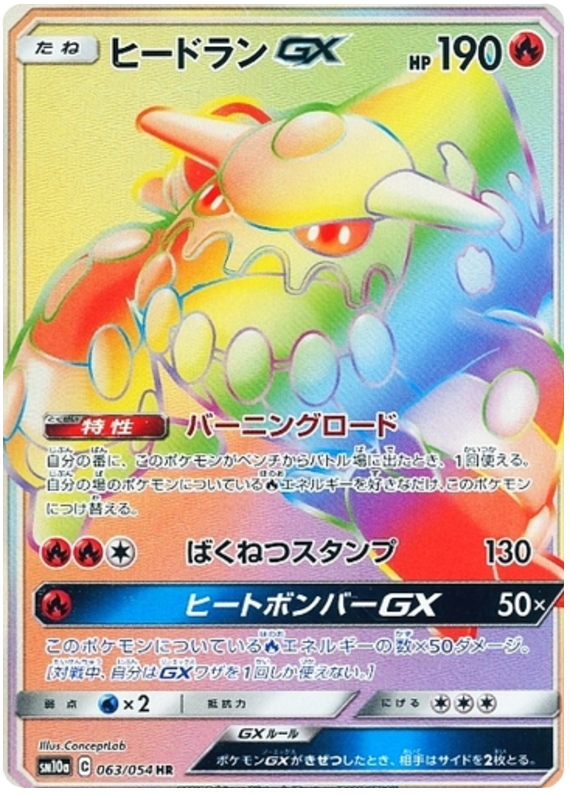 Image coming soon
Heatran GX
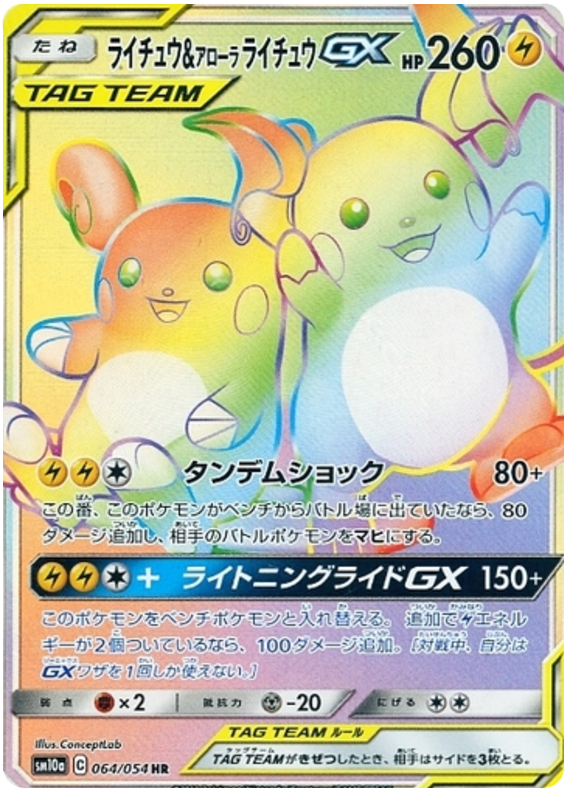 Image coming soon
Raichu & Alolan Raichu GX
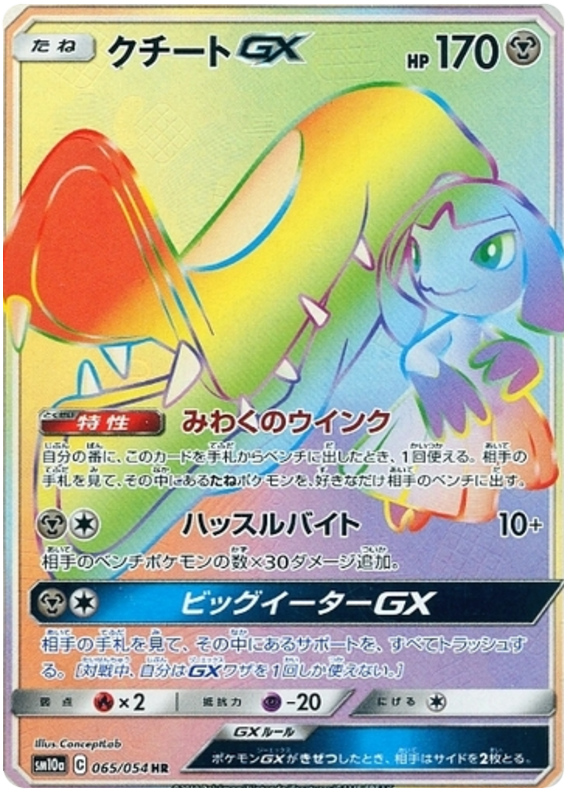 Image coming soon
Mawile GX
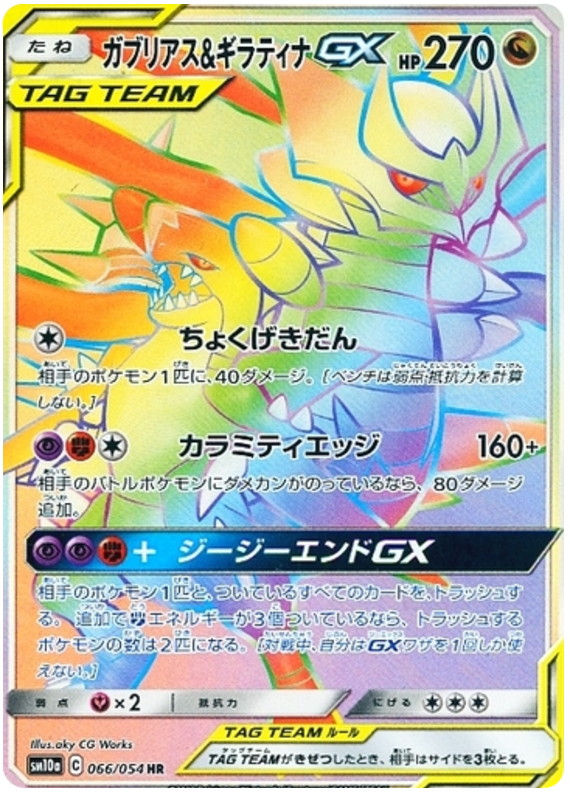 Image coming soon
Garchomp & Giratina GX
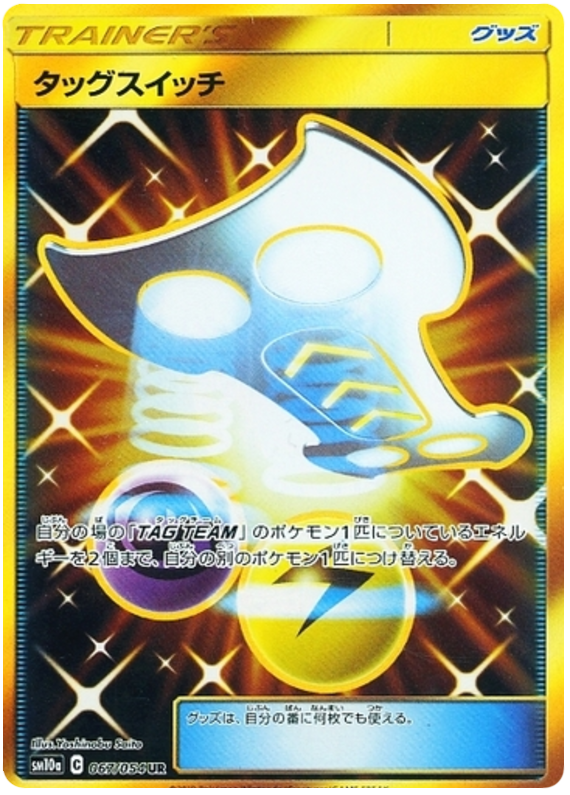 Image coming soon
Tag Switch
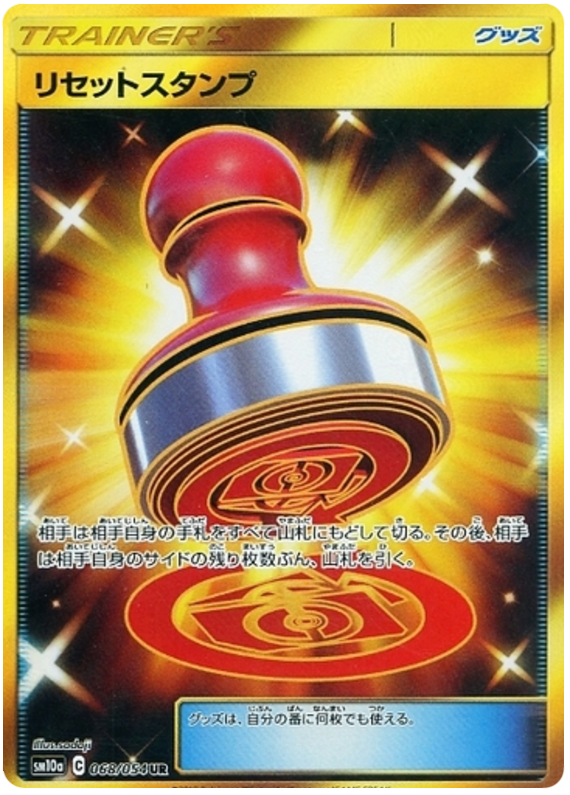 Image coming soon
Reset Stamp
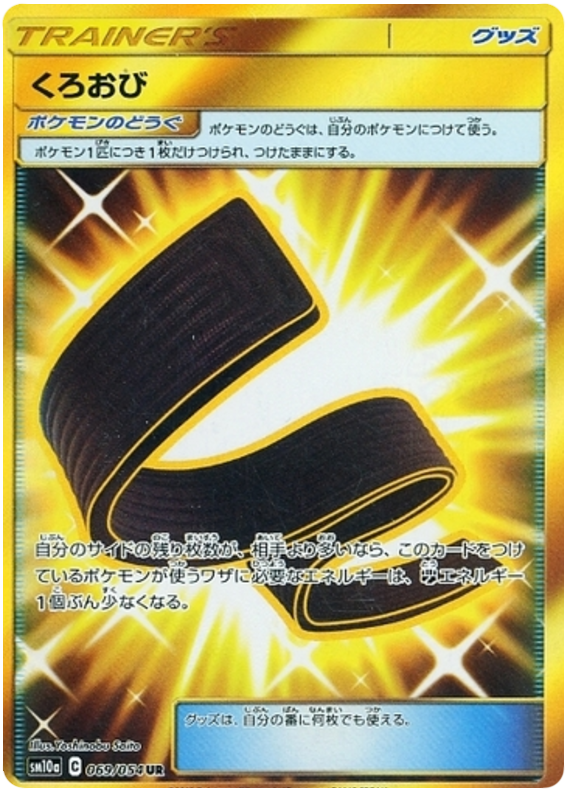 Image coming soon
Black Belt