 Image coming soon
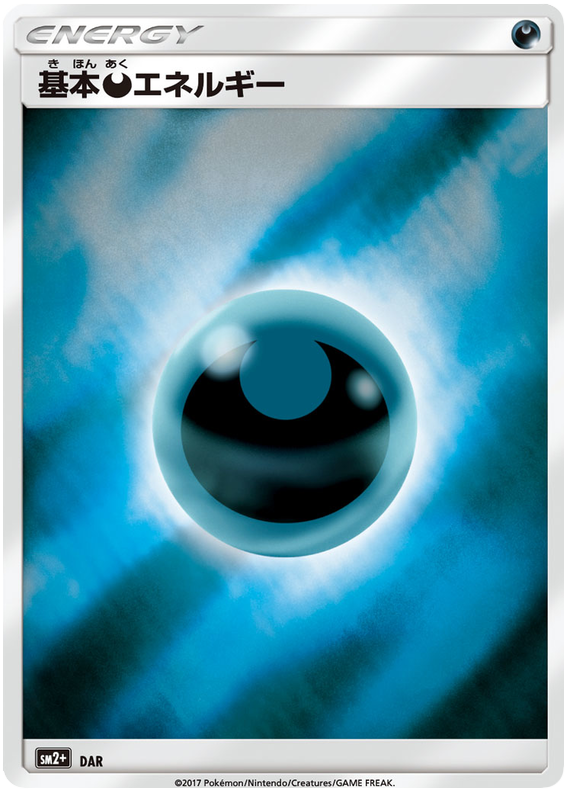
Darkness Energy
Sold out

 Image coming soon
Darkness Energy
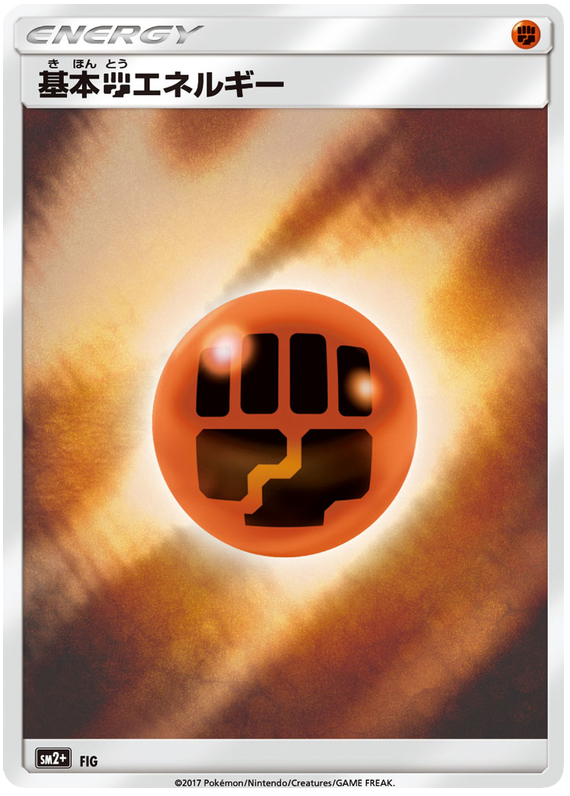 Image coming soon
Fighting Energy
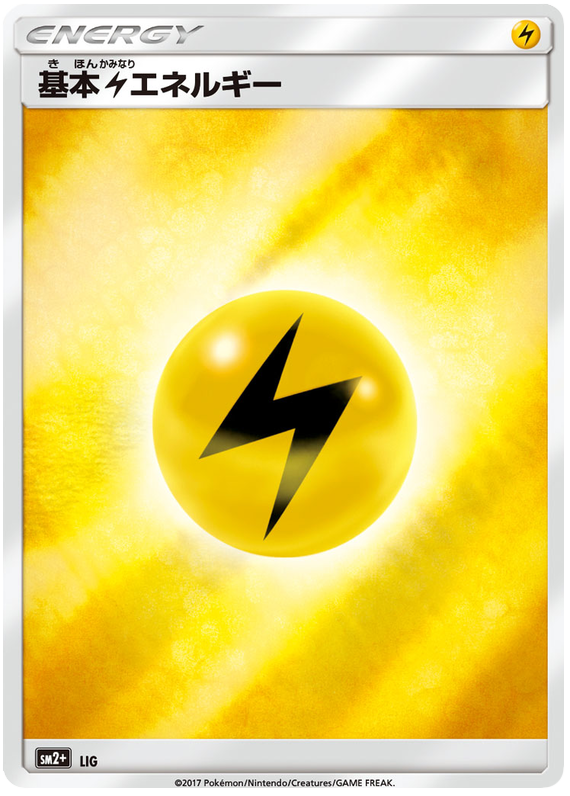 Image coming soon
Lightning Energy
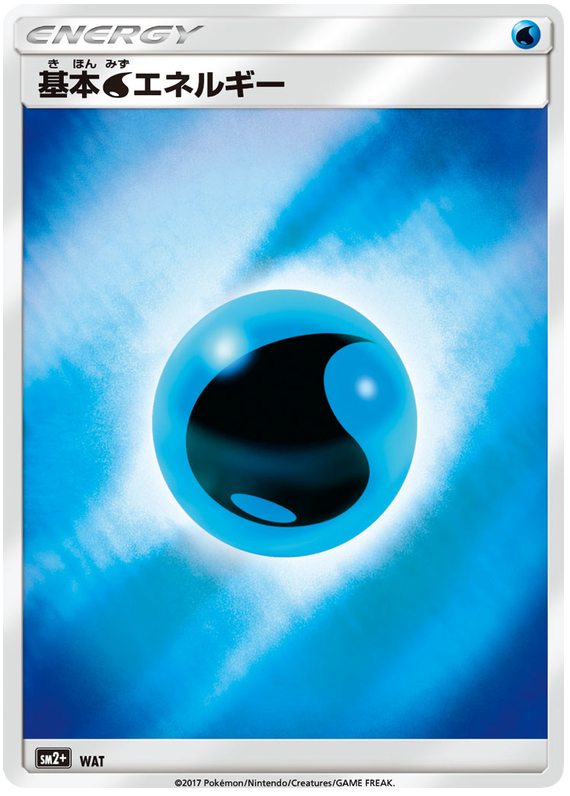 Image coming soon
Water Energy
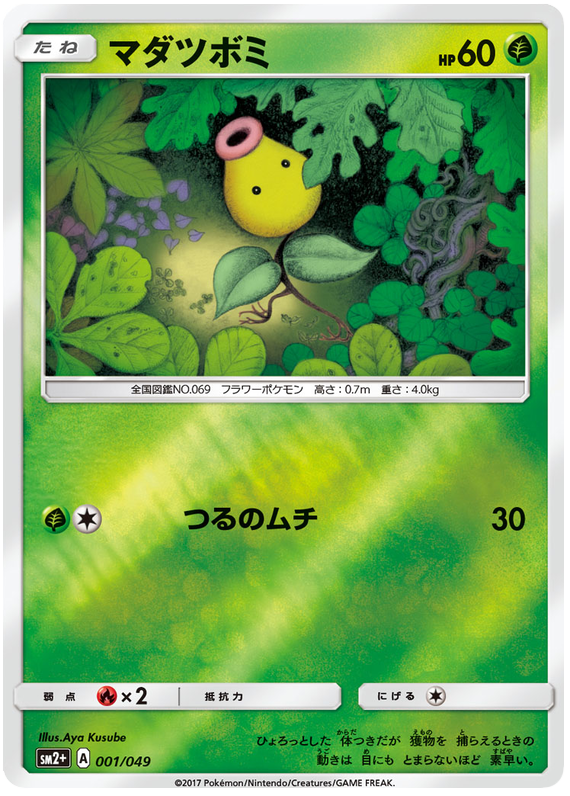 Image coming soon
Bellsprout
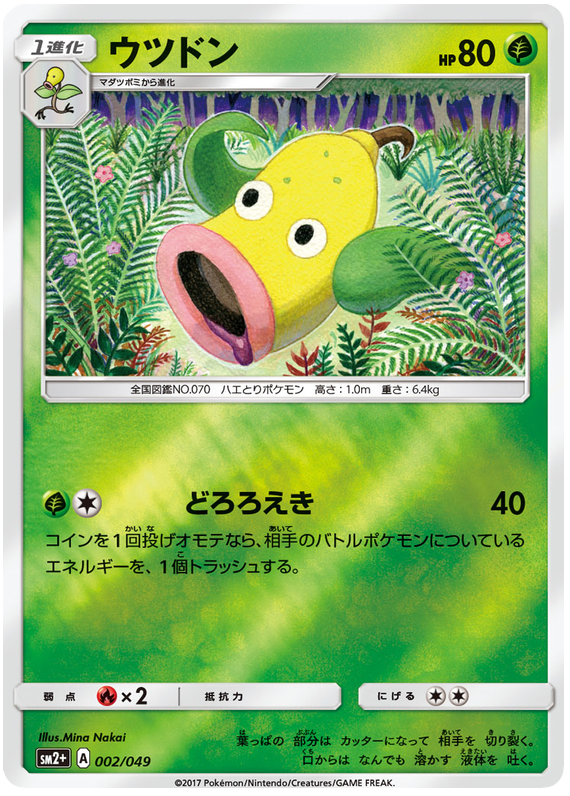 Image coming soon
Weepinbell
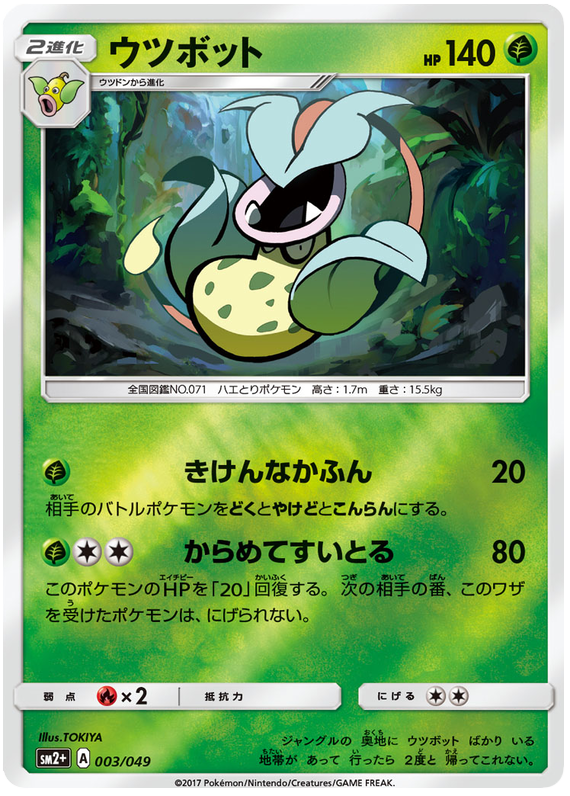 Image coming soon
Victreebel
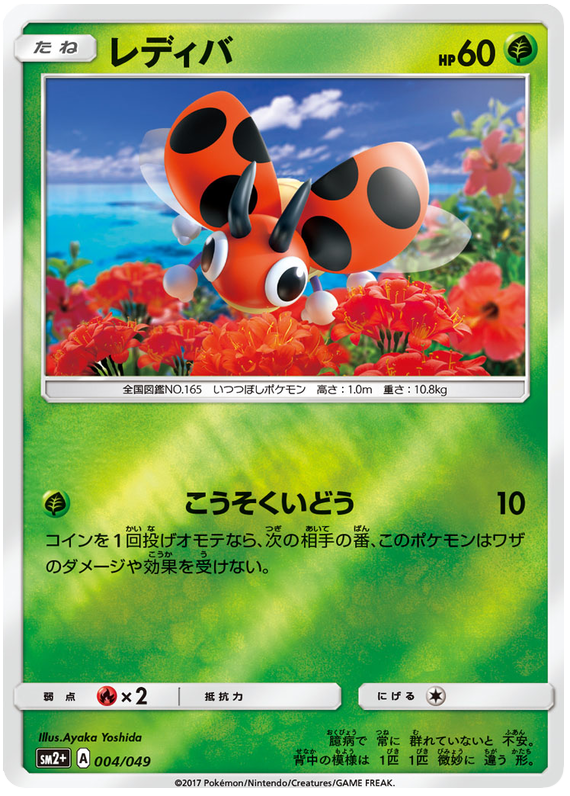 Image coming soon
Ledyba
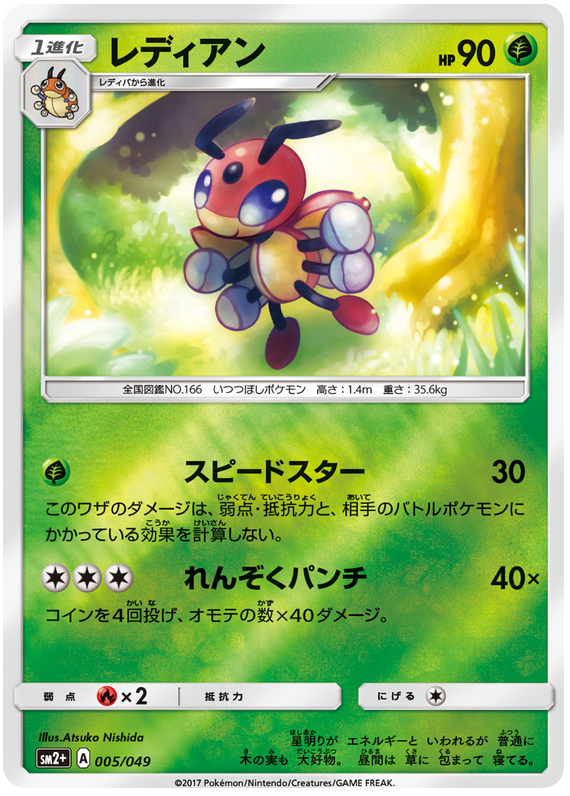 Image coming soon
Ledian
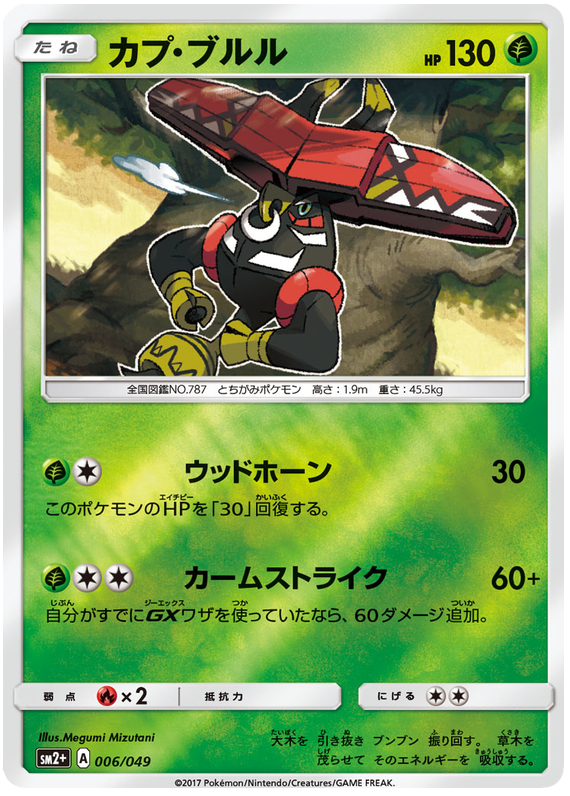 Image coming soon
Tapu Bulu
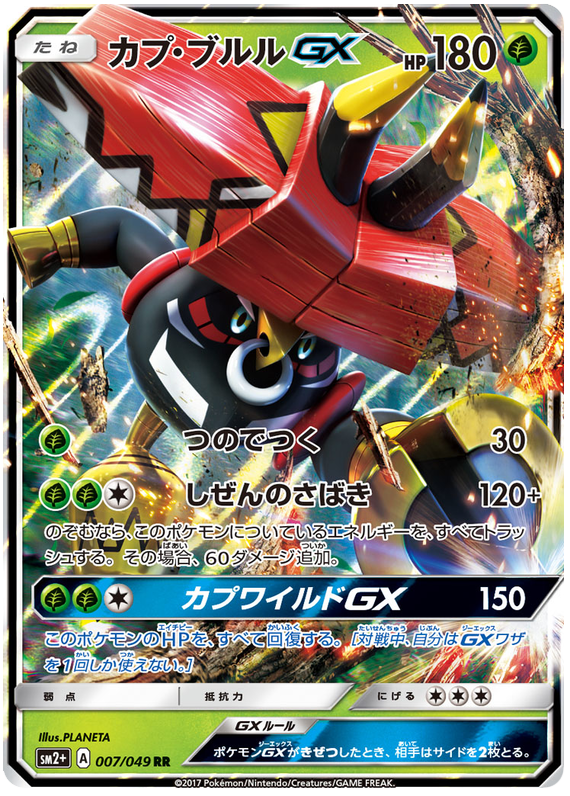 Image coming soon
Tapu Bulu GX
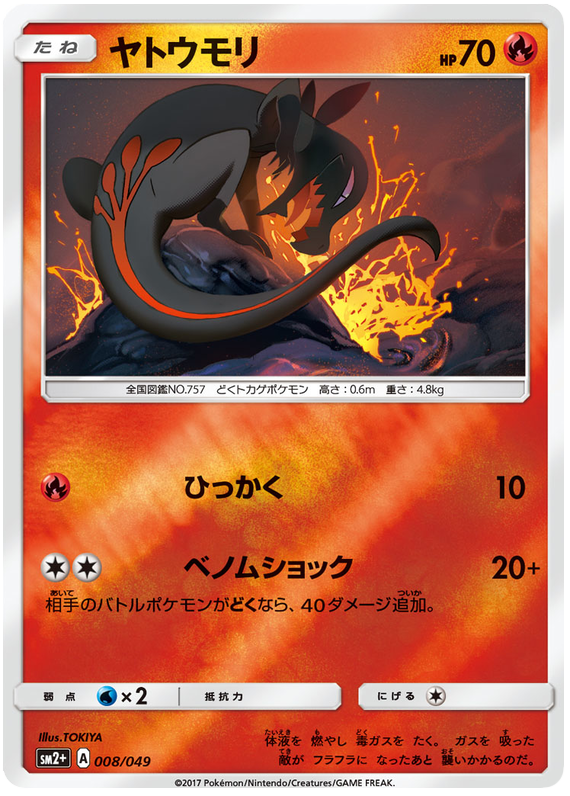 Image coming soon
Salandit
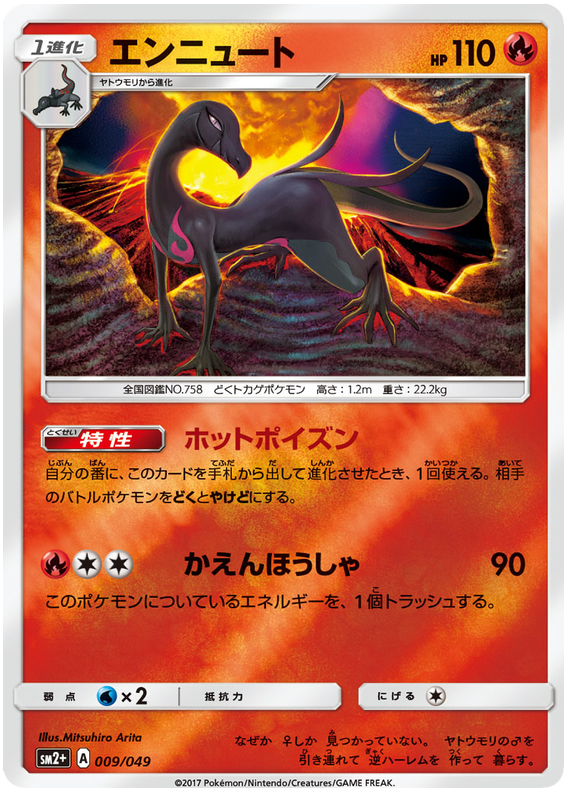 Image coming soon
Salazzle
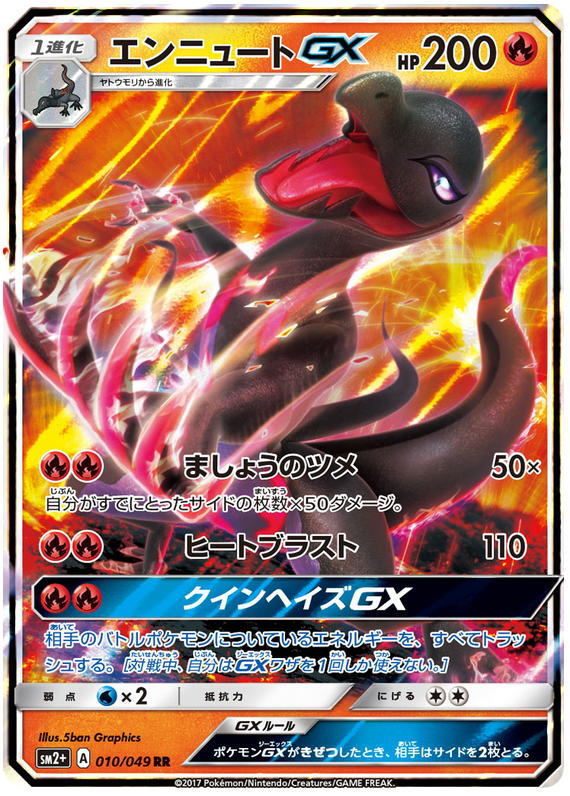 Image coming soon
Salazzle GX
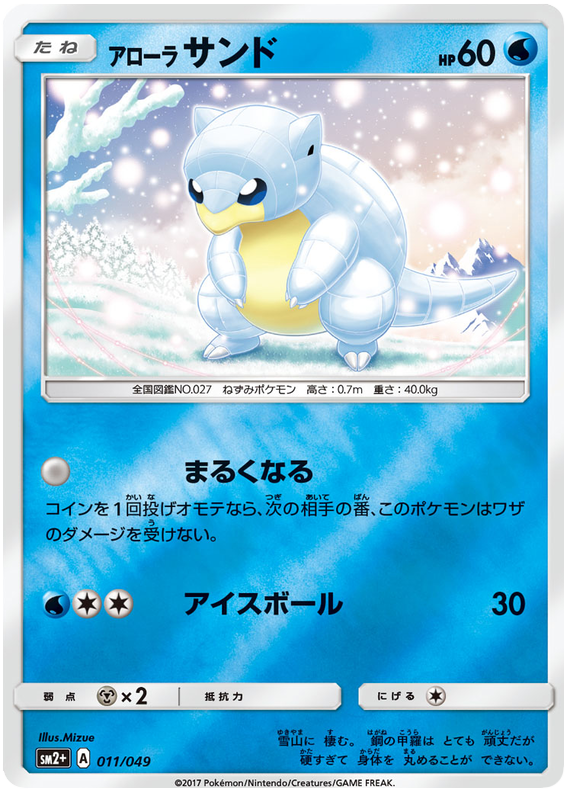 Image coming soon
Alolan Sandshrew
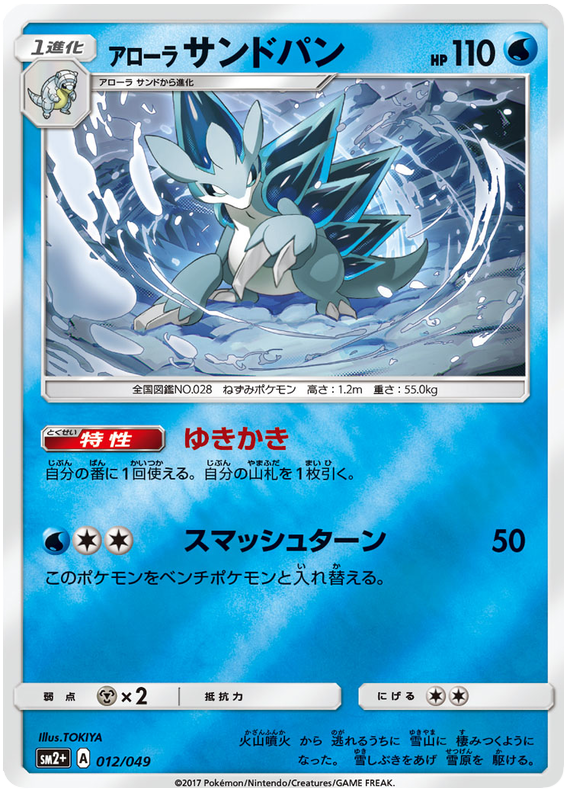 Image coming soon
Alolan Sandslash
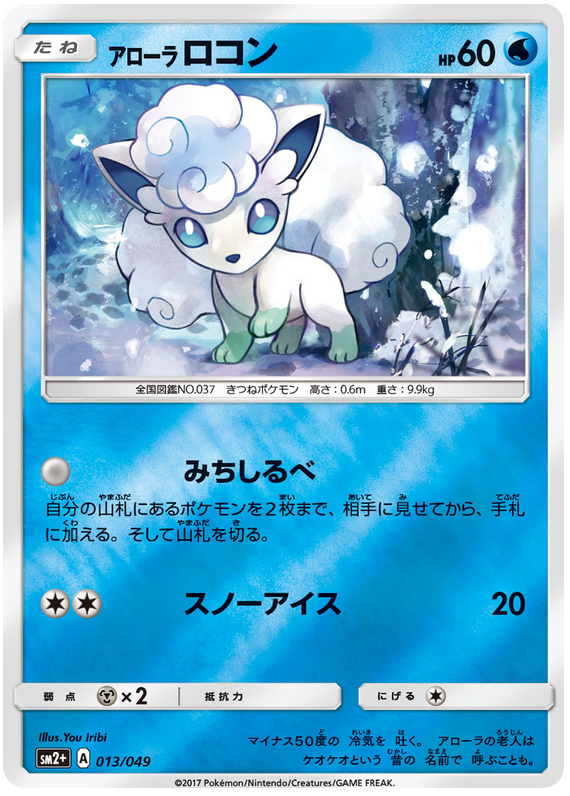 Image coming soon
Alolan Vulpix
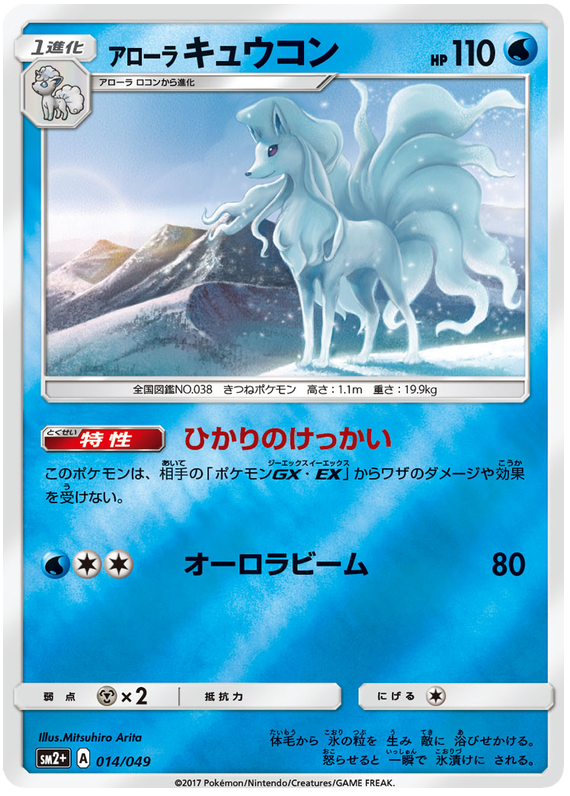 Image coming soon
Alolan Ninetales
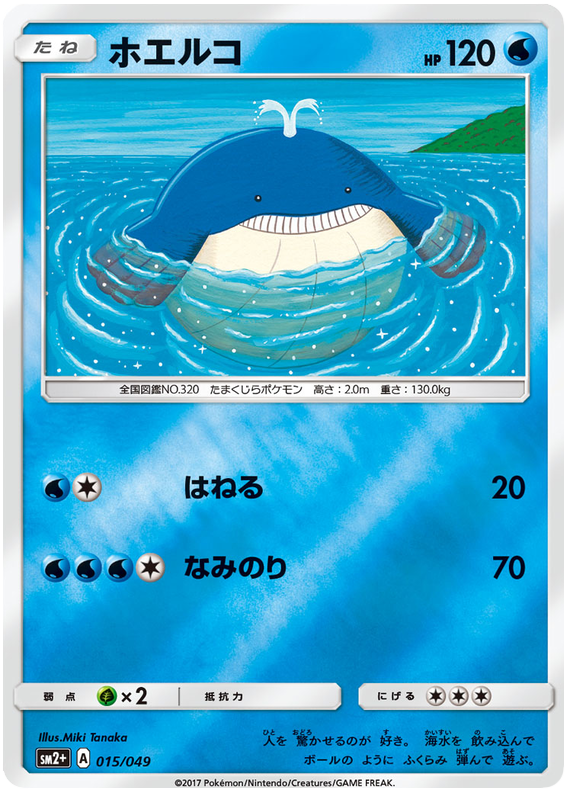 Image coming soon
Wailmer
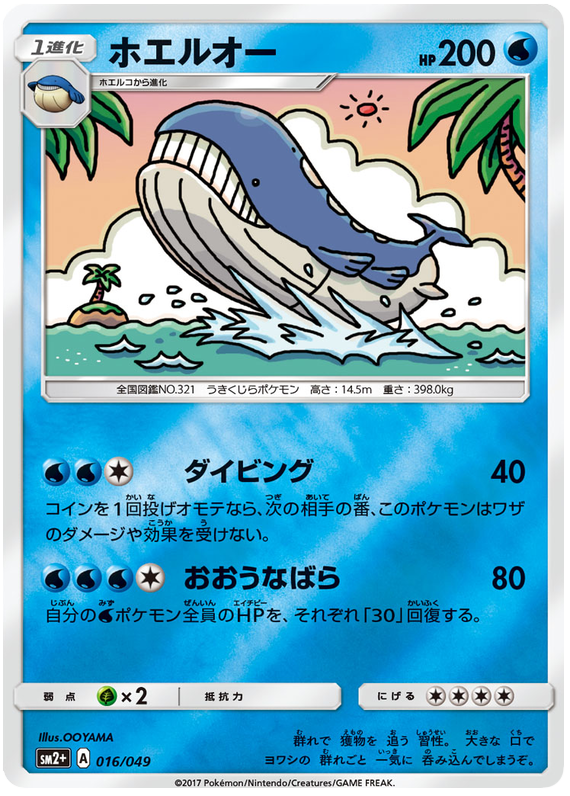 Image coming soon
Wailord
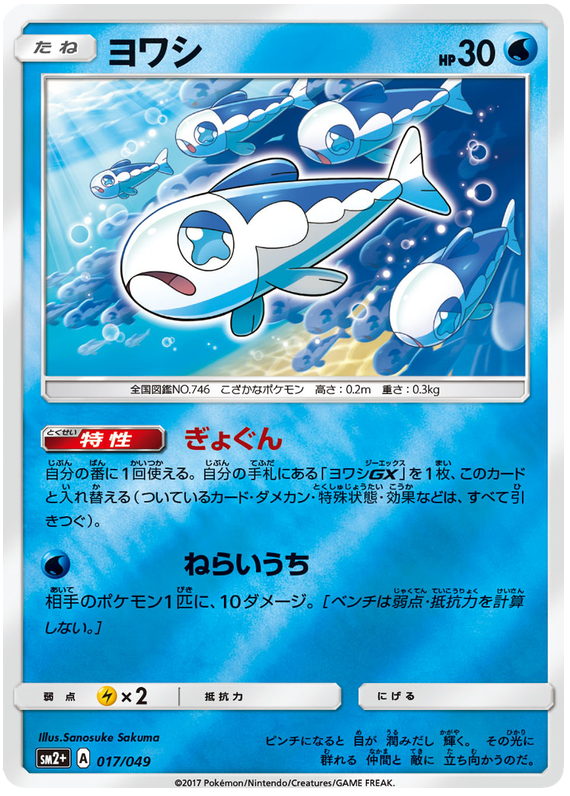 Image coming soon
Wishiwashi
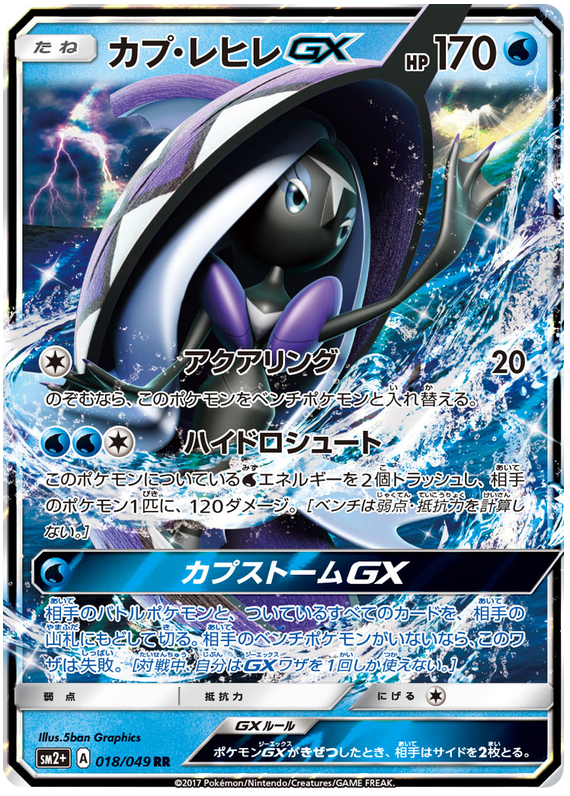 Image coming soon
Tapu Fini GX
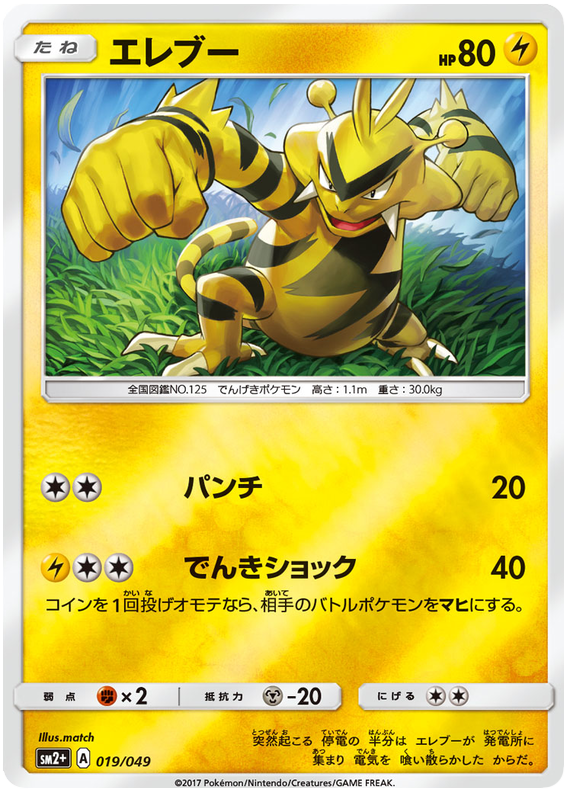 Image coming soon
Electabuzz
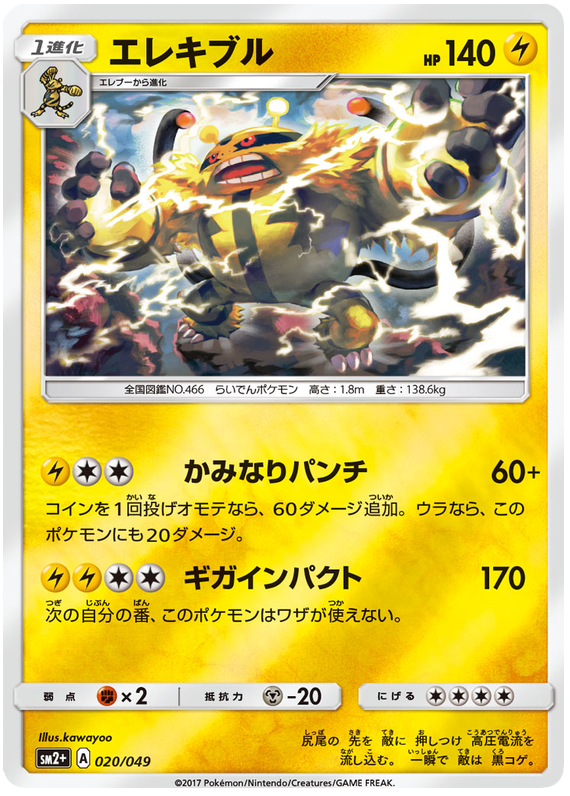 Image coming soon
Electivire
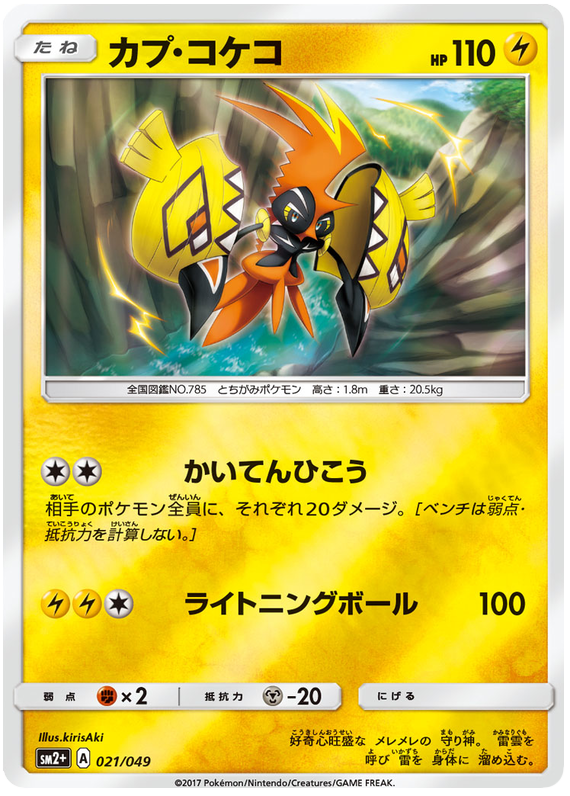 Image coming soon
Tapu Koko
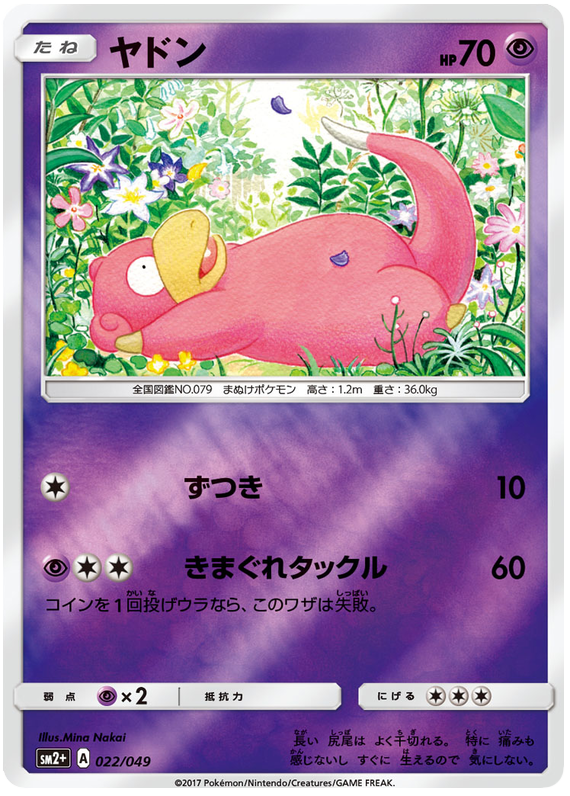 Image coming soon
Slowpoke
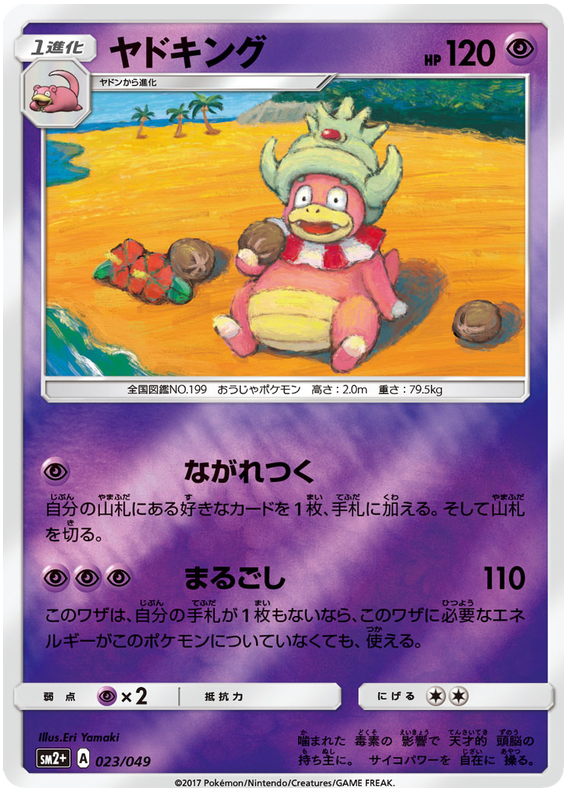 Image coming soon
Slowking
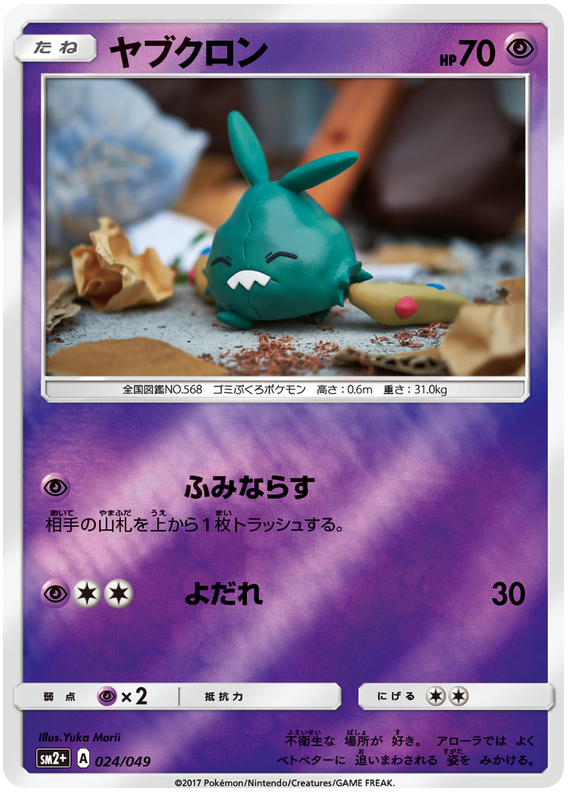 Image coming soon
Trubbish
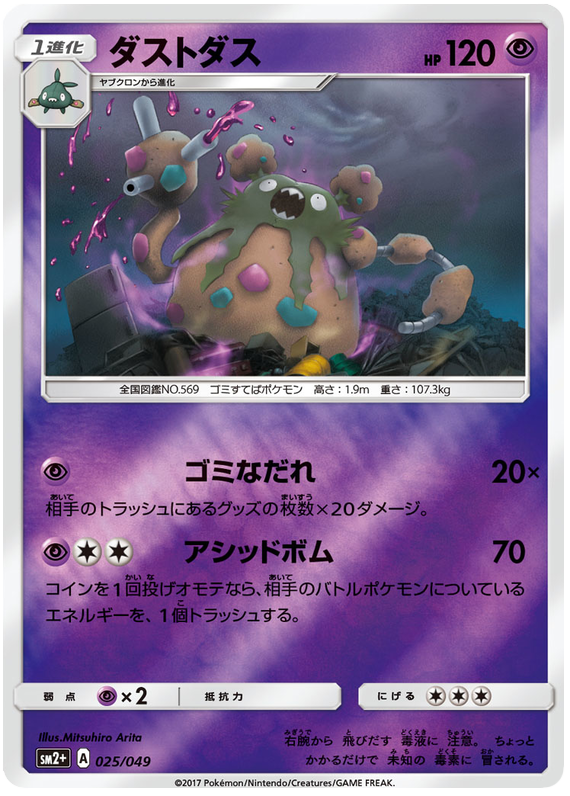 Image coming soon
Garbodor
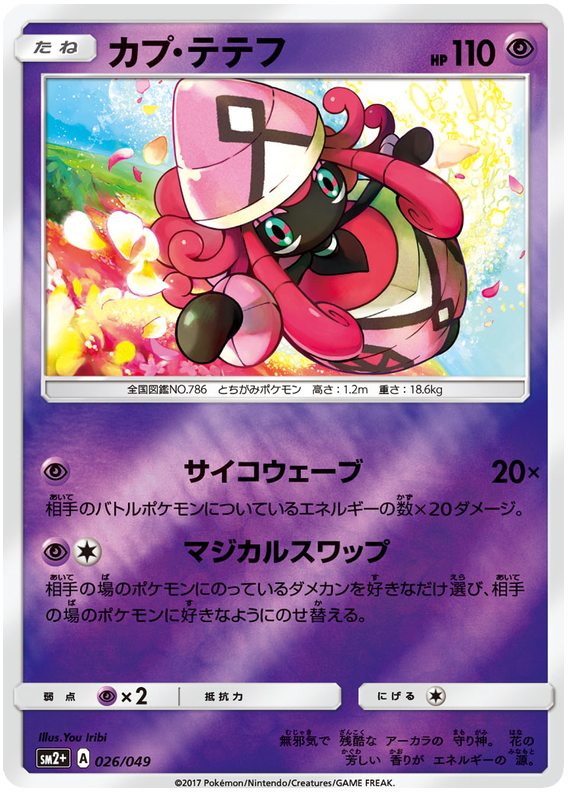 Image coming soon
Tapu Lele
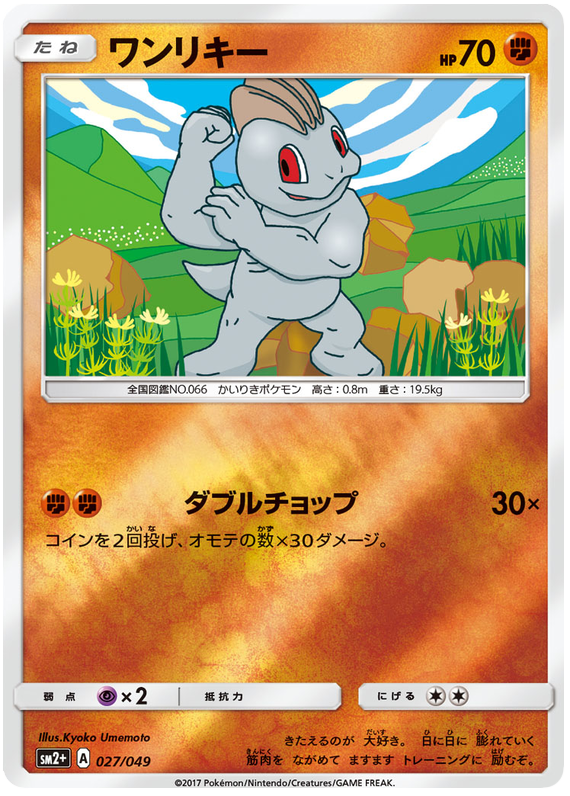 Image coming soon
Machop
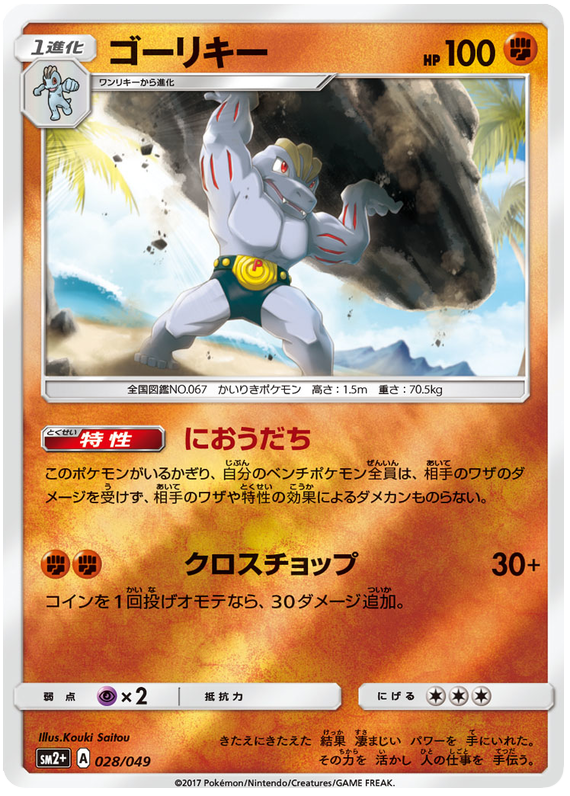 Image coming soon
Machoke
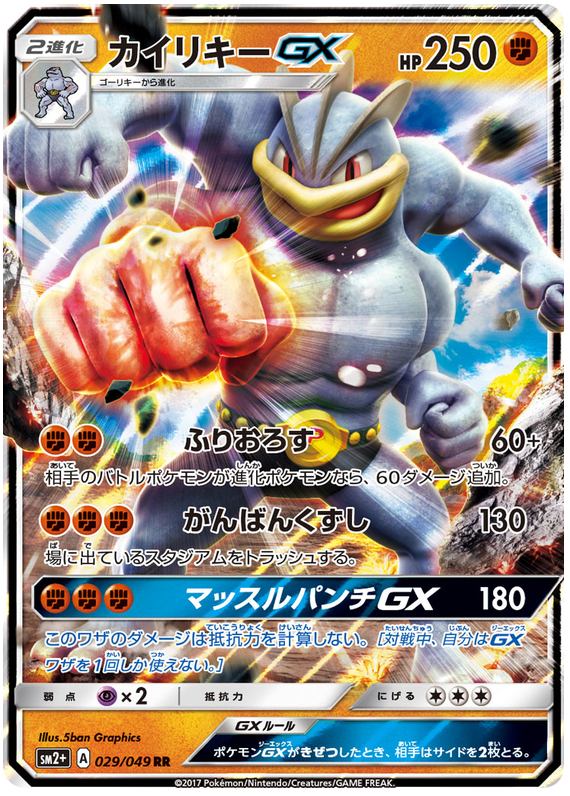 Image coming soon
Machamp GX
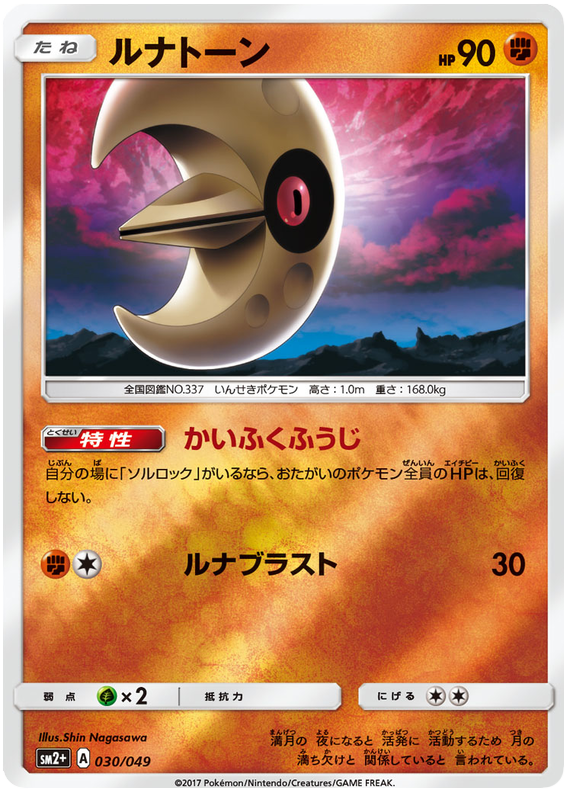 Image coming soon
Lunatone
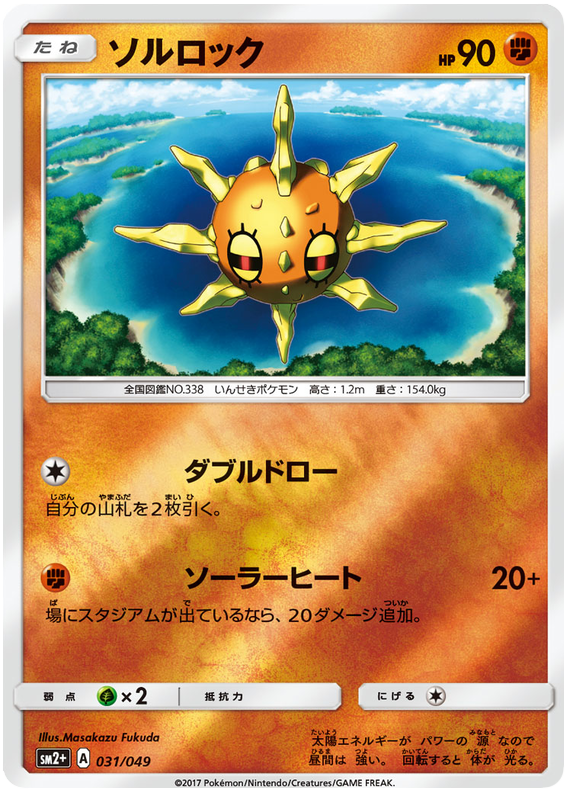 Image coming soon
Solrock
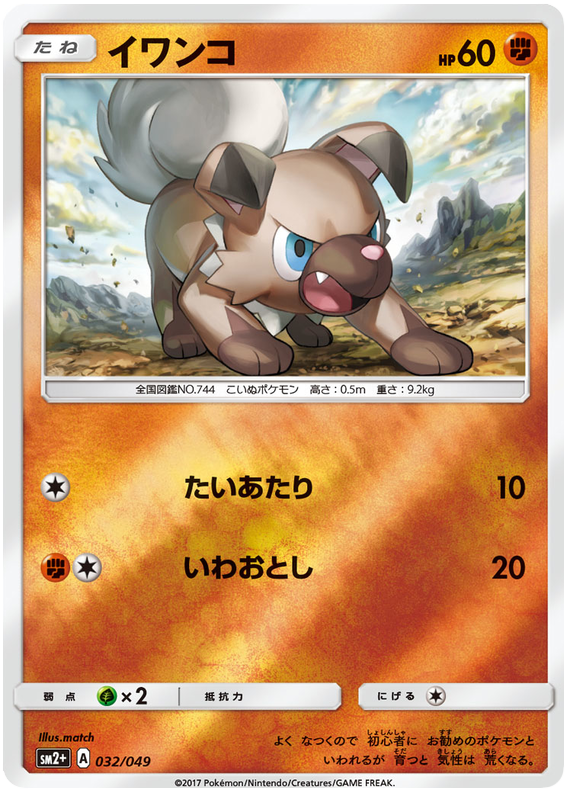 Image coming soon
Rockruff
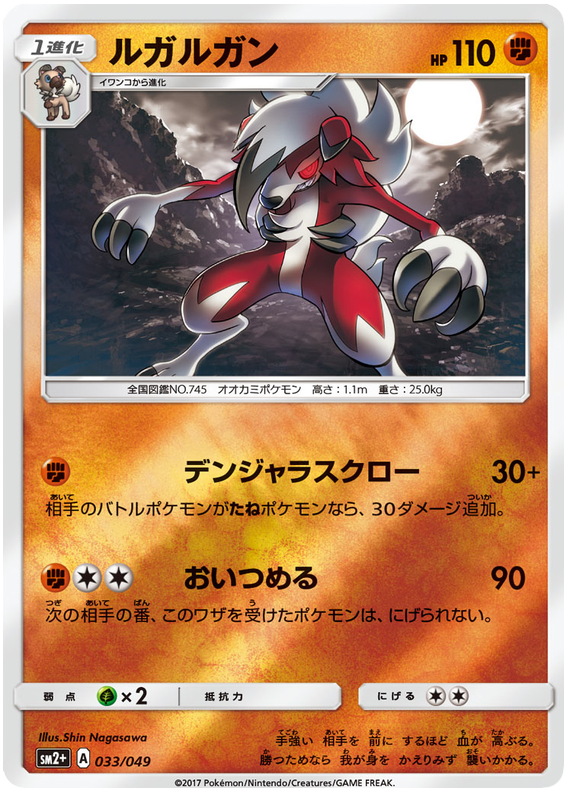 Image coming soon
Lycanroc
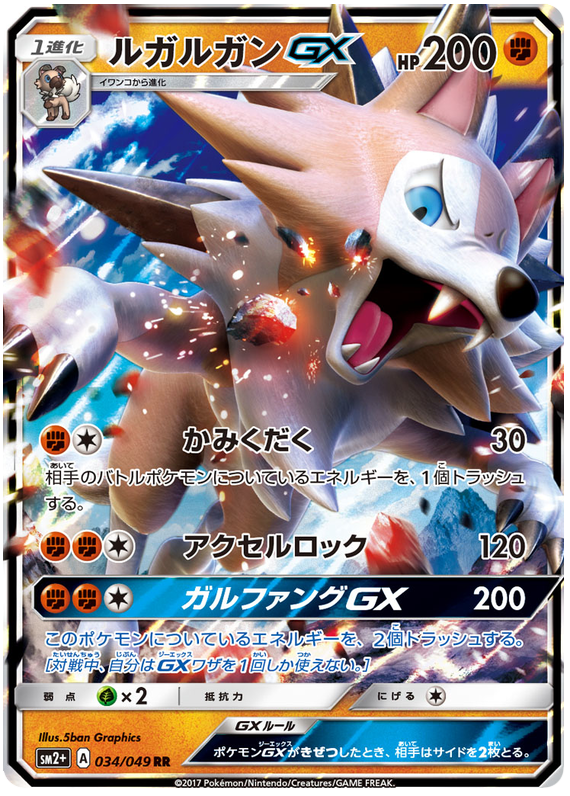 Image coming soon
Lycanroc GX
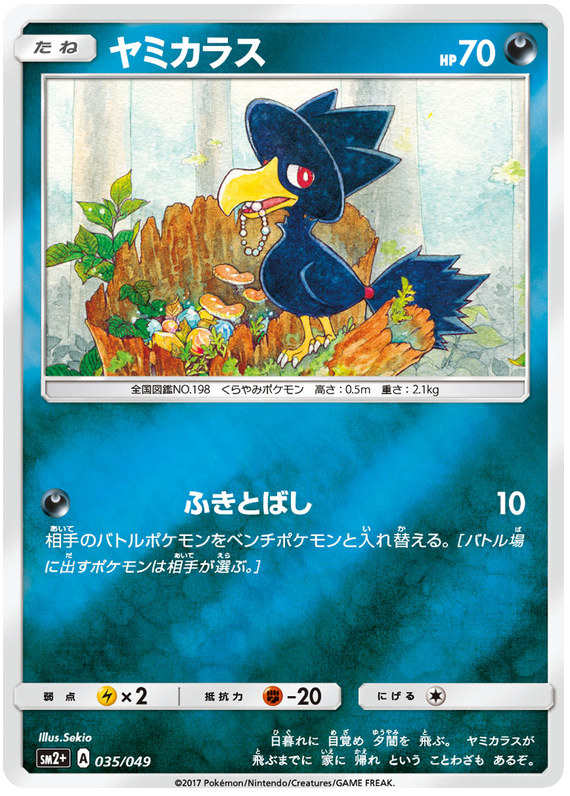 Image coming soon
Murkrow
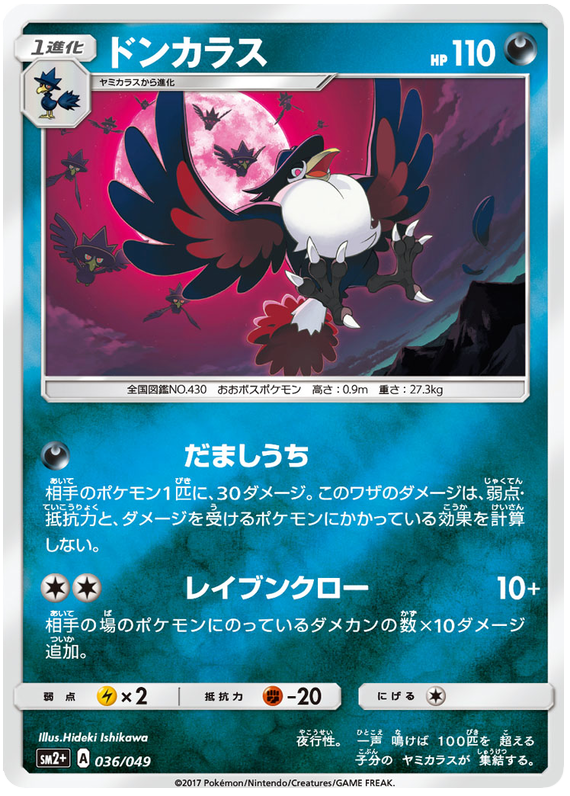 Image coming soon
Honchkrow
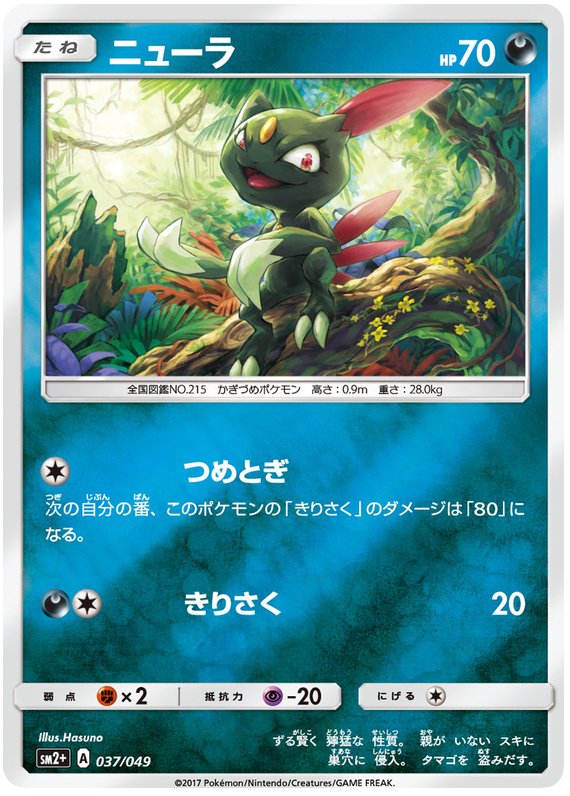 Image coming soon
Sneasel
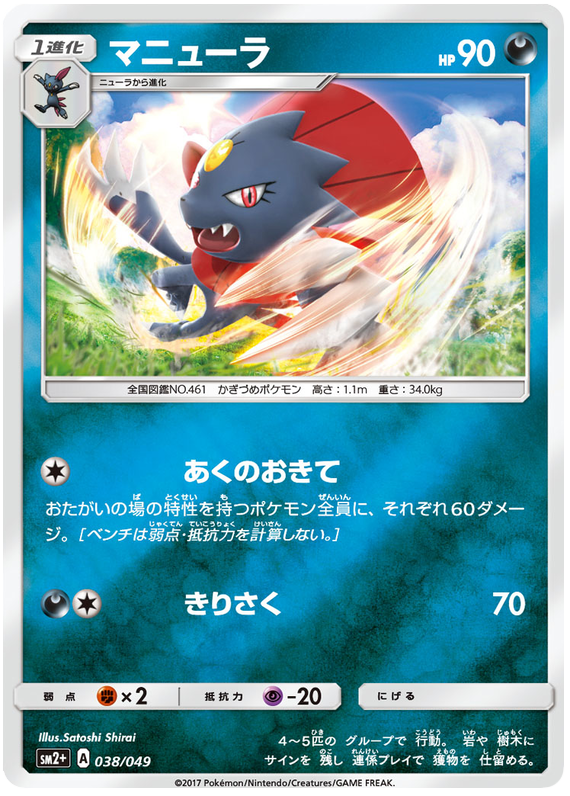 Image coming soon
Weavile
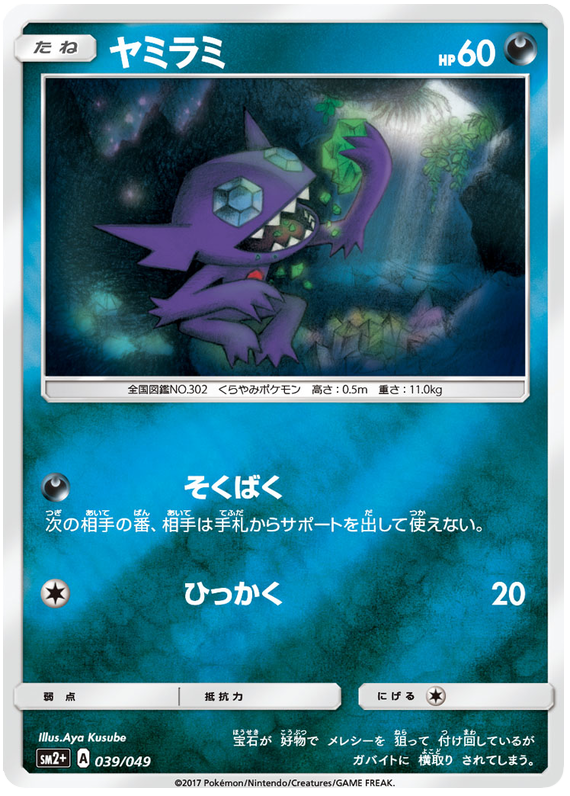 Image coming soon
Sableye
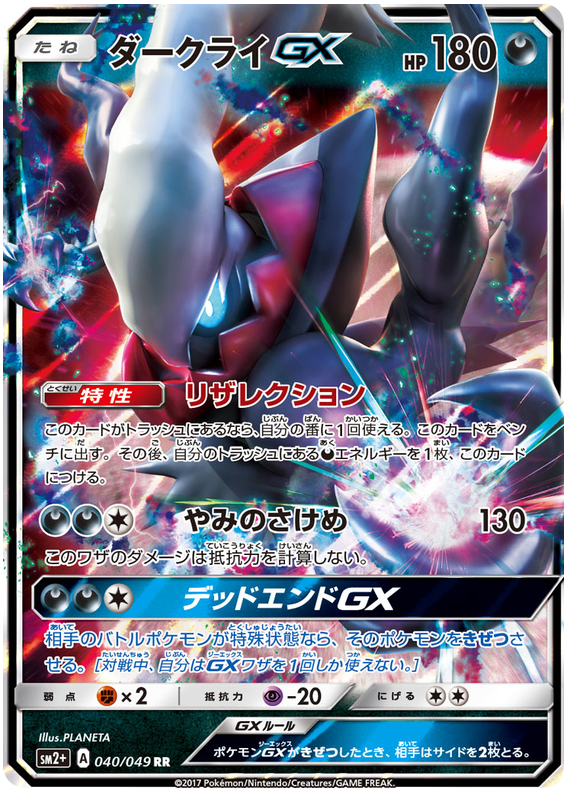 Image coming soon
Darkrai GX
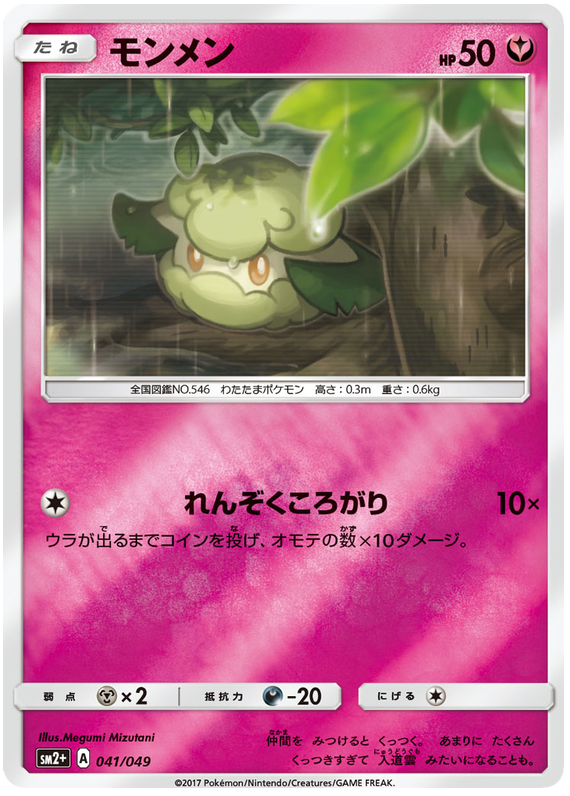 Image coming soon
Cottonee
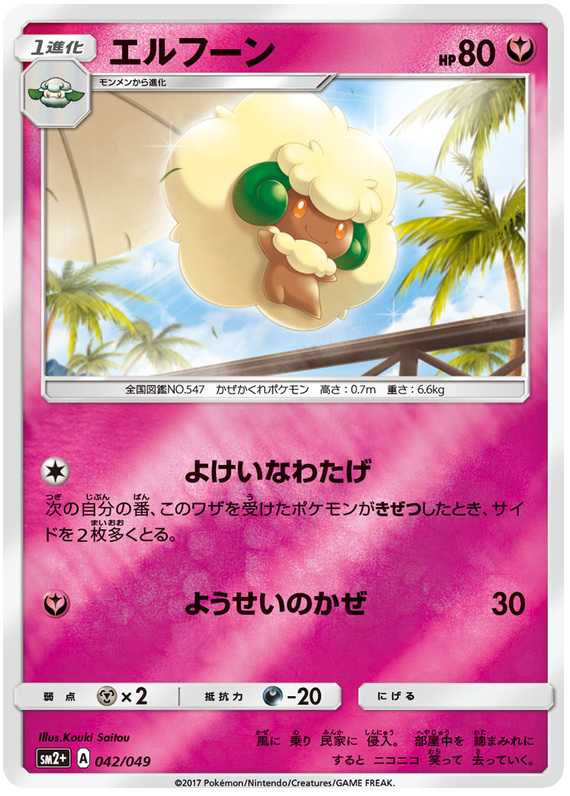 Image coming soon
Whimsicott
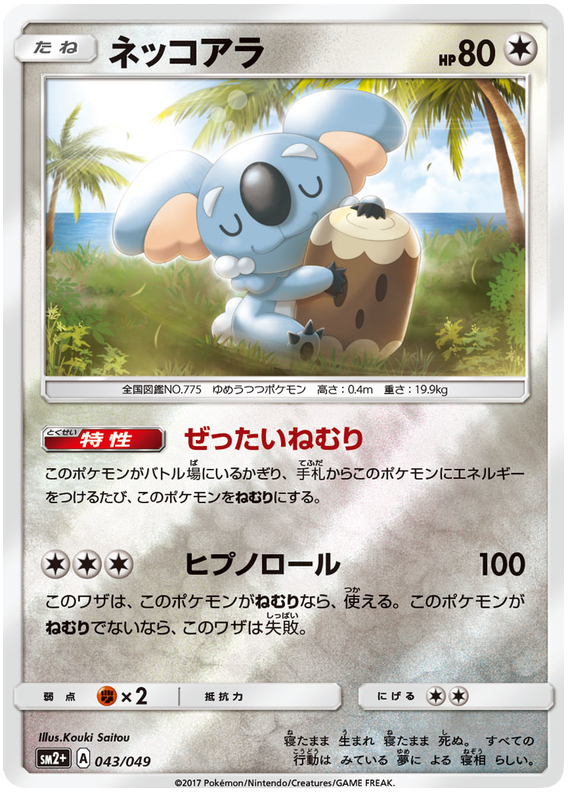 Image coming soon
Komala
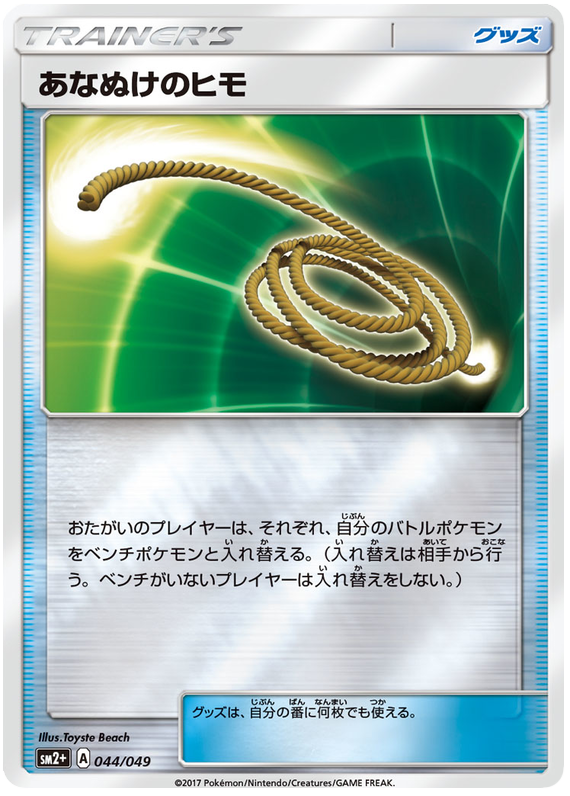 Image coming soon
Escape Rope
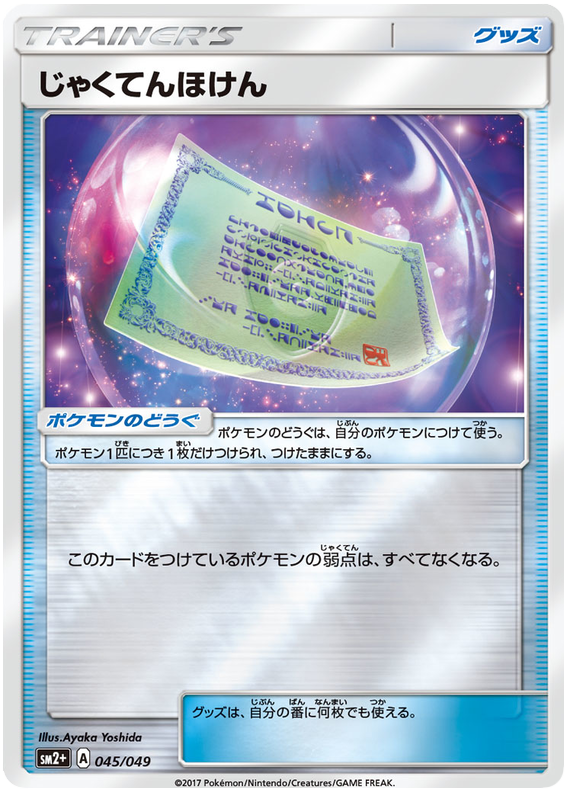 Image coming soon
Weakness Policy
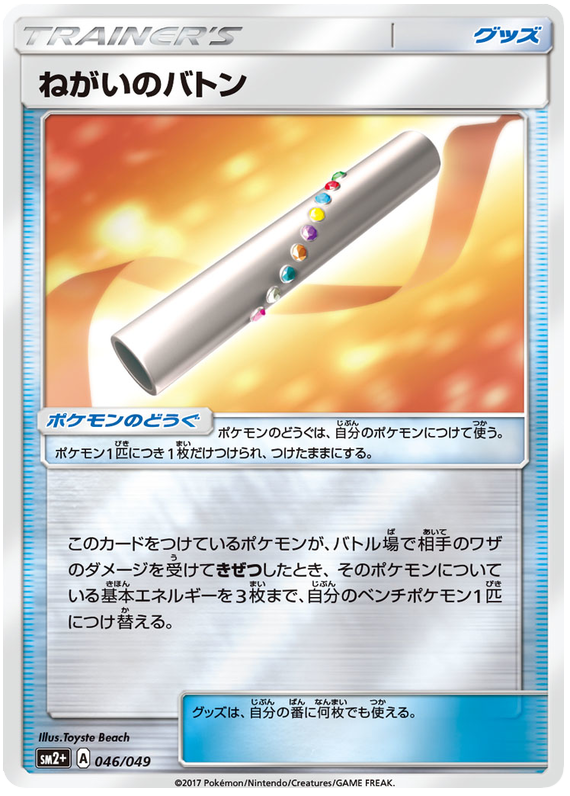 Image coming soon
Wish Baton
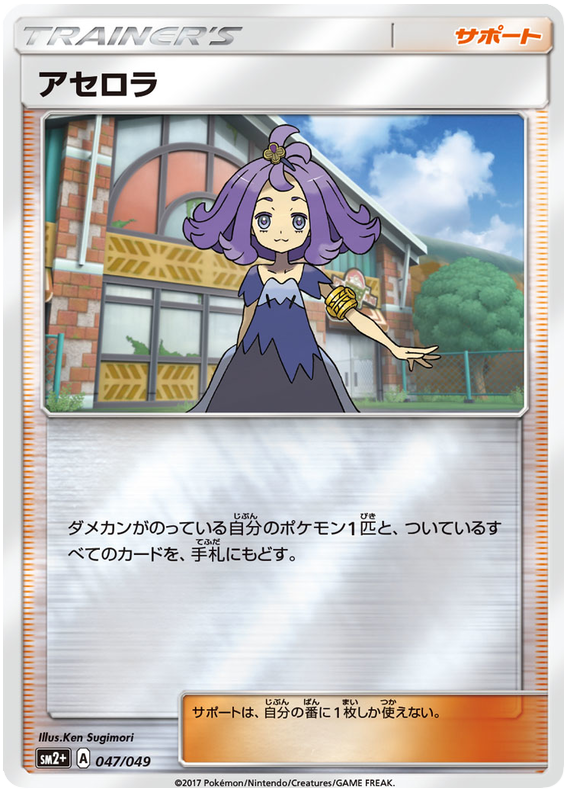 Image coming soon
Acerola
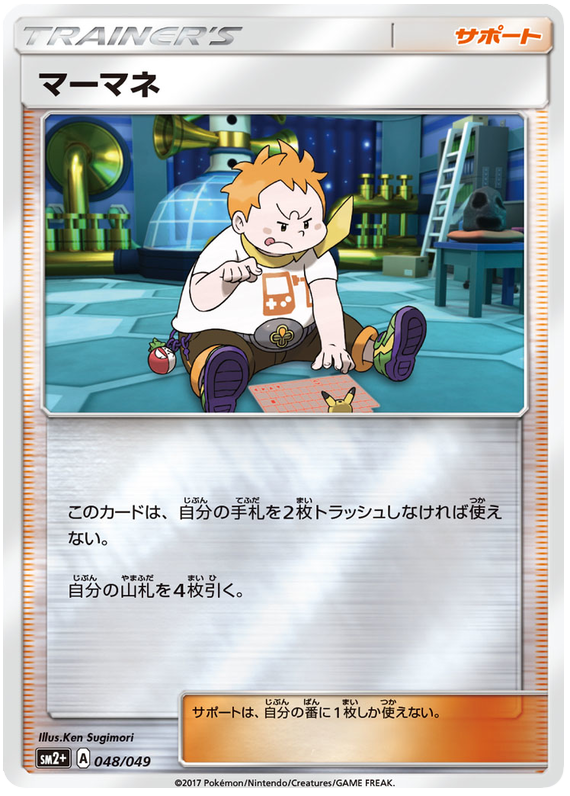 Image coming soon
Sophocles
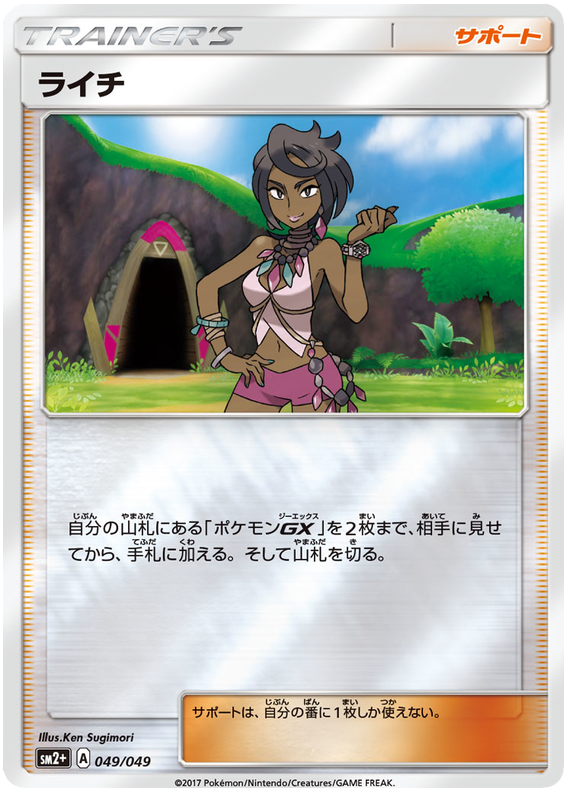 Image coming soon
Olivia
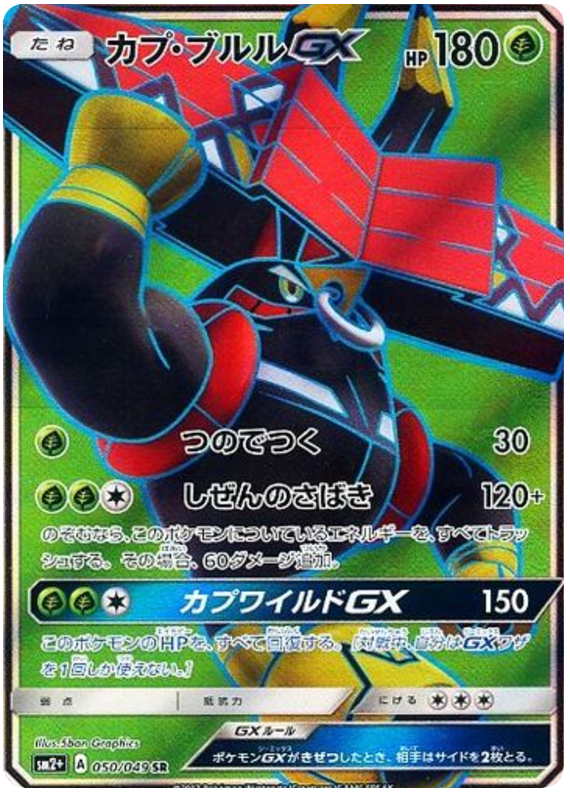 Image coming soon
Tapu Bulu GX
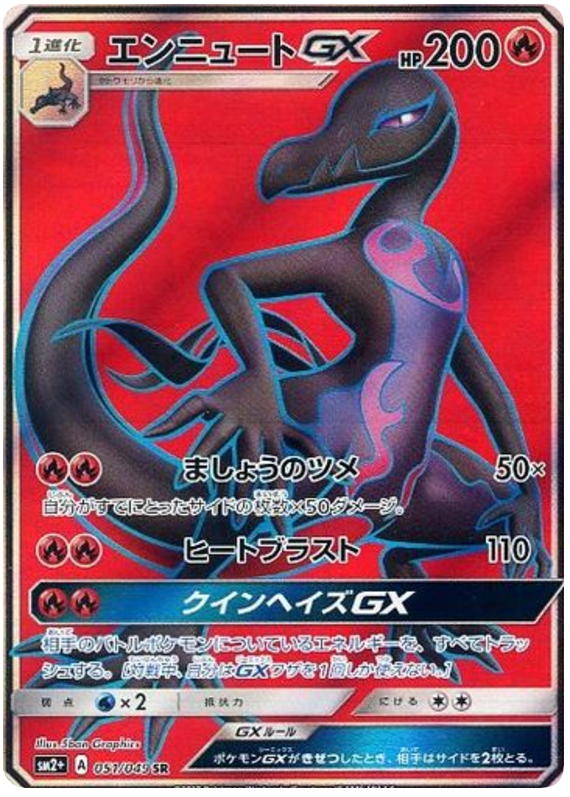 Image coming soon
Salazzle GX
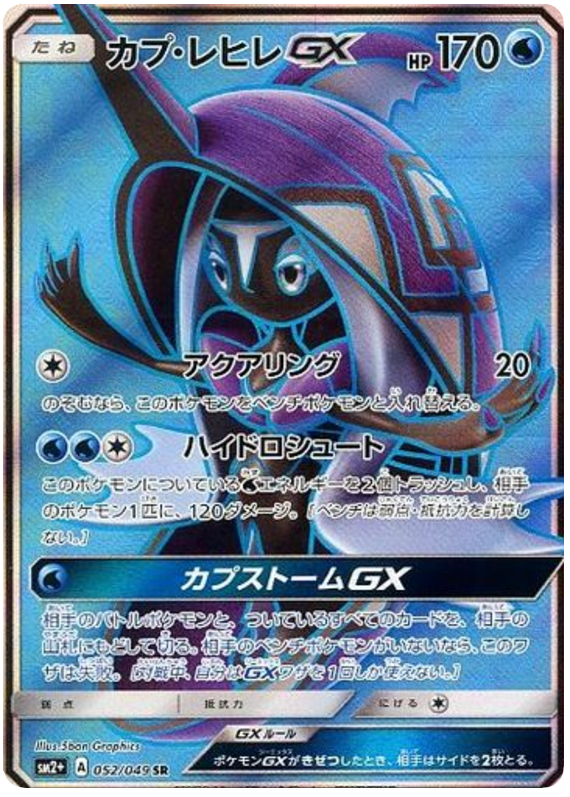 Image coming soon
Tapu Fini GX
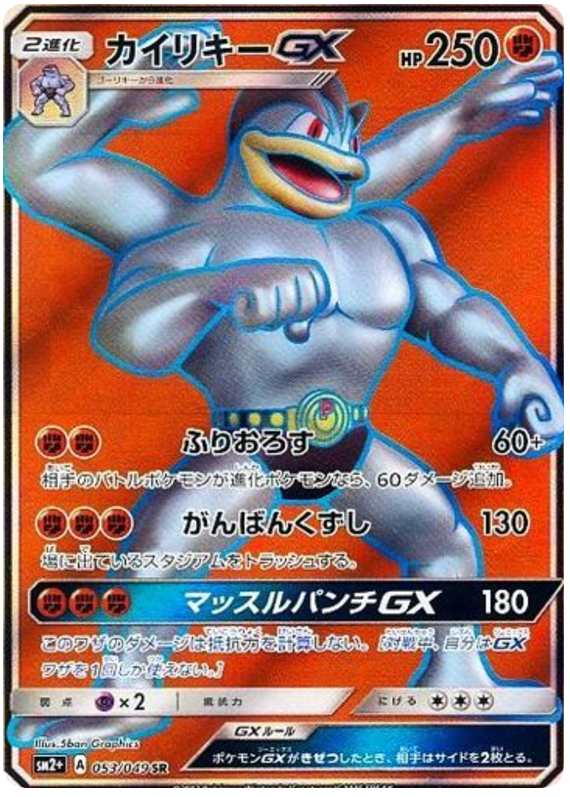 Image coming soon
Machamp GX
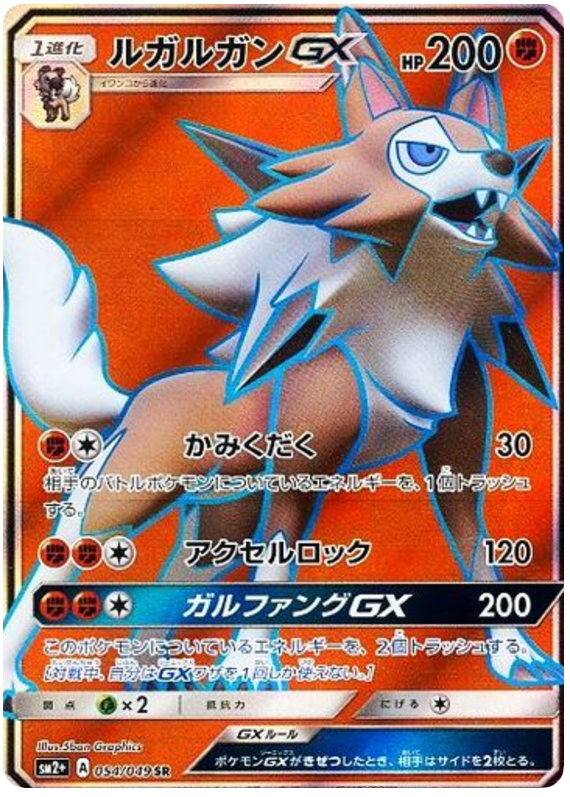 Image coming soon
Lycanroc GX
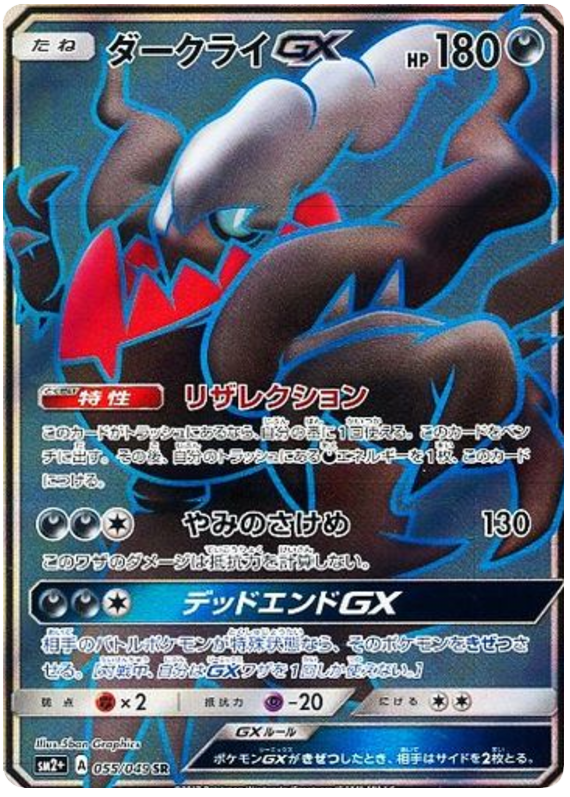 Image coming soon
Darkrai GX
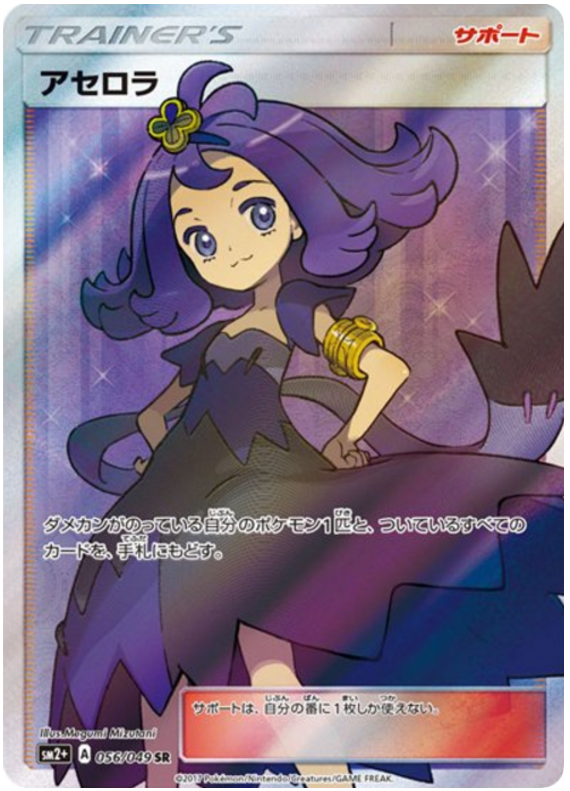 Image coming soon
Acerola
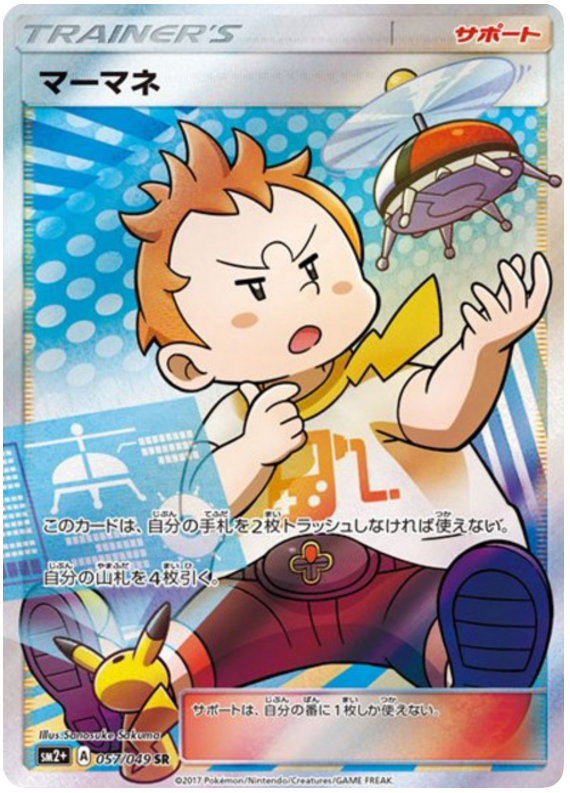 Image coming soon
Sophocles
 Image coming soon
Tapu Bulu GX
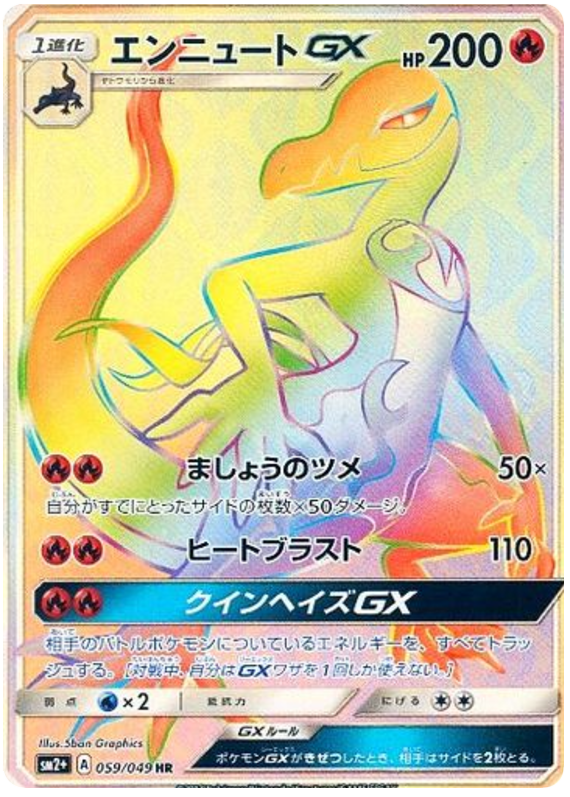 Image coming soon
Salazzle GX
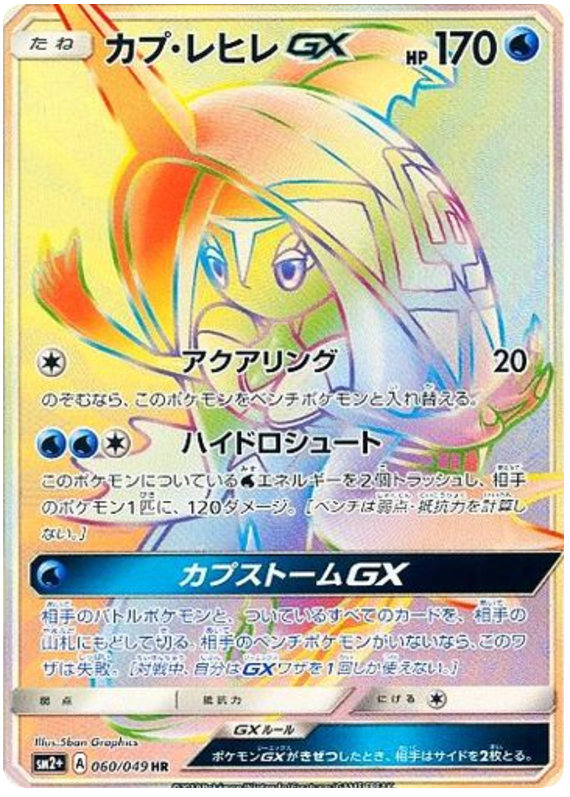 Image coming soon
Tapu Fini GX
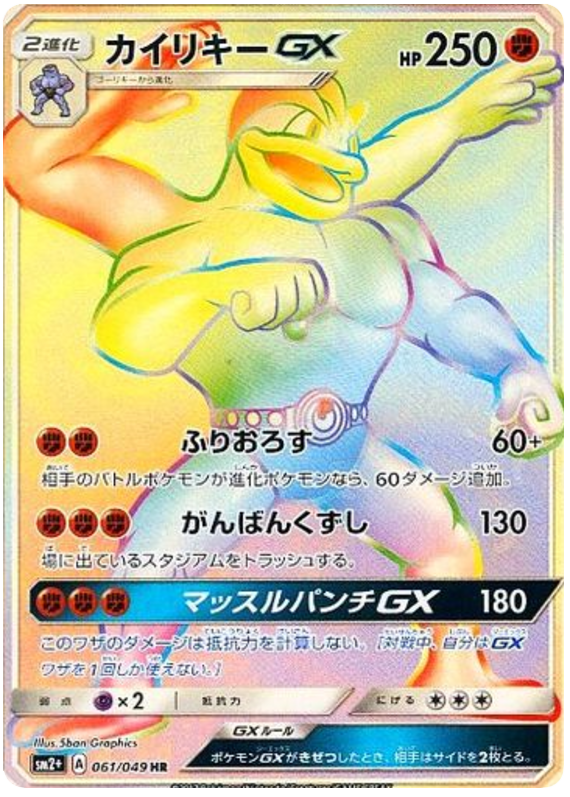 Image coming soon
Machamp GX
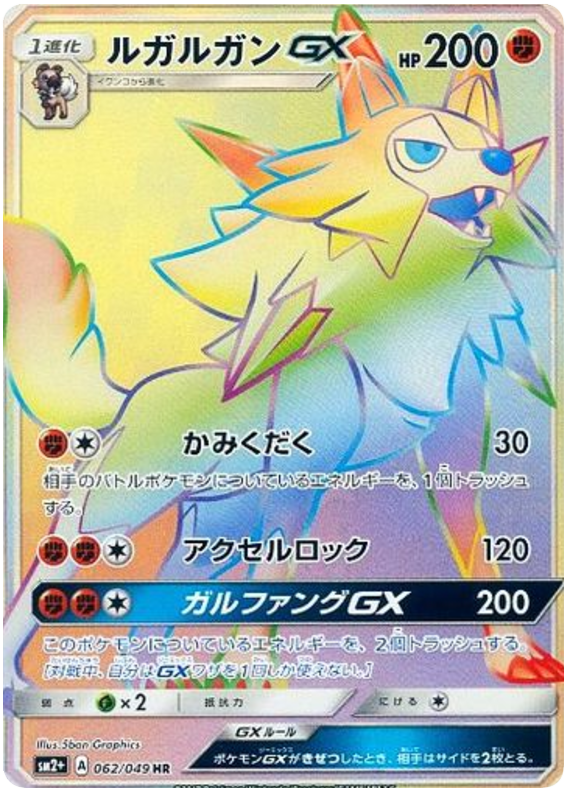 Image coming soon
Lycanroc GX
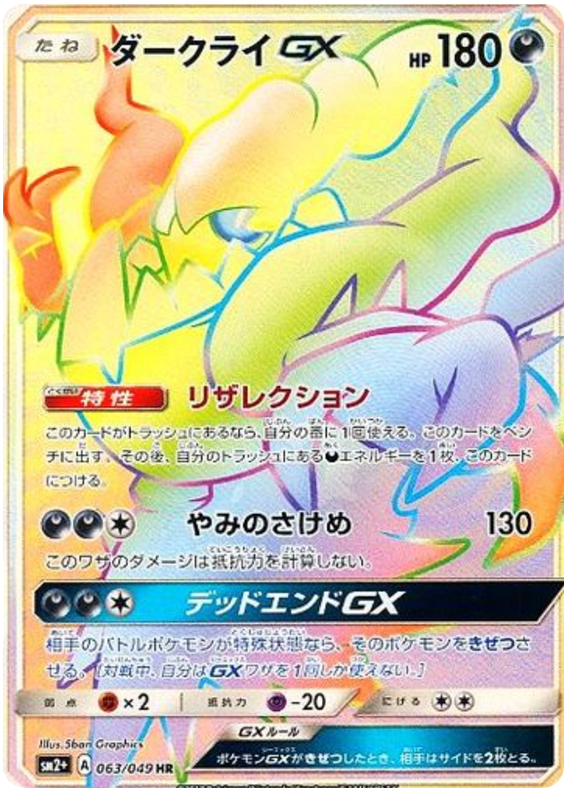 Image coming soon
Darkrai GX
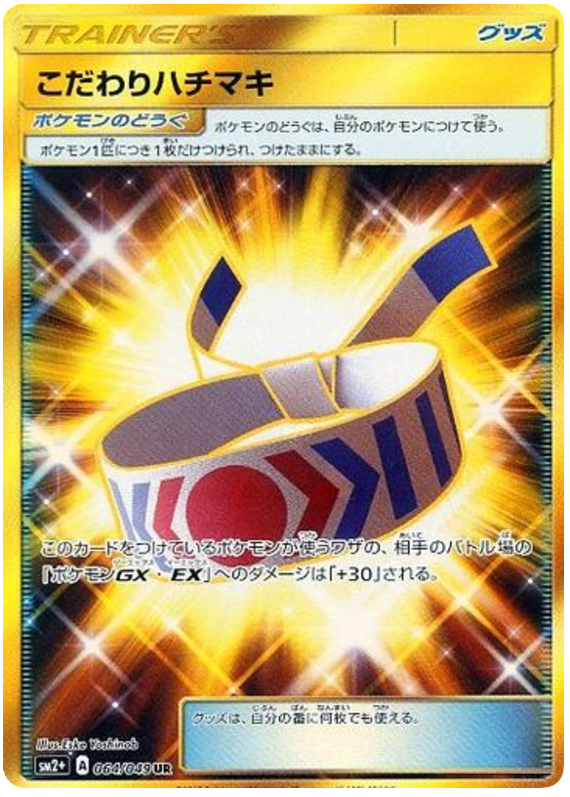 Image coming soon
Choice Band
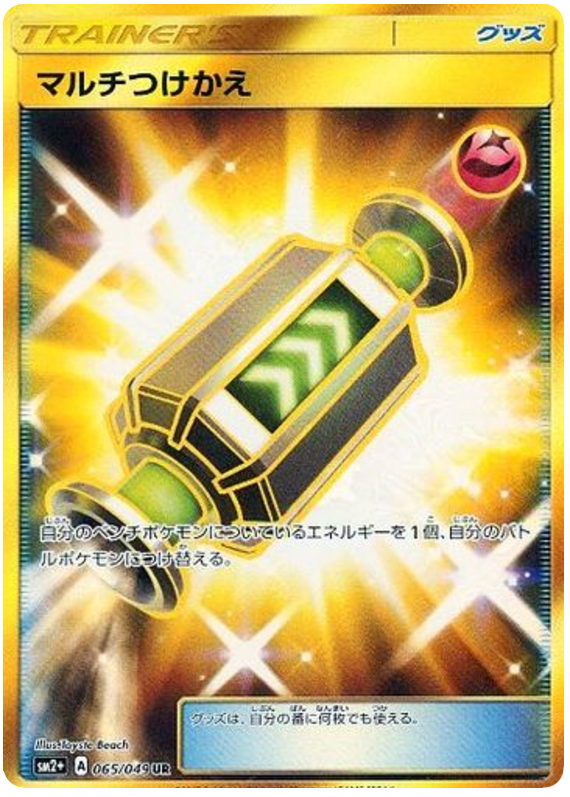 Image coming soon
Multi Switch
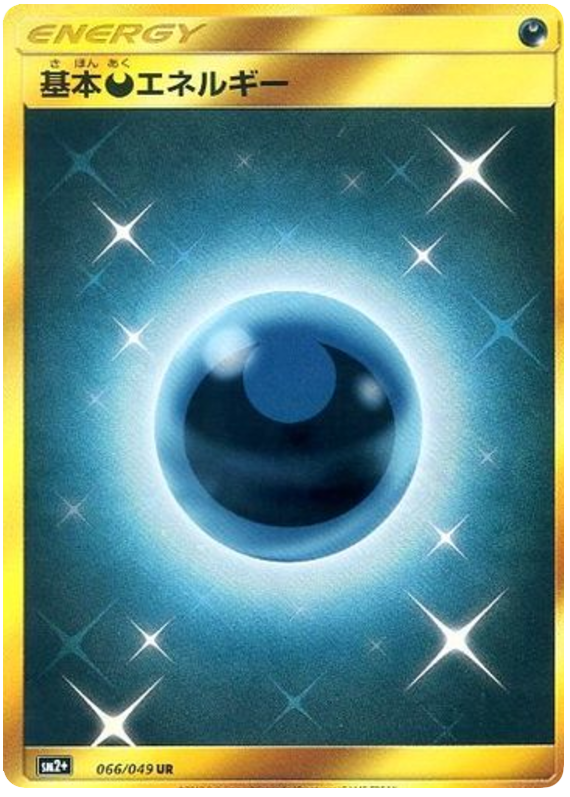 Image coming soon
Darkness Energy